

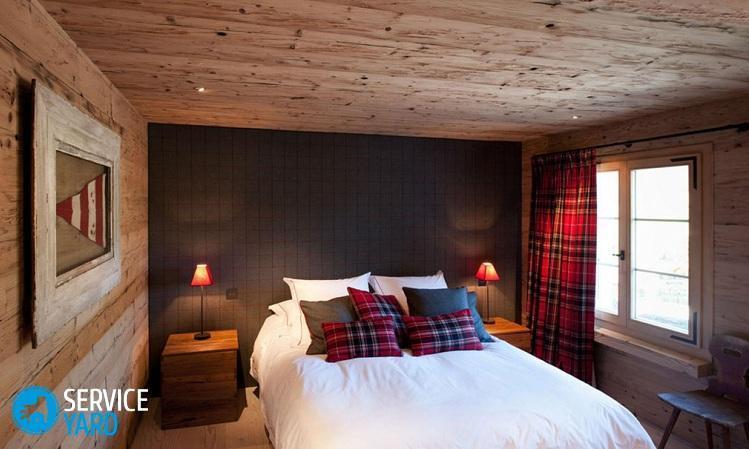
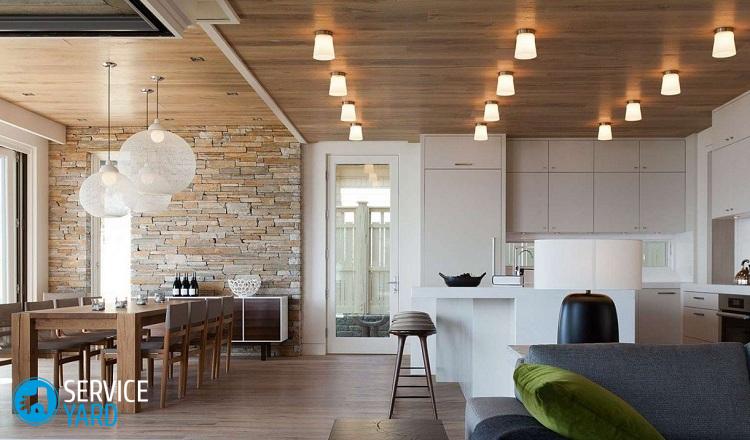
Laminate Ceiling

In the construction industry, the laminate was able to establish itself as a universal coating. Today it is used not only for decorating the floor, but also for decorating doors and walls, which doesn’t surprise anyone. That is why if you are looking for material to create a spectacular ceiling in the room, then this is exactly what you need. Thanks to him, the room instantly transforms, becomes more comfortable, and even a beginner can work with it. Today we will tell you how the independent decoration of the ceiling with a laminate occurs, what benefit you will get from this.
to contents ↑Advantages and disadvantages of laminate ceiling decoration
Laminate as a ceiling finishing coating shows itself in the best way, which in most cases is explained by its unique structure. The basis of this material is wood, it was from it that he inherited his best qualities. Stability and rigidity are qualities that a floor covering should have; installing a laminate on a ceiling does not require their presence.
The positive qualities of the laminate:
- The material is quite durable, which is very important when using it as a ceiling coating, because it will not have an increased load.
- It does not require special care.
- The range of this material is incredibly large, it can confuse even an experienced designer. Therefore, it is important to choose the right color, color options, texture nuances, so that they meet the interior. It can imitate not only wood texture, but even stone.
- Laminate is distinguished by good noise and heat insulation properties. If you additionally use another layer of thermal insulation, then the microclimate of the room will become ideal.
- Installation of the ceiling can be done independently.
Important! Such finishing material is inexpensive, so this is an ideal option with a modest budget.
Laminate disadvantages:
- Since it is afraid of water, it cannot be used as a ceiling coating in the bathroom and in the kitchen.
- Low moisture resistance necessarily makes itself felt when the roof leaks or flooding the room from above. In this case, it will have to be completely dismantled.
- Given that this is still not a natural coating made with glue, it can begin to release toxic substances during operation.
to contents ↑Important! To prevent the coating from intensively releasing dangerous fumes, it is better to ventilate the room thoroughly for several weeks immediately after installation.
How to choose a laminate for the ceiling?
If the number of positive qualities, in your opinion, still outweighed the number of minuses, then it is time to start choosing the main material. Naturally, you will not find in the shops a laminate designed for finishing the ceiling, since the entire range includes the usual materials for installation on the floor. Recently appeared wall panels.
But you can find a suitable option, guided by the following parameters:
- Strength. Since the ceiling does not have a serious load, you can give preference to models as thin and light as possible.
- Lenght and width. For a room it is better to buy planks with a length of 1.5 m, for balconies - boards with a length of 2 m.
- Shape and type. There are square tiles and standard boards on sale today.It is better to buy material from one seller, from one batch, from one manufacturer, so that it does not differ in color.
- Convenience in work.
- Dimensions of the room. The material should be enough to cover the ceiling with a small number of joints.
to contents ↑Important! It is extremely inconvenient to work with boards more than 15 cm wide - they are too heavy, which greatly complicates the laying process.
Methods for finishing the ceiling with a laminate
Laying the laminate on the ceiling is carried out in two ways:
- The first option involves the use of glue, requires the ideal condition of the ceiling - it should be smooth, even, without flaws.
- The second method is associated with the arrangement of the frame, while the boards are simply fastened with nails or self-tapping screws to the finished crate.
Important! Whichever option you choose, it is better to leave the purchased material for a few days to lie down in the room where it will be installed, because it needs to accept the optimal temperature and humidity parameters.
Now let's talk more about each installation method.
Glue method
This installation method is justified only in cases where it is important to maintain the height of the room. In addition, the ceiling must be strong and perfectly flat. In this case, the laminate is fixed to the ceiling using a special two-component adhesive, which is incredibly toxic until it dries completely.
Perform work according to this scheme:
- Lubricate the required portion of the ceiling with glue.
- Laminate boards on the back also with glue to give them strength. Seal the grooves of the joints with a sealant to make the structure as strong as possible.
- Start laying from the farthest corner of the room to the left of the entrance.
- As soon as the first panel is laid, glue the next one in the same way, connecting them together by means of a locking mechanism, only then press it to the surface.
- Use supports to avoid waiting for the boards to firmly adhere, and continue to work quietly.
Yes, this is not the easiest installation option, it will require a lot of patience and effort from you, because in order to achieve a high-quality connection of the boards you will have to knock them together. Therefore, it is better to work with an assistant to avoid deformation of the entire structure.
Important! The best option is to nail each board into the groove to the base with small nails.
Wireframe method
In this case, the installation of the laminate on the ceiling takes less time, takes less effort, but here it is necessary to pay maximum attention to the preparatory work. The installation process is simplified due to the absence of dirty and wet work.
Important! It is better to make a frame from a dry wooden beam than metal. Whatever you choose, keep in mind that the tree will have to be pre-treated with an antiseptic, and metal is a more reliable material.
Follow the steps below to mount the laminate on the ceiling using a frame:
- Set the level and clearly determine at what height the structure itself will be located and the laminate to be mounted. It depends on how aesthetic and smooth the result will be. Once you determine this level, hit it on the walls. You can use the laser level for this - just hang it to the center of the ceiling, and it will clearly indicate where you want to fix the side plinth.
- It is better to mount the frame elements across the room, since the laminate is laid perpendicular to the wall on which the window is present, and they should be located across the direction of installation of the laminate. Keep a step between the bars of 50 cm, fasten them with screws with dowels.
- Start laying from any far corner, attaching the boards to the crate using small studs.
- So that the laminate does not warp, during the installation process, step back 1 cm from the walls. If you are afraid that you will not be able to observe this barrier, then wedge the wedges during the repair work, then remove them.
- Install each subsequent board by analogy with the previous one, while reliably docking them.
- Install the ceiling skirting.
Stock footage
At this, the arrangement of the ceiling can be considered completed. As you can see, there is nothing complicated in this process, all work can be done on its own.
- How to choose a vacuum cleaner taking into account the characteristics of the house and coatings?
- What to look for when choosing a water delivery
- How to quickly create comfort at home - tips for housewives
- How to choose the perfect TV - useful tips
- What to look for when choosing blinds
- What should be running shoes?
- What useful things can you buy in a hardware store
- Iphone 11 pro max review
- Than iPhone is better than Android smartphones
 (No ratings yet)