

Grinding plaster - what is it?

Grinding plaster - what is it? Surely, every master finisher knows the answer to this question. But those who are faced with the need to restore the finish for the first time, will need to study this issue more closely. Therefore, our article, in the first place, will be aimed specifically at beginners, although experienced masters will surely find something useful for themselves in it.
to contents ↑What is a grind?
Grinding plaster is the process of restoring the leveling layer without dismantling it. In other words, during the grinding process, cracks and cracks that have formed over time are simply smeared with a new layer of solution, trying to do this as finely as possible.
to contents ↑Important! Subject to compliance with the rules of the work, this technology makes it possible to extend the life of the coating for a few more years.
Preparatory work
The success of the restoration will depend on how well and accurately all operations are performed. That is why almost every instruction begins with a description of the preparation.
Surface pretreatment
To begin with, it is worth telling how to properly prepare the surface for subsequent restoration. The main problem for the plaster layer is cracks. In order for the solution used for restoration to penetrate into them as deep as possible, the cracks will have to be expanded:
- Use a strong knife with a straight blade or a special painting spatula. Using a knife, cut off the edges of the crack at an angle of 45 degrees, and try to do this in such a way that small indentations form below the surface.
Important! The depth of the cut will depend on the general condition of the surface: small defects can be expanded by about 10-15 mm, but large old cracks should be deepened to the entire thickness of the plaster layer.
- After the embroidery is completed, clean all cavities from dust and moisten thoroughly with water.
Important! Instead of water, you can use a penetrating primer, but the cost of work in this case, of course, will increase.
- In parallel with the jointing of existing cracks, prepare the gaps between the baseboard (baguette) and the wall. Clean the gap with a spatula or knife, picking out rubbish and pieces of plaster from there. Be sure to moisten or treat the cavity with a primer.
- Remove rust stains by cutting the plaster to the base. In the event that the stain has a low intensity, the plaster can be left, however, this area will have to be sanded for further leveling.
Defect repair
After all the cracks are embroidered, and the seams are thoroughly cleaned, you can proceed to the repair work:
- Fill large cavities with a thick repair compound. In this case, try to squeeze the solution into the crack with a force so that no cavity remains inside.
- Fill thinner cracks with grout. For these purposes, you can use acrylic, which after drying is able to maintain elasticity. Also, instead of acrylic, a mixture of two parts of chalk with one part of gypsum can be used to eliminate minor defects.
Important! If you use a gypsum composition for repair, then on top of the leveled layer, it is necessary to perform priming.
- Fill the gap between the molding and the wall with the solution, driving it inward with a spatula. In order not to damage the baseboard material, cover it with polyethylene or cover with masking tape.
- Also take care of the contact points of the plaster layer and communications, for example, metal pipes and ventilation ducts. To avoid the occurrence of cracks again, cover all gaps with acrylic sealant.
When the composition, which is used to eliminate defects, polymerizes, you can proceed to grind.
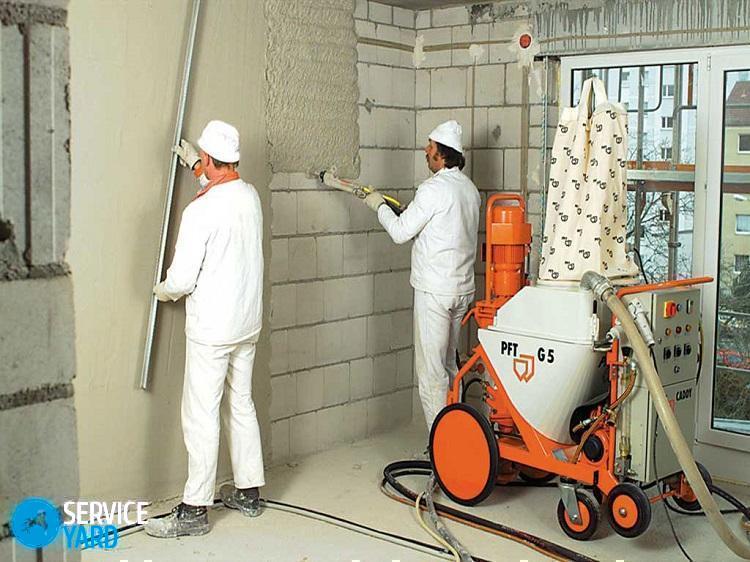
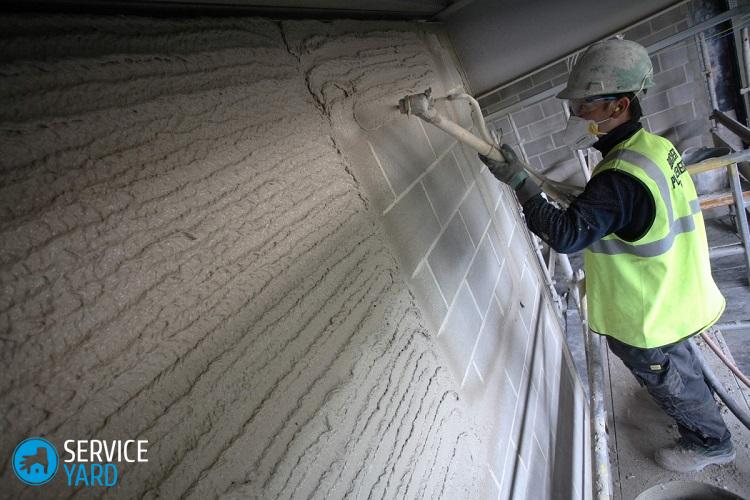
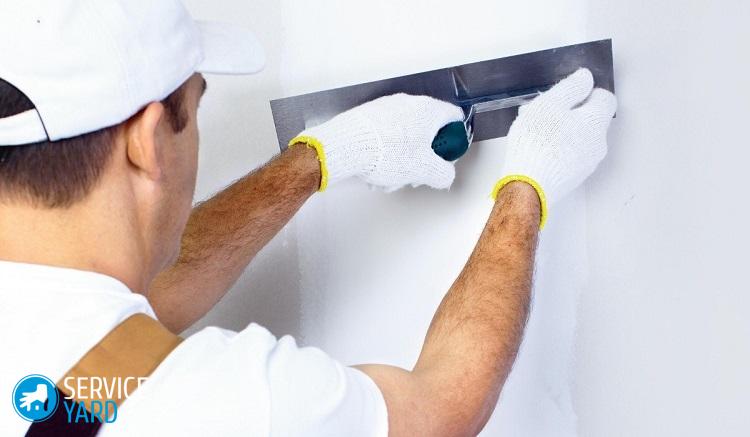
to contents ↑Grind
After you have figured out the question of what is grinding the plaster of the interior, how the preparatory work is carried out, you can proceed to the direct process of its implementation.
Solution preparation
Often, restoration of the plaster layer is done using the same compositions that were used to level the wall. As regards the grinding mixture itself, sand must be contained in it. It is best that it be sifted, with a grain size of not more than 1 mm.
Prepare the solution in the following proportions:
- Sifted sand - 1 part.
- Lime dough - 1 part.
- Water - until a thick sour cream is obtained.
Important! If you need to overwrite a large area, then the solution is preferably prepared in small portions. The point is that the resulting composition can set, and then the quality of the restored surface will be worse than using a fresh mixture.
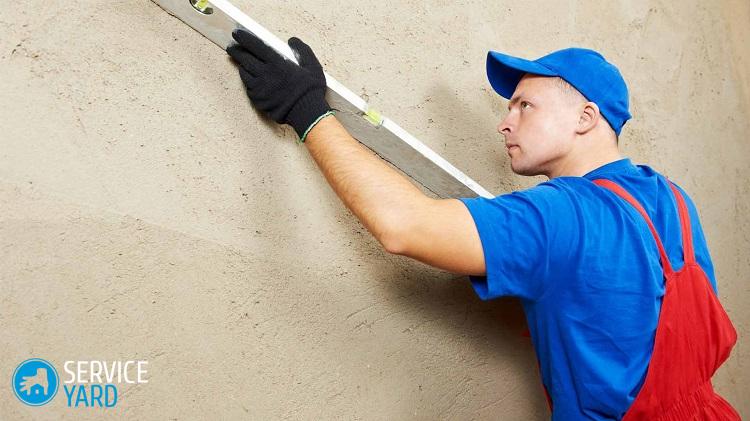
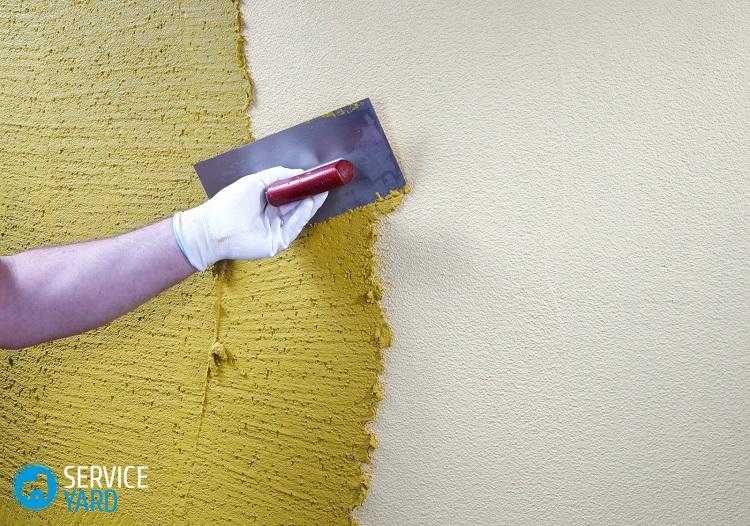
Recovery procedure
After the solution is ready, you can proceed to grind the plaster with your own hands:
- Use a wooden plaster grater to work. Also, to improve the quality of the surface, you can apply a pad of felt or thick felt.
- Before starting work, humidify the wall on an area of about 2 square meters. m
- Put the prepared solution on a grater and apply it on a leveling surface.
Important! For the best quality of processing, apply in a checkerboard pattern with an interval between strokes of about 15-20 cm.
- Re-moisten the surface using a rag dampened with water or a spray bottle.
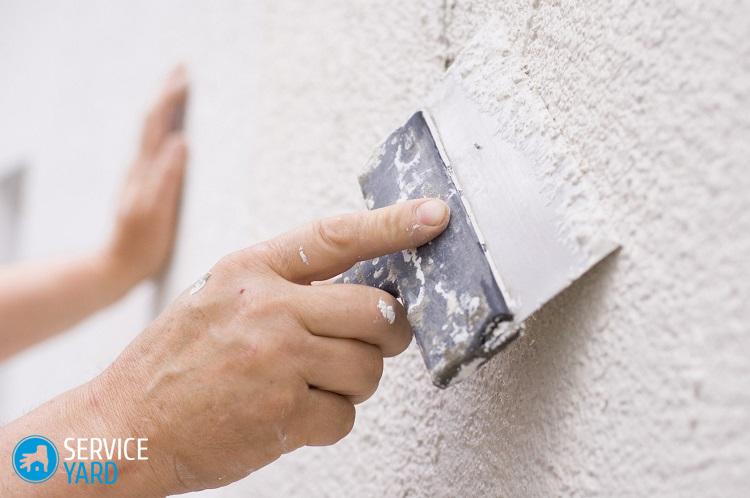
- With the grater flat on the wall, rub the surface in a circular motion. In this case, try to evenly distribute the solution over the entire area, achieving the most even layer.
Important! If in the course of work old plaster is exposed in some areas, add a little grind mixture there.
- Grout until all areas are completely leveled. At the same time, make sure that during the work you do not damage the ceiling skirting boards.
- Since the applied layer has a minimum thickness, dry it as accurately as possible, and only in natural conditions. During the drying process, protect the surface from temperature changes, drafts and mechanical influences.
to contents ↑Important! After the surface has dried, repair the surface defects by grinding. Accumulations of sand grains and small influxes can be cleaned with a brick or wooden block, and then wipe this place with sandpaper with fine grain.
Stock footage
The technology described in our article makes it possible to grind the plaster of the interior with minimal time and finance. Of course, it can be realized only if the plaster layer is strong enough and only cosmetic repairs are needed.
- How to choose a vacuum cleaner taking into account the characteristics of the house and coatings?
- What to look for when choosing a water delivery
- How to quickly create comfort at home - tips for housewives
- How to choose the perfect TV - useful tips
- What to look for when choosing blinds
- What should be running shoes?
- What useful things can you buy in a hardware store
- Iphone 11 pro max review
- Than iPhone is better than Android smartphones
 (No ratings yet)