

Acrylic bathtub repair
Currently, the choice of material from which the bath can be made is very diverse. But increasingly, preference is given to a font made of acrylic. Despite the quality characteristics, good strength, as on any product, cracks, scratches, chips and much more can appear on it. In this case, first of all, its appearance suffers, and with severe damage, it becomes unusable. The way out of this situation can be as follows: you can replace it with a new one, use the services of professional plumbers or repair acrylic bathtubs yourself. If you decide that you will do it yourself, our article will tell you how to improve the appearance of the product.
to contents ↑Bath repair: preparatory work
The advantages of such plumbing over cast iron and others is that with the help of liquid acrylic, absolutely any shape and size can be made. Another of the qualities that acrylic bathtubs have is ease compared to cast iron. However, the moment comes when such a bathroom becomes unusable.
Before proceeding directly with the repair of an acrylic bath (cracks, etc.), it is necessary to determine what needs to be done and what damage is. All damage to the acrylic bath can be divided into two groups:
- Mechanical. Most often, such damage is formed as a result of the fall of various heavy objects on the product. This can be a razor, a bottle of toilet water, shaving foam and other items that have heavy weight. Another reason for the appearance of such damage is banal wear. Most often found when using the product for many years.
- Chemical damage. Such damage is found when cleaning the bath with various chemicals to give shine. This also includes soaking in the bathroom things in washing powder.
In general, if you decide to repair the acrylic bath yourself, you should not be afraid of anything, since replacing the old bath with a new one will cost you a considerable amount. And work on restoration and repair of the existing one will not be any work.
Essential tool
In order to repair an acrylic bath at home, you need to prepare the right tool, materials and patience. All work will consist of several stages.
The first thing to do is prepare the necessary material:
- several pairs of rubber gloves;
- carbon filter respirator;
- emery paper (No. 200-400);
- ordinary alcohol.
Important! Before starting and during repairs, it is necessary to ventilate the room. You can use the fan.
Acrylic color selection
To repair acrylic bathtubs, in particular white ones, it will be necessary to select the color of acrylic. It has many shades. And if the shades differ from each other, then it will look like spots on the bathroom. Therefore, you must carefully select the appropriate color.
Important! For a detailed selection of the desired color, you can contact the manufacturer. She can provide you with a repair kit and acrylic just the shade that you need.
If it is not possible or it is not possible to contact the manufacturer, do not be discouraged. Contact any store for repair. As a rule, they have a standard set for the repair of acrylic bathtubs.There you can choose shades of acrylic.
Bath Method
Now you need to figure out how the bath was made, which must be restored. The whole point is that acrylic bathtubs are made using two methods:
- The first is through vacuum. The whole sheet is molded and the bath is covered.
- The second is gelcoating spraying.
Important! In order to determine which bath you have, remember what packaging it was in when you bought it. If it was covered with a protective film, undoubtedly, this product was made using the first method, that is, molding. If there was no protective film, this is a gelcoat bath.
If you can’t remember, don’t be upset. There is another way to find out. So, look carefully at the side cut on the bath itself:
- If you can see 1-2 mm of a thin white layer and everything else is fiberglass, then this bathtub is made of gelcoat.
- If the white layer has a thickness of up to 5 mm, then this bath is made by the method of forming an acrylic sheet.
Based on the foregoing, it is worth noting that bathtubs made in the second way, with the help of gelcoat, are easier to restore. The thing is that the basis of gelcoat are polyester resins.
Important! In the store you can often find a ready-made gelcoat for the repair of such bathtubs.
As for molded bathtubs, these are more expensive at the price and are covered with a protective film. And to repair just such a bath, there are several methods that depend on the type of damage, its thickness and depth.
to contents ↑How to make an acrylic bath repair with your own hands?
So, in order to make the restoration of an acrylic bath with your own hands, first of all you need to determine the size of the damage. This is necessary because different defects have different actions. Let's understand:
- To begin, we will figure out how to remove a crack on an acrylic bath. In this case, everything is not so scary. Currently, on the shelves of the store you can easily find tools such as epoxy glue, special tapes or bath repair kits. When buying, pay attention that the composition includes real “liquid acrylic”. Its difference is that it is two-component, it can only be diluted with a hardener based on polymethylmethacrylate (PMMA).
- If the bath has small scratches, the size of which does not exceed 1 mm, then in this case, you can use epoxy glue.
- If the scratches are 2-3 mm in size, then a special tape will be the best helper here.
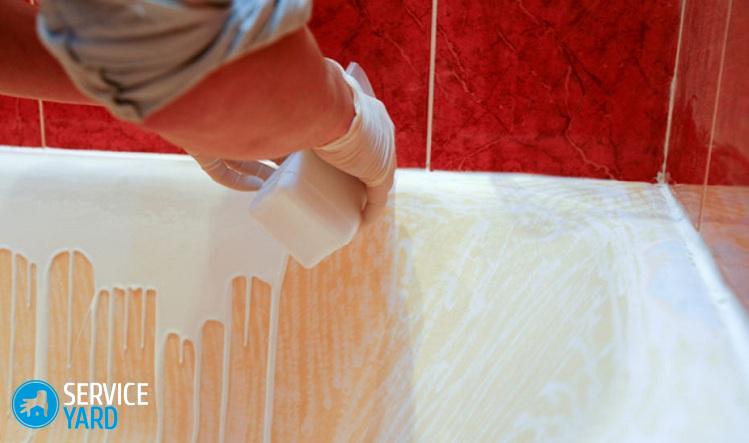
Important! Before using the tape, thoroughly degrease the surface of the bath. This can be done with alcohol. Then you need to remove the protective layer from the tape and stick it on the scratch so that its edges extend beyond the edges of the scratch by about 1 cm. When gluing the tape, carefully press it to avoid air bubbles.
NNREPAIR Repair Kit
Given that the thickness of the acrylic coating is about 4-5 mm on the walls and about 6-7 mm at the bottom of the bathtub, if there are no more than 5 mm in size of damage, then in this case you can use a special kit. It includes everything you need to repair an acrylic bath yourself. The name of this set is “NNREPAIR”.
Important! The material of this kit is enough for about 30-50 cm of damage.
And now let's take a step-by-step look at all the necessary steps for repair:
- Initially, it is necessary to expand the damage itself in size. This is necessary so that the adhesion of the material is better.
Important! Damage expansion should not exceed 1-2 mm in width and depth.
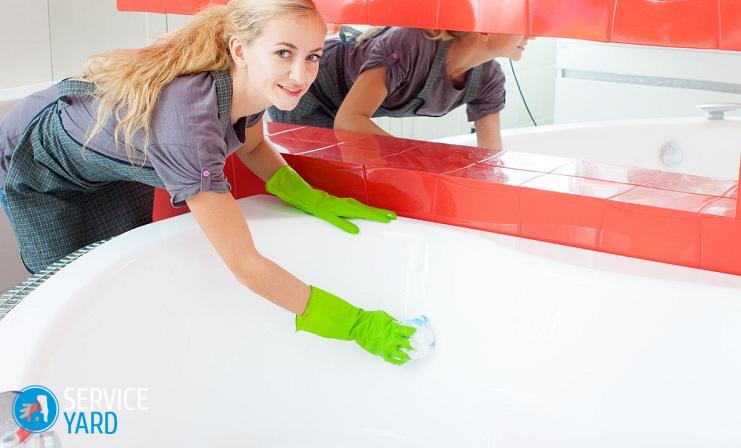
- Next, the surface must be degreased. We do this with alcohol.
- The next step is to prepare the material. To do this, mix 100 parts of acrylic and 2 parts of hardener (it will be in the kit). Mix everything thoroughly until smooth.
- Then apply a small amount of material to the damaged area. It is important that the freshly applied material matches exactly the old. Make sure that it does not rise or deepen.
- Then you need to close the damage with a film (you can also use adhesive tape) and leave to dry for about 6 hours.
Important! While the repaired area will dry, you cannot use the bathroom, as well as check the degree of drying of the material with your finger. In the latter case, unwanted dents may form.
- As it dries, remove the film. Degrease the surface again with alcohol and treat the surface with sandpaper. The latter is also available in the kit.
That's all the steps necessary for minor cosmetic repairs.
Important! With the help of such a kit, damage can be removed more seriously. In this case, the area to be restored can be reduced to about 10x10 cm. Such repairs occur in the same way as described above. However, it has one difference. Given that the damage depth is many times deeper, it must be filled with acrylic in stages. That is, apply one coat, then leave to dry. One coat will dry for approximately 3-4 hours. Then apply the next coat, and so on until the work is completed.
When restoring large damage, to prepare the surface, you can drill it with an electric drill with a polishing wheel or do it all manually. Only with this method of restoration the bath will be ready for use no earlier than one day after the repair.
Baths repair kit BYsan 3000
Even on store shelves you can find a repair kit for the restoration of “BYsan 3000”. Let's look at it in more detail.
The difference between this repair kit and “NNREPAIR” is that it consists of two-component liquid acrylic, namely 10 ml liquid and 20 g powder, sandpaper and two types of polishing paper, which, in turn, differs only in thickness.
Important! This kit contains new material that is harmless and non-toxic. It does not contain harmful substances, has high properties for the attachment of acrylic located on the bath.
Let's take a closer look at repair using this kit:
- Damage also needs to be prepared, namely to expand the area and degrease.
- Mix the powder and liquid that are part of the kit in a separate container. Stir thoroughly until smooth. In time, it will take no more than 20-40 seconds. The result is a viscous fluid.
- Then apply the material on the damaged surface and wait 20 minutes.
Important! Another plus of this material is that it dries many times faster.
- After complete drying, it is necessary to polish the repaired surface. To do this, use the emery paper provided. First go with sandpaper, then polishing paper — the coarser one, and then finer polishing paper.
- Well, in the end, you can use polishing paste. She, in turn, will give a smooth surface.
What to do if acrylic layers go away?
Often you can see that on the sides of the crack acrylic moved away from fiberglass. This condition may occur if the installed bathtub is slightly skewed. In this case, use special glue. Namely, glue for bonding the acrylic layer and fiberglass. You can find it in hardware stores.
Before directly repairing the bathtub, you need to drill a small hole in the place of the “playing” surface and pour glue for acrylic bathtubs into it. After 20-40 minutes, as they stick together, it will already be possible to proceed directly to the repair.
to contents ↑Important! Also, instead of glue, you can use a special repair kit 3100 for fiberglass.
Stock footage
In this article, we looked at what to do if cracks or chips appeared on an acrylic bathtub. What exactly is the way to repairand choose - you need to decide in each case separately.
- How to choose a vacuum cleaner taking into account the characteristics of the house and coatings?
- What to look for when choosing a water delivery
- How to quickly create comfort at home - tips for housewives
- How to choose the perfect TV - useful tips
- What to look for when choosing blinds
- What should be running shoes?
- What useful things can you buy in a hardware store
- Iphone 11 pro max review
- Than iPhone is better than Android smartphones
 (No ratings yet)