

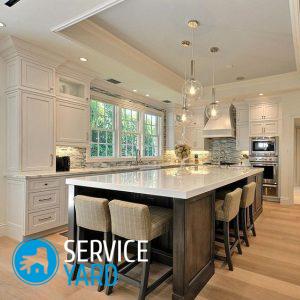
Corner kitchen cabinet - types, sizes, drawings
If the size of the space reserved for the kitchen is not impressive, every centimeter of free space is appreciated in its arrangement. Therefore, the choice of elements of a kitchen set must be approached with all responsibility, since they must not only have an attractive appearance, but also not be bulky, while spacious. In such a situation, it is very convenient to use corner furniture - it allows you to store quite a large amount of kitchen utensils in it, it does not take up much free space. You can purchase a ready-made version, or you can do it yourself. We will tell you everything about how to make a corner kitchen cabinet - we will consider the types, sizes and drawings in detail below.
to contents ↑Features of corner furniture
Standards that are used in the process of self-production of furniture for the kitchen depend solely on parameters that affect the size of the cabinet.
Most often, the lower corner cabinet has the following characteristics:
- The width of the cap is usually equal to 100-120 millimeters. This parameter is unchanged, regardless of whether the cabinet has legs or not.
- The standard height of the product is 0.7 meters.
Important! If you plan to install a sink for dishes in a corner cabinet, you need to make it slightly lower in relation to other cabinets.
- The difference in the height of the countertops should be in the range of 20-40 millimeters. It depends solely on the quality of the materials and their texture.
- The standard height of the finished element of the kitchen set should be 0.85 meters.
In addition to standard sizes, before you make a corner cabinet for your own kitchen, you need to determine its configuration. There are these types of configurations:
- Modular cabinets;
- L-shaped;
- Trapezoidal.
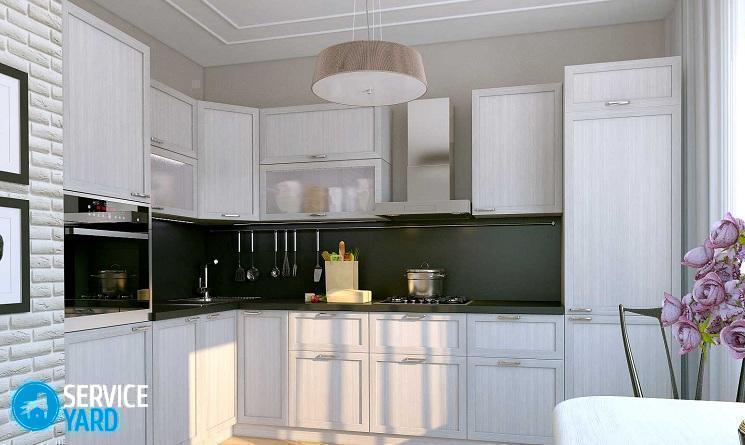
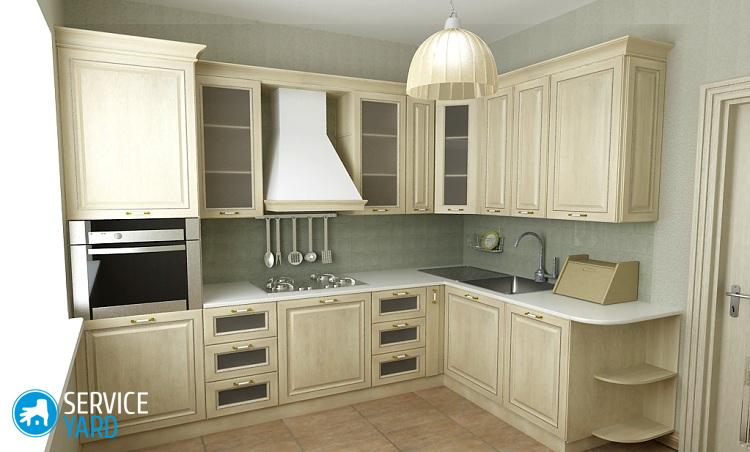
L-shaped
Cabinets, which are made in the shape of the letter “G”, are the most popular because they are quite convenient to use. The doors in this case open on the principle of trolleybus, so everything you need for work is visible. In addition, it saves a lot of space and is ideal for placing sinks in it for washing dishes.
Important! The L-shaped corner kitchen cabinet is best equipped with a roundabout shelf. It will rotate at a certain angle, due to which it will be much easier to get the item of kitchen equipment that you need.
Modular
The attached corner cabinet has the form of 2 modules:
- cabinets, which is installed in the corner of the kitchen;
- another additional cabinet with a door, made in the form of a prefix placed at right angles.
This design is not entirely convenient to use, since free access is open exclusively to content placed in a cabinet with a door.
Important! This cabinet is also suitable for installing a sink, only in this case it is advisable to hide the plumbing in a dead zone, and place the dishes and other kitchen utensils in an accessible module.
Trapezoid
As for the trapezoidal corner cabinet, it is equipped with only one door. This design is very convenient and looks very extraordinary. Unfortunately, the trapezoidal shape of the structure is more suitable for rooms with a large area.
to contents ↑Preparatory work
Before you make a corner cabinet for the kitchen, you first need to design it. The layout of such an element of furniture includes the following actions:
- Determine the immediate functional purpose: it will be the basis for a sink for washing dishes, a place for storing kitchen utensils or a working area.
- Make the necessary calculations to determine the dimensions of the future product, as well as its elements separately.
- Choose which interior content you plan to install. It can be ordinary shelves, drawers or a carousel.
- Choose a stylistic direction and color scheme in which the corner kitchen cabinet will be decorated.
- Decide on the material from which you will make the product.
to contents ↑Important! Pay attention to the laminated chipboard, or chipboard. This material is not afraid of moisture, is quite easy to care for, has a beautiful appearance and is very inexpensive.
Tools and materials you need
In order to construct a kitchen corner cabinet on your own, you will need such tools and materials:
- Chipboard panels or other material of your choice;
- Fiberboard sheets;
- Edge for the ends;
- Suspensions;
- Furniture screed;
- Furniture fittings;
- Self-tapping screws;
- Confirmates with dimensions of 50x7 and 40x4.5 mm;
- Sealant;
- Dowels;
- Self-tapping screws;
- Allen key;
- Sandpaper;
- Roulette;
- Drill and set of drills for working with a wooden surface;
- Level.
We design a corner kitchen module for the kitchen - step by step instructions
After everything necessary for the work has been prepared, you can proceed directly to the manufacturing process. First you need to make the basic components for the future stand. They will have to be cut from solid chipboard plates.
Despite the ease of the process itself, this must be done extremely carefully and accurately. Therefore, if you are not completely confident in your abilities or in the quality of carpentry equipment, it is best to contact specialists. They will help you re-plan and trim all the elements of the future cabinet.
Assembling a corner kitchen cabinet
Assemble the corner kitchen module in the following sequence:
- Drill through holes, then insert dowels into them. This is necessary so that you can pre-fix all the components of the cabinet. Thus, you can align the frame, while significantly increasing the strength of the future product. After you insert the dowel into one part of the cabinet, insert the other end into the second element of the future product. Hold well.
Important! Chopiki need to be pre-coated with glue. Before complete installation of the entire product, it is preferable to check the parts for evenness first.
- Screw the dowels into the dowels. This should be done using an Allen key.
- Mount the legs and adjust them in height.
- Make holes in the sidewalls and insert the cruciform fasteners in them for fixing the doors. You need to do this with the help of screws.
- Build the fastenings on the side walls for the rails, along which the drawers will be further extended and retracted. Lock the rails.
- At the end of the assembly of the frame, attach a fiberboard sheet to its rear wall.
Important! By the same principle, you can assemble the upper corner cupboard for the kitchen. In this case, you will still need to attach accessories with which the product can be fixed on the wall.
Collect boxes
The assembly of boxes for the internal filling of the cabinet occurs in the following sequence:
- Pull the walls of the boxes with screws and attach the fiberboard sheet.
- Fix the facades of the drawers using an eccentric screed for these purposes. In this case, the screws need to be screwed into the facade, after which the side with the cap is inserted into the bushings. The most important thing is to make nests in them in advance. As soon as the bushings are in the holes, they must be turned until they catch on the screw caps.
- Attach the roller guides to the lower corners of the finished drawers.
We cut the sink and install the modules
At this stage, you need to place the finished product in a corner. If the module is attached, you first need to install the cabinet, which is designed for washing, with a ready-made cut-out hole for pipes. Only after that it is already possible to put a side table with a door. Now they can be fixed among themselves with the help of furniture intersectional bundles. You will need only four mounts.
If we are talking about a corner cabinet in which the sink will be mounted, under it you must first make a hole in which the sink will be placed.
Important! In order to make a hole for the sink, you need to attach a sink to the countertop and draw a marking with a pencil, after which you can already drill a place under the sink.
Insert the sink for the dishes into the ready-made nest and secure it with a special mount that comes with the sink itself. The cut line must be treated with sealant.
We fix the tabletop and doors
After you placed the corner cabinet (wall cabinet) in its place, you can proceed to the final stage - the installation of countertops and fastening doors. Progress is as follows:
- Make markings on the kitchen worktop, while leaving allowances of about 0.5-1 centimeters.
Important! If there is a gap between it and the wall after mounting the countertop, it can be hidden with the baseboard.
- Saw the countertop with a jigsaw according to the previously drawn markings.
- Insert the countertop so that an allowance of about 3 centimeters remains in front, fix it with self-tapping screws.
- Docks with other modules close with metal strips.
- Put the doors on the cross-shaped plates that were previously attached. Lock them.
- Close and open the doors. Make sure they work as they should.
Stock footage
As you can see, make your own kitchen corner cupboard pretty easy and won't take you too long. And if you wish, you will be able to construct the whole kitchen set with your own hands on the same principle. Putting our recommendations into practice, you will not only save a significant amount of money on the purchase of new furniture, but also get one that fits perfectly into the kitchen space and the entire interior as a whole.
- How to choose a vacuum cleaner taking into account the characteristics of the house and coatings?
- What to look for when choosing a water delivery
- How to quickly create comfort at home - tips for housewives
- How to choose the perfect TV - useful tips
- What to look for when choosing blinds
- What should be running shoes?
- What useful things can you buy in a hardware store
- Iphone 11 pro max review
- Than iPhone is better than Android smartphones
 (No ratings yet)