

Chandelier installation on a stretch ceiling
Polyvinyl chloride film ceilings, or stretch ceilings, have become very popular in the field of decorative decoration, due to the huge number of unique technical characteristics and advantages. If you decide that the stretch fabric will decorate the ceiling in your room, then you need to think about attaching lighting fixtures in advance. After installing the ceiling, it will be very difficult to install them, since the PVC film is thin, you must handle it with extreme care, it is very easy to damage. In this article, we will consider the topic: installing a chandelier on a stretch ceiling with your own hands.
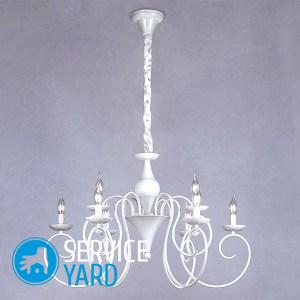
to contents ↑Chandelier Selection
Stretch ceilings have a beautiful appearance, endowed with excellent performance, convenient to maintain, make it possible to transform any interior. Very popular and in demand in our time. But during the installation process, it is difficult to install a ceiling chandelier, and not all lamps can be attached to this type of coating.
You can create bright and high-quality lighting in a room with stretch ceilings using lamps with the following parameters:
- The chandelier does not have to be with a metal base, because during operation the case may heat up. As a result, the polymer will lose elasticity, change color and become covered with cracks.
- Choose only luminaires with downward or sideways shades that prevent dark spots from appearing on the surface.
- Use energy-saving lamps.
- The assembly technology of the lamp should be simple.
- There should be no sharp edges at the base of the chandelier so as not to cut the PVC film.
Types of fastening
The installation of a chandelier on a stretch ceiling occurs in a completely different way than on other types of ceilings.
Important! Installation of fixture fixtures must be done before stretching the film.
Lighting devices for ceilings made of PVC film exist with different types of fixtures, namely:
- The hook is the most reliable type of attachment, which has many subspecies. The most popular options are an anchor hook, an end-to-end hook, a hook welded to the plate, and a mortgage hook.
- On a cross-shaped level - suitable for attaching medium-sized fixtures.
- On the mounting plate - the mounting part, which is included in the kit of a small chandelier together with studs for fasteners or side holes with side clamps and threads.
Each of these options provides its own fastening system, we will talk about this below.
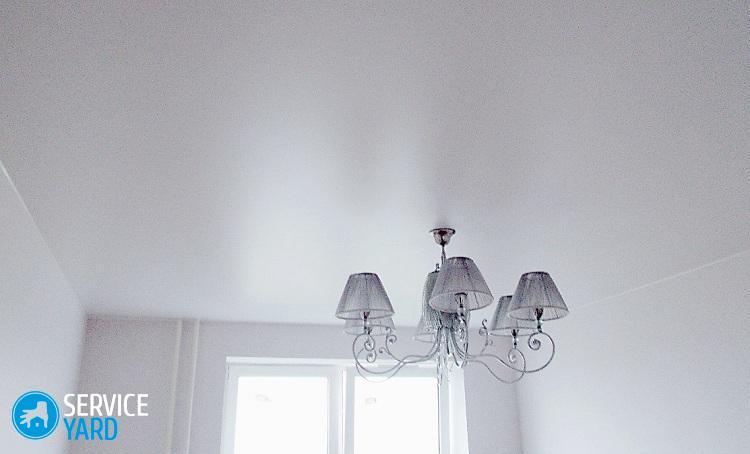
to contents ↑Chandelier Installation
The installation of a chandelier on a stretch ceiling, regardless of the lighting fixture you purchased, starts the same way. After mounting the profile, on which the ceiling film will be fixed, you need to pull two fishing lines, a chandelier will be placed at their intersection. Further, depending on the fastener, the installation will be different.
Necessary tools and materials:
- Screwdriver.
- Hammer or drill with a drill for concrete.
- Screwdriver.
- Self-tapping screws.
- Mounting glue.
- A block of wood.
- A grinder and a hacksaw for wood.
- Dowels and anchor.
- Indicator screwdriver.
- Pliers.
- Stationery knife.
- Insulating tape.
Consider mounting options.
Hook mounting:
- Attach the chandelier hook to the main ceiling. For fixing, use powerful anchor bolts or dowels. The bottom of the hook should be higher than the line previously stretched. Next, the installation of the ceiling is carried out.
- Find the place where the hook is fastened and glue the heat-resistant plastic ring onto the mounting adhesive. Let it dry.
Important! Choose the diameter of the ring so that you can cover it with a completely decorative cap.
- Cut a hole inside the ring, remove the electrical wires.
- Hook the chandelier by hook, connect all the wiring.
- Close the hook and all wires.
Important! The fixture's mounting location can also be closed using a polyurethane outlet.
- Installation completed. Connect the electricity and check your work.
Installation on the cross bar
A cross-shaped bar is used to mount fixtures with a wide base of a rectangular or oval shape.
Procedure:
- Cut out a sheet of plywood with a thickness of about 12 mm square, which corresponds to the size of the cross. Drill a wire hole in its center.
- Screw the metal legs, which are necessary for fastening to the ceiling of the whole structure, using dowels to the corners of the platform.
- Pull the PVC film, attach the plastic thermo rings and make small holes in them.
- Route the wires through the hole and, using self-tapping screws, attach the cross-shaped mounting plate to the wooden platform.
- Install the chandelier, connect the wiring, cover the installation traces with a protective cap.
Mounting on a mounting strip:
- Drill a hole in the bar to run electrical wires through it.
- Make holes in the main ceiling with a hammer drill and use a dowel to attach a wooden block to it.
- Install the stretch ceiling.
- Install the thermal ring, cut the holes in it to output wires.
- Install the mounting plate, fix it to the bar with self-tapping screws within the ring.
- Attach the base of the lamp to the bar, fasten using decorative nuts.
- Screw in the light, connect the electricity.
Network connection
The installation of the chandelier on the suspended ceiling is completed. Now you need to start connecting it to the mains:
- Turn off the circuit breaker on the shield.
- Make sure that there is no voltage in the wires of the electrical wire.
- Strip and connect the electrical cable from the chandelier to the network.
- Install the light to the ceiling surface.
- Turn on the chandelier, check how it works.
Stock footage
Installing a chandelier on a stretch ceiling is a simple task. Installing a lighting device using one of the above methods will not be difficult for a person who at least sometimes has encountered repairs. Be sure to follow the safety precautions when working with electricity.
- How to choose a vacuum cleaner taking into account the characteristics of the house and coatings?
- What to look for when choosing a water delivery
- How to quickly create comfort at home - tips for housewives
- How to choose the perfect TV - useful tips
- What to look for when choosing blinds
- What should be running shoes?
- What useful things can you buy in a hardware store
- Iphone 11 pro max review
- Than iPhone is better than Android smartphones
 (No ratings yet)