Steel bath installation

Without a bath you can’t imagine any housing. And despite the fact that shower cabins are now becoming popular, fonts occupy the largest percentage of all sales. At the moment, there are three main bath options on the market, namely: acrylicsteel and cast iron. In this article, we will pay special attention to steel models. You will learn how to install a steel bath and, if desired, you can do it yourself.
to contents ↑The main advantages and disadvantages of steel construction
Steel bathtubs began to be actively used due to the fact that they were much lighter than cast-iron structures, while they did not have obvious visual differences. In both cases, the top layer of the font is enamel.
Only on this the advantages of the steel bath do not end there. The following are the main ones:
- One of the main advantages of steel tanks can be considered their low weight in comparison with cast iron tanks. So, for example, the average weight of a cast-iron bathtub is from 80 to 100 kilograms, but steel - from 20 to 40 kilograms. Such a significant difference in weight significantly facilitates the transportation process, skidding the product on the floor and in the room. Due to its relative lightness, the installation of a steel bath does not require additional auxiliary hands for its installation.
- When taking water procedures, such a font heats up much faster - you do not have to wait long for its surface to acquire a temperature comfortable for the body.
- The coating of the steel bath is quite durable, this is achieved by a special technology of applying enamel. Enamel is incredibly easy to care for and retains its whiteness and shine for a long time if you observe all the conditions for its use.
- Compared to models made of another material, such a font has the lowest price, which cannot but please the consumer.
- There are several installation options available for such bathtubs, so you can easily find the way that suits you.
Along with all the advantages of a steel tank, it is worth paying attention to its disadvantages. This is necessary in order to weigh how critical they are for you before buying.
The main disadvantages include:
- Greater heat dissipation. In such a bath water cools much faster than in a cast-iron bath. In this regard, it is necessary to reduce the time for adoption of water procedures or to constantly add hot water to the tank.
- A peculiar noise when typing water. Since steel is a metal that is thinner and lighter than cast iron, noise will occur when it hits a wall of water. For some owners this causes additional inconvenience.
- Lack of stability. Undoubtedly, cast iron is heavier, respectively - products from it are much more stable than steel “brothers”. However, with proper installation, this drawback completely disappears.
to contents ↑Important! In the case of increased heat transfer and noise, there are options for eliminating them. Masters advise to make thermal insulation on the bottom of the product using special material. This will reduce the noise during the intake of water, and the temperature of the water in the tank will remain longer. A peculiar effect of a thermos is achieved. Inventive craftsmen have found another interesting way to eliminate these shortcomings. It consists in applying the outside foam to the bottom of the tank.
Preparatory work before installing the bath
If you opted for a steel product and are sure that you can do the installation of a steel bath yourself, then before you make a purchase and proceed with installation, you need to carry out all the necessary preparatory work.
The most important in the quality installation of the bath is the correct size of the product. First you need to decide how the bath will be located in the room, make accurate measurements. Ideally, the font should adjoin three walls - this will provide maximum stability and reliability of the structure.
Important! Experts recommend purchasing containers that exactly match the size of the place in which they will be installed.
Before installation, it is necessary to prepare the room for installation. The following work and actions must be performed:
- The floor and walls should have a flat surface, flooded and displayed on the level. This will ensure a good fit of the entire structure to the walls and stability. Distortions in this case are unacceptable.
- Remove and protect all plumbing fixtures to prevent damage during installation. Ideally, the bathtub is installed in an empty, prepared room.
- Check sewer pipes for serviceability. By the time of installation, everything should work fine.
- Make sure that after installation it will be possible to connect all communications without problems.
When you decide how to install a steel bath and decide on the installation method, you need to calculate the required amount of material that will be required for installation. It is better to purchase it with a small margin.
For any type of installation, you will need the following materials and tools to work:
- silicone sealant;
- putty for joints;
- polyurethane foam;
- building level;
- fork key;
- masking tape;
- tools and materials necessary for a particular installation method.
Installation methods
The method of installing a steel bath is directly dependent on the configuration of the purchased product. Often, the manufacturer, in conjunction with the capacity, provides support legs. The design of your font also plays a role. If it is made without legs, the method of installation will be different. There are several basic ways, having familiarized yourself with each of them and taking into account the design of the product, you can decide which one is most suitable for you.
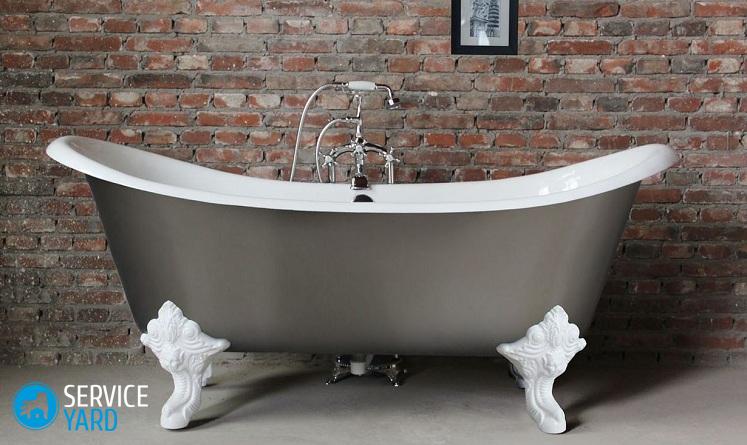
Foot mounting
If your bathroom comes with legs, you can install it yourself without any problems. This is one of the easiest installation methods.
Important! It is worth considering that it is also the least reliable among the rest. Experts recommend supplementing this installation method by fixing the case on top with special hooks, or erect a brick pillow under the bottom. So your design will be more stable.
When installing the bath on the legs, you should adhere to the following work algorithm:
- Turn the product upside down, according to the instructions for fastening the support legs, fix them on the product. Most often, all the necessary fasteners are included.
Important! It will not be superfluous to make soundproofing and soundproofing of the bottom at this stage. This can be done using a mounting foam or a special material that can be purchased at a hardware store.
- After the support legs are fixed, put the product in place and adjust the height of the legs so that the bath is level.
- When you have achieved the correct position of the product, mark the contours of the sides and put the product to the side. At this stage, special hooks are installed to fix the sides of the bath to the walls. Holes are made with a puncher according to the marked level, clamping hooks are attached to them using self-tapping screws.
Important! The screw does not need to be twisted until it stops, you can do this after installing the bathtub in place.
- Next, put your font in place, while its sides are hooked.From the inside, press the hook with a self-tapping screw, now your bathtub not only stands in level on the support legs, but also is firmly fixed to the wall.
- Connect the drain and overflow with a siphon, not forgetting to use the rubber sealing rings - so you will protect yourself from leaks.
- Fill the joints of the sides and walls with silicone sealant - this will ensure the insulation of the joints from the water.
Important! Also, for reliability, you can additionally fill the joints from the inside with foam.
- After you have completed the installation, the sealant with the foam has dried, be sure to check how high-quality the installation is. To do this, fill the bathtub with water, let it stand in this form, make sure that it is tight, check how the drain and overflow work. Pour the sides with water, checking for leaks.
Corner Installation
The installation of a steel bath on the corners is most often used as an additional option for fixing the product. It can be combined with installation on legs or on a brick podium. In general, this method gives a similar effect with fixing the sides to hooks, but is considered more reliable.
Important! Recently, many masters use this method as an independent installation method. With its proper execution, the bathtub is securely fixed, while you have free space under it.
To install a steel bath in the corners:
- Given the height of the bath and determining the desired height of the product in the final result, mark the upper boundaries of the bath on the wall using the building level.
- Given the height of the sides and metal corners, mark the places of their fastening. Fix them to the wall with anchors or self-tapping screws on concrete.
Important! On one wall, 5-6 fixing points are recommended.
- Install the bathtub on the corners; in the end, it will seem to hang on their sides.
- Connect the drain and overflow.
- Seal with silicone sealant.
Important! This method is well applicable when installing a steel bath without legs. In this embodiment, the bathroom does not look cluttered, the bath seems to soar in the air. Remember that with this installation method, the bottom of the bathtub should have a decent look, be completely enameled or painted. Otherwise, you will have to install a protective screen.
Frame mounting
The method of mounting the product on a metal frame is the most reliable, since it has many support points. As a rule, the frame is made of metal corners or a galvanized profile.
Important! The most reliable experienced craftsmen consider the frame made of a profile pipe, however, this method involves the use of welding.
Armed with a building level, material for the construction of the frame, a screwdriver and metal screws, you can build the frame yourself.
To erect a metal frame, you must:
- Make all necessary measurements.
- Given the dimensions of the product, erect a metal frame. When working, use the construction level, a screwdriver and self-tapping screws.
- In the design, use support racks, which should be placed in increments of not more than 50 centimeters on the long side. On the short side, it is enough to install one rack, which should be located in the middle. If you are using a drywall profile, then the step should be no more than 30 centimeters.
Important! The norm is considered to be the height of the structure of 60 centimeters. However, always consider your personal preferences, because the growth of the owners can affect the height of the structure.
- When erecting the frame, first collect its base, the lower harness, then fasten the racks, and then make the upper harness, which is fixed to the walls. Thus, you are erecting a frame on which the bath will be supported, just insert it into it. It is best to install the font in the frame with someone else's help. With the correct assembly of the frame, it will reliably take its position in the frame.
- The next step is to connect all water communications.
- The front of the frame can be sheathed with drywall and then laid on it. However, in this case, do not forget to provide for the availability of an inspection hatch. So you will have constant access to your plumbing, you can easily carry out any repair work.
- Next, it is worthwhile to completely seal all joints so that water does not flow inside. Silicone sealant is best suited for this.
As you can see, with certain skills you can easily build a metal frame for the bath.
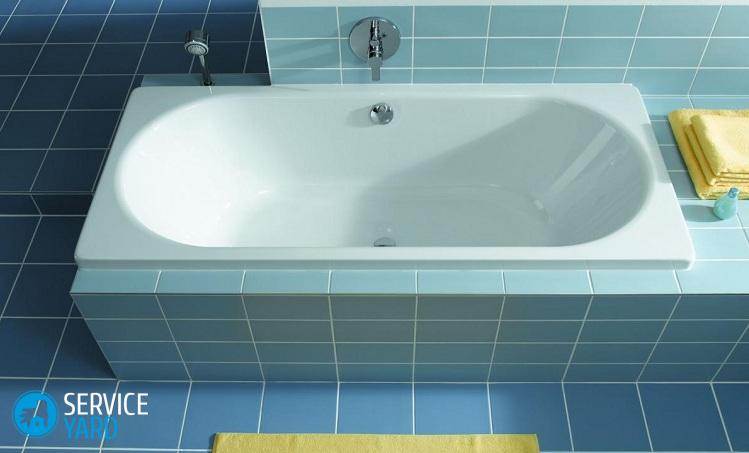
Installation on a brick podium
This installation method requires skills for laying bricks on a special solution. If you are familiar with the masonry technique, then you can easily install a steel bath on a brick pillow or podium.
There are two options for installing on bricks:
- In the first, the font is installed on the erected podium with supports under the sides, that is, the bathtub is supported by a brick support both on the bottom and on the sides.
- In the second option, a brick base is built under the bottom, or just brick pillars are created under it.
To build a brick podium:
- With the help of cement mixture and brick, a brick podium or supporting pillars is erected. Depending on the size of the bath, for the stability of the bottom requires 2-3 support pillars.
Important! The posts should retreat from the bottom edge by about 15-20 centimeters. When erecting a podium, it is necessary to take into account the dimensions and shape of the product. The bathtub should stand confidently on the erected podium.
- After the construction of the podium or supports, the time required for the cement mixture to cure is maintained. This usually occurs within 2 days.
- Next, install the bath on the foam. To do this, you need to install a bath, connect all communications and fill it with water. Fill the space between the brick and the bottom with regular foam. Due to the water in the font, the weight of the product increases - this prevents it from rising upwards with foam.
- After the foam dries, the joints are sealed and the front part is closed with a protective screen or drywall, on which tiles are subsequently laid.
Stock footage
As you can see, there are many installation methods. Given the shape and features of your product, you can choose a method that you like. Conveniently, many of these methods can be perfectly combined with each other. So you ensure the strength of the structure, taking water procedures, you will be sure of the quality and reliability of installation.
- How to choose a vacuum cleaner taking into account the characteristics of the house and coatings?
- What to look for when choosing a water delivery
- How to quickly create comfort at home - tips for housewives
- How to choose the perfect TV - useful tips
- What to look for when choosing blinds
- What should be running shoes?
- What useful things can you buy in a hardware store
- Iphone 11 pro max review
- Than iPhone is better than Android smartphones


