

Installation of spotlights
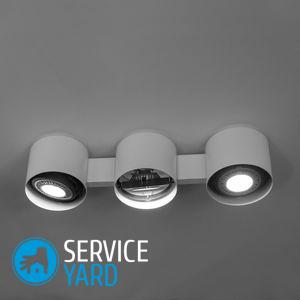
Spot lighting is an ideal choice for rooms with suspended ceilings. Increasingly, they are used in making modern design decisions. This is due both to the simplicity of their installation, and to the uniformity of illumination of the entire area of the room, as well as the absence of shadows from objects. Spotlights are used for both main and auxiliary lighting, for example, as a backlight in decorative structures and in furniture. Next, we will tell you how to correctly install spotlights with your own hands using incandescent lamps at 220 volts, which is the safest, easiest, most practical and most reliable.
to contents ↑The benefits of spotlights
Installing spotlights in a plasterboard ceiling has several advantages:
- Easy to install - a novice electrician will be able to cope on his own.
- Installation takes a little time.
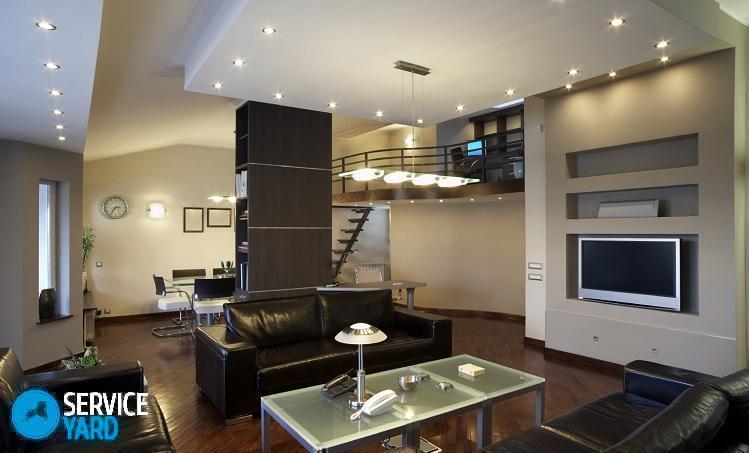
- Qualitatively illuminate the room.
- The bulbs are almost invisible and do not spoil the design of the room.
to contents ↑Important! Do not install lamps with a power exceeding 60 watts. The use of LED lamps in spotlights is recommended - they will perfectly illuminate the housing and save about 30% of electricity.
What to consider before starting the installation?
Basically, the installation of all suspended ceilings is made of materials that are subject to burning, for example, MDF and plastic panels, plywood, particleboard, all types of suspended ceilings.
Paying attention to fire safety, it is necessary to use:
- Heat resistant, non-combustible wires.
Important! Non-combustible wires must be connected when using halogen and incandescent lamps in luminaires. They heat up both sides of the ceiling.
- A reliable method of connecting wires together.
- The right choice of lamp power. The greater the power, the stronger the heating to which the wires are exposed.
Wire selection
A very large number of non-combustible wires of various brands are sold in stores.
Wires must meet these criteria:
- Do not burn.
- Resistant to high temperatures.
These characteristics are possessed by the RKGM wire - soft, copper wire, non-combustible, heat-resistant and heat-resistant. It has two insulating layers - external and internal. The first is made of fiberglass yarn coated with glyphthalic varnish, and the second is made of organosilicon rubber and has special strength, does not lose its protective properties when heated to a temperature of 200 degrees.
to contents ↑Important! Most often, such cables are used in saunas and baths, where the air is very hot and there is a large temperature difference.
Wiring Methods
All wire connections will be hidden behind the suspension structure and access to them will be impossible. Therefore, you must perform them in a reliable way:
- The use of terminal blocks provides reliable contact when connecting 220 volts.
Important! This connection method requires tightening the clamping screws at least once a year so that the contact does not loosen.
- Long-lasting, reliable and maintenance-free is the method of connecting wires to each other using a crimping hand press (pliers) and copper sleeves. Only tin soldering can compete with this method.
to contents ↑Important! Crimp sleeves must be insulated with electrical tape or heat-shrink tubing.
Installation technology
How to install spotlights and their connection - we will consider in detail.
Markup
First you need to make markings in places where the lights will be.
Important! The arrangement should be uniform and symmetrical.
Procedure:
- Measure the distance from the wall to the extreme lamp.
- Divide evenly the distance between them.
Important! Extreme spotlights with a ceiling height of 2.5 meters must be installed no more than 60 cm from the wall, between the middle - no more than a meter.
- In places where you intend to attach the lamp, stick a piece of electrical tape - this will help to understand where the lamps will be located after installation.
Important! Do not mount the fixtures at the junction of the two panels - so you can damage two panels at once when cutting holes. Move the location a little to the side.
Hole making
We move on to the next stage - making holes for the fixtures.
Necessary materials:
- Screwdriver or drill.
- A crown on a tree of the desired diameter, most often use 68 mm.
- A sharp knife or file.
Everything is very simple here: insert the crown into the screwdriver and make a hole in the previously marked places. This type is suitable for making holes in plasterboard, MDF or plywood ceilings. In plastic panels - carefully cut a circle in the ceiling with a sharp knife or file.
Important! The hole should be slightly larger than the inside of the spotlight, but the front part is not false to fall into it.
Wiring
All lamps are interconnected by wires, through which electricity will be supplied.
Step-by-step instruction:
- Make jumpers between the lights. To do this, measure the distance between the previously made holes and add 40 cm to the result. Measure and cut two wires according to the result. One of them will be used to supply the phase to the lamp, and the other for zero.
- Bring the central supply pair wire from the 220 volt junction box into the first hole.
- Then, in each hole, lead another pair of wires from the previous one.
Important! For convenient pulling of the wire, make a broach from a piece of rigid copper or aluminum wire.
In the end, you should get this scheme:
- From each of the holes, except the last, two pairs of wires should go out.
- From the last - one pair for connecting a lighting fixture.
to contents ↑Important! Take care of safety during electrical work. To do this, turn off the power supply, and only after checking for a voltage in them, start work.
Lighting fixtures
DIY spotlights are connected according to the following scheme:
- Connect two pieces of wires of about 15 cm to each fixture. To do this, clamp them into the screw terminals that are provided on the housing.
- Next, connect the design, which turned out to the wires stretched earlier. There are 4 wires in the hole, so connect two wires to each wire from the case - one from each direction.
- First, connect the strands with a twist using pliers, and then put a copper sleeve on them, then squeeze it with pliers.
- Carefully insulate the liner.
- Connect all lights in the same way.
- Insert the lighting fixtures into the ceiling and secure with spring clips.
- Screw in the light, connect the electricity and press the switch.
Stock footage
The installation of spotlights is completed. If you follow the technology and follow the entire sequence of actions, easily install them with your own hands on the suspended ceiling.
- How to choose a vacuum cleaner taking into account the characteristics of the house and coatings?
- What to look for when choosing a water delivery
- How to quickly create comfort at home - tips for housewives
- How to choose the perfect TV - useful tips
- What to look for when choosing blinds
- What should be running shoes?
- What useful things can you buy in a hardware store
- Iphone 11 pro max review
- Than iPhone is better than Android smartphones
 (No ratings yet)