How to connect a storage water heater in an apartment?
If you purchased a storage boiler, then you probably figured out the brands and models. It remains quite a bit - to understand how to connect a storage water heater in the apartment. You can always ask for help in connecting the storage heater to specialists, or you can do it yourself. With self-assembly, stock up on time, because even professionals spend about two hours installing boilers. First you need to prepare well.
to contents ↑Training
The first thing to do before you begin installing the device is to study the features of its design and the connection diagram, which should be attached to each model of storage heaters.
Mount
Pay special attention to this item, because it depends on how conveniently and firmly the boiler will be located on the wall. Mounting can be both horizontal and vertical. Most often, the type of mount depends on the volume of the drive.
to contents ↑Important! The most popular arrangement is vertical, since it is easier to install on your own, and in this form the device takes up less space.
Study of device design
At this stage, you should carefully read the accompanying documents to the device, as well as know the main elements of any heater in order to properly connect the storage water heater.
Items:
- tubular electric heater;
- storage tank, protected by a housing and heat insulating material;
- temperature regulator;
- thermometer;
- parts responsible for water supply - drain pipes and water supply.
Important! It is good if the kit contains an additional fuse and a replacement magnesium anode.
When the instructions are read and all the necessary components are in place, all that remains is to follow the advice and make the connection of the storage water heater yourself.
Connection
To get started, open the connection instructions, which contains the installation diagram of the water heater and, following the instructions, follow these steps.
Determine the place
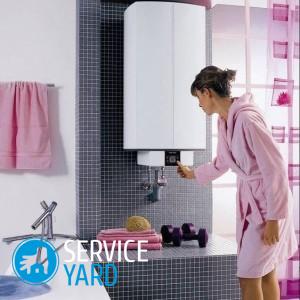
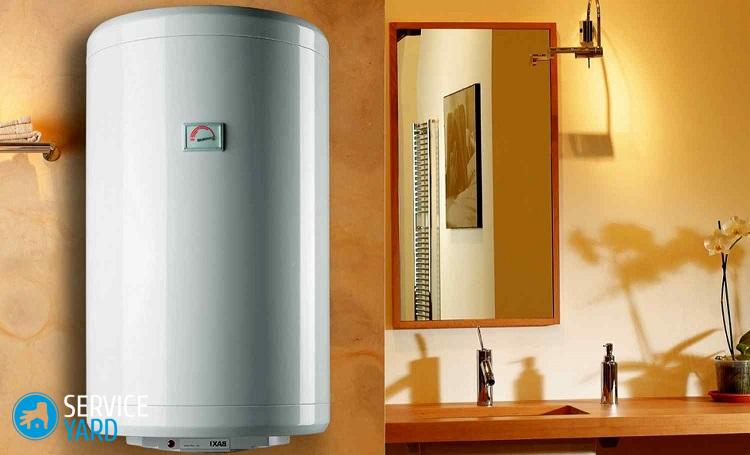
If the room allows, you can hang the device on the wall. In small rooms, devices are often mounted in niches or cabinets. It should be remembered that the device will require maintenance, so access to it must be open.
Determine the height
Standard recommendations dictate the placement of the device at a distance of about 30 cm from the floor, but this does not mean that there are no other options. Very often, the boiler is placed over the toilet or over the bathroom, and much higher than the recommended level.
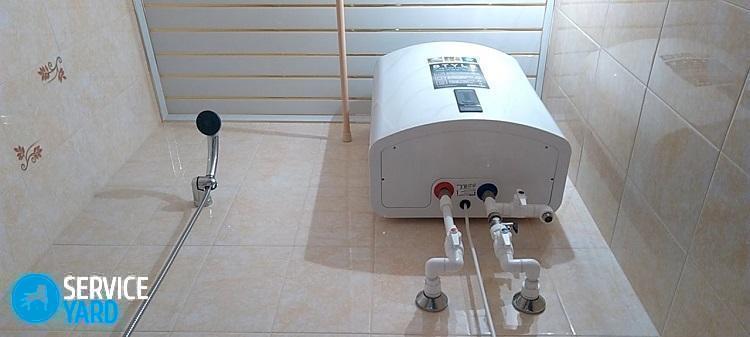
We fix the heater
If the volume of the boiler does not exceed 150 liters, then you can easily hang it on the wall. For larger volumes, floor mounting is recommended.
Important! Please note that only a very light tank, up to 50 liters, can be hung on drywall walls. If you plan to install a water heater in this way, read our detailed article on how to hang a water heater on drywall.
And if you are sure that the wall is reliable and can withstand a load of more than 100 kg - you can hang a heavier device on it. Typically, bearing walls are chosen for these purposes.
Complete with the device you will find special bolts designed for its fastening.These are bolts in the form of the letter L. They are attached to the rear wall of the heater, at a predetermined distance.
Important! With a vertical arrangement of the device, two bolts are necessary, with a horizontal - four. Remember that vertical boilers must not be placed horizontally.
Install a fuse
A fuse is supplied with the boiler to the cold water outlet. It protects the device from pressure drops and releases water if the pressure exceeds the norm. If there is no fuse, at high pressure the device may not withstand and the tank will simply break. Accordingly, all the water will be on the floor.
Important! The fuses that come with the boiler are often not of high quality and are not very convenient to install. Therefore, if possible, purchase a good and safe valve separately. When choosing, pay attention to the possibility of water discharge through the valve into the sewer.
To install, simply screw the valve onto the cold water pipe.
Communication wiring
Next, the device must be connected to the water supply, and also create conditions for its output.
Steps:
- In order for the heating element to last longer, use only filtered tap water for heating.
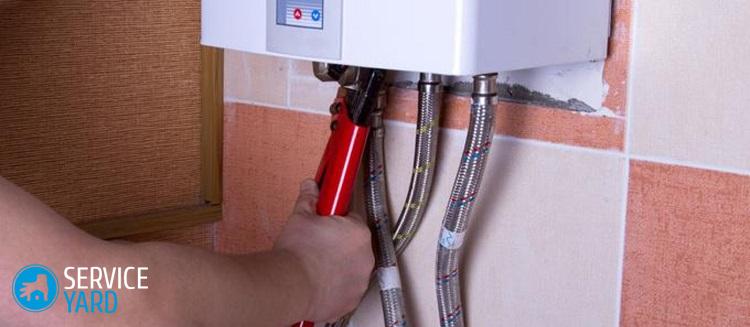
- Seal the valves. On the pipes for cold and hot water there are special closing valves. They must be carefully sealed. The best option for this would be the choice of FUM tape or tow.
- Connecting communications. To connect the heater and the mixer, you can take both plastic pipes and flexible options.
Important! Metal-plastic is more practical, but it should never be bent.
Next, the device must be connected and checked.
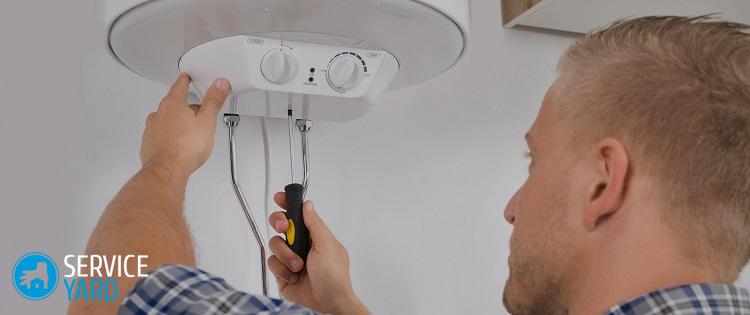
Power connection
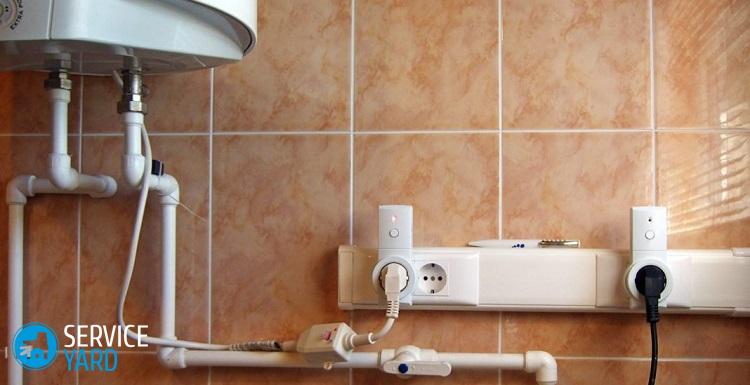
To connect the storage water heater, you must take a special cable, since the general wiring will not be able to provide the device with the proper voltage. Further, the device is connected to the wires leading to the mains and check its operability.
Important! If at the stage of connecting to electricity you have difficulties, call an electrician. So you will be sure of a reliable connection.
Also, when installing the boiler, the following points should be considered:
- protection of sockets and cable from moisture - it is best to choose special according to our instructions sockets for a bathroom;
- device grounding;
- separate device for protective shutdown.
Important! The check includes filling the tank with water, heating it, and examining the operation of the tank for water collection, heating, and possible leaks. If defects are found during the check, the boiler is disconnected from the current and eliminated.
Useful Tips
Be sure to consider the advice of professionals:
- Determine in advance the number of places where water will be dispensed from the boiler.
- Before starting work, purchase all the missing materials so that in the process you do not have to rush to the store urgently for individual parts.
- Be sure to follow the instructions for your model.
- All compounds with water must be carefully sealed.
- If it is not possible to install a protective drain into the sewer, place a protective tray under the device.
- If you do not provide for the supply of tap water, you can supply it to a storage heater from a separate tank. It is mounted at a height of about 5 meters from the top of the device.
- Do not forget about preventative procedures - be sure to change the magnesium anode at least once a year.
- If you leave for a long time, drain the water from the heater, after disconnecting it from the mains.
- Until the tank is completely filled with water, you can’t plug it into the network and set the heating mode.
- Do not operate the appliance while electricity is connected to it.
- Use only parts that are compatible with your model and recommended by the manufacturer.
Consider the main advantages and disadvantages of storage water heaters.
Advantages and disadvantages
When everything becomes clear with how to connect a storage water heater, it is necessary to pay attention to its main advantages and disadvantages compared to flow models.
Benefits:
- A large supply of hot water, the volume of which depends on the specific model.
- The ability to distribute heated water at several points.
- Connection to power supply.
- For storage devices, the presence of a large pressure of incoming water is not necessary.
- Good rates of heating temperature (up to 85 degrees Celsius).
- Thermal insulation allows you to keep the water heated even after disconnecting the device from the power supply, as in a thermos.
Along with the advantages, it is possible to highlight the disadvantages of these heaters:
Minuses:
- Long heating of the water is about half an hour, but it all depends on the volume of the tank. The larger the volume, the longer the heating will take place.
- With a small consumption of water, additional energy is spent on its constant heating.
- Volumetric dimensions of devices.
- In case of poor location - inconvenience to service the device.
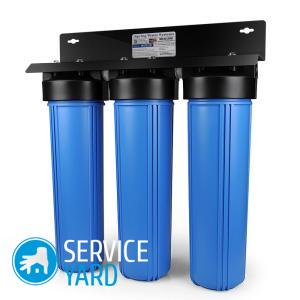
- Maintenance will have to be carried out regularly: cleaning the heater from scale, replacing consumables - these are quite labor-intensive measures. To have to do this less often, consider installing quality water filters for home.
- The cost of such devices is more expensive than flow models.
to contents ↑Important! Water from this heater is not suitable for cooking and eating.
Stock footage
When choosing a heater, be sure to consider all the points associated with its installation. After all, if you decide to perform this procedure yourself, it is important to know exactly how to connect the water heater correctly and what difficulties you may encounter during its installation. Take your time, evaluate all the pros and cons of not only the device itself, but the way it is connected. Then you can easily cope with the task.
 (No ratings yet)