How to connect the hob and oven to one outlet?
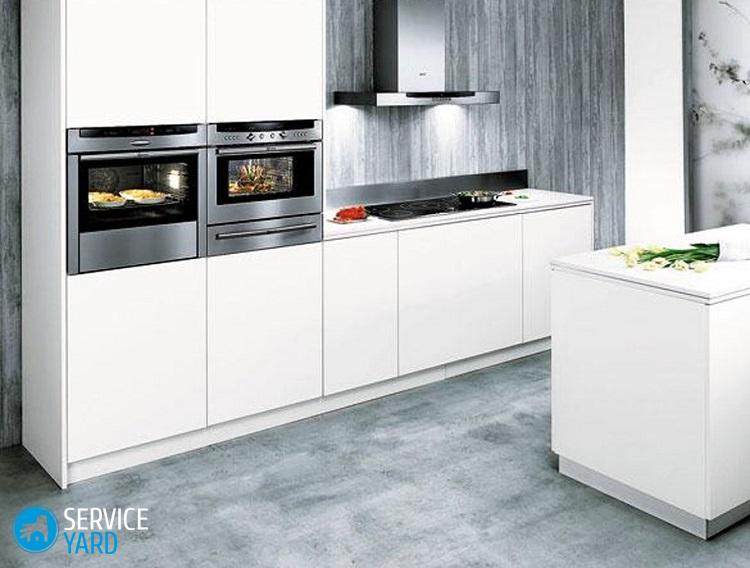
Absolutely everyone wants the newest and most comfortable equipment to be installed in his kitchen, which will allow less time for cooking. Progress, as you know, does not stand still, and the largest manufacturers equip the technology market with increasingly interesting models. How to connect the hob and oven to one outlet? Let's look at the whole process in more detail and pay attention to the most important nuances.
to contents ↑We connect the stove and oven
Before answering the main question, you need to familiarize yourself with the basic safety rules:
- If you decide to connect the hob to the power supply, it is imperative to provide for the presence of grounding. To find out if it is, you just need to count the number of pads on the plug of the device or in the outlet. The resulting number must be odd.
- Devices that consume more than 3.5 kW must be equipped with an additional power cable, since standard 220 V conductors will overheat and may fail. The oven most often does not consume much power, so a separate cable is not needed for it.

to contents ↑Important! Do not try to load this cable with other electrical appliances. Also take care of installing the circuit breaker in it.
Working process
Connecting the hob and oven to the mains is not the easiest event, so you need to be confident in your abilities. The procedure will look as follows:
- To begin with, it is worth checking what supply voltage our device is designed for, through which connection scheme everything should be implemented. This information is usually located within the user manual that the manufacturer must carefully provide.
- Next, you need to install an additional circuit breaker in the electrical panel. From the circuit breaker (gas station) will need to conduct a separate cable.
The current strength at the gas station and the connection method depend only on the expected load:
- If your device has a power consumption of less than 5 kW, then the magnitude of the current will be exactly 25 Amps, and the cross-section of the cable area will be about 2.5 square mm.
- If the device is more powerful, then it will take somewhere 30-40 Amps, and the cross-sectional area is 6 sq. Mm.
Important! It is worth focusing on the choice of cable: the brand must be fireproof and have double insulation, which is resistant to moisture. Great for such purposes, VVGng is suitable. If you need to make a connection to one phase, then the choice should fall on a cable with four wires. A three-phase connection will require a five-core component.
After all this, you need to place the outlet and connect the plug and cable.
How to connect the hob and oven to a single outlet? Let's get acquainted with the installation methods
Mount the hob
To implement the whole idea, you have to deal with the technology of "embedding" the hob in the kitchen cabinet. First you need to prepare and find the right tools:
- Electric drill.
- Electric jigsaw.
- Several different screwdrivers.
- A sharp durable knife.
- A piece of cardboard, a ruler, pencils and a corner.
Important! On our site of useful tips you will find a lot of information about the rules of operation of household appliances. Find out some of them:
The installation itself can be divided into three parts.
Markup
We pick up a ruler and measure the geometric dimensions for our installation.
Important! It is not necessary to measure the cooking surface itself, but only its body.
You can verify that the measurements are made correctly using the information recorded in the instructions. It is best to mark up using a template that you can easily make from a piece of cardboard. It happens that a factory template may be included with the plate model, which will only simplify the task.
Take a pencil and draw on the countertop curbstones lines that will then help to make an incision. It is recommended to make a lap, but not more than 1 mm. Such measures will help you in placing the panel.
Cut out
Now you need to make an impromptu case in which the panel will be placed:
- Start by drilling holes in the corners of a rectangle. Choose a drill with a diameter of at least 8-11 mm. Both metal drills and wood drills will cope with the task.
- We arm ourselves with a jigsaw in order to cut a square. The jigsaw blade should be fine toothed and suitable for fine cutting. We insert the jigsaw file into the hole, firmly press the sole to the table and begin to carefully make the cut, moving the tool along the marking lines.
Important! To avoid small chips, you can seal with masking tape those places that are intended for cutting.
We install and fix
In the window that you just did, you need to insert our hob:
- It is better to glue the places of contact with a sealant or a special sealant.
Important! If the sizes do not match and the window needs to be expanded, then again we take the tool and correct the position.
- On the bottom side, the plate is fixed with special clamps, which should be included.
- After all the manipulations, remove the excess sealant or simply cut off those parts of the seal that protrude.
How to connect the hob and oven to one outlet? Calm, you have already come to the answer to this question!
Important! Are you planning to replace furniture in the kitchen at the same time? Use our tips on how to arrange furniture in a small kitchen.
Scheme of joint connection of two household electrical appliances
Now let's move on to the most difficult and interesting part of the whole procedure. To begin with, the connection method should be carried out only by the radial method. If you translate into conversational, then a separate cable should be engaged in powering the stove, which will be stretched from the main distributor in the electrical panel.
Important! It is not recommended to install sockets or other electrical appliances on such a cable.
The oven and stove connection diagram occurs with only one phase of the 220 V network.
Of course, in some private homes there are also three phases from one power supply line. Such conditions make it possible to distribute the load from several burners to three phases.

But still, if the power input on the terminal block of the plate was made for use in a 220 V network, then you should think about how to remount it on a three-phase network of 380 V. And to do this is very simple:
- We take a screwdriver and loosen the fasteners on the terminal clamps.
- We pull out all the jumpers so that there are five places to connect.
- You can also try using a circuit with two phases, zero potential and ground.
Important! In the instructions, the phases indicate - 1l, 2l, 3l, zero - n, and the earth - with the symbol “earth” or “ground”.
But not all manufacturers supply their equipment with terminal blocks. They simply output wires of different colors from the device that can be connected to each other.The purpose of each of them can be determined as follows: the earth is yellow, zero is blue or blue, but the phases can be painted in any other color.

If you do not know how to connect the panel and the radial cable, then you can resort to using a box with terminal blocks or an ordinary outlet. There are no fundamental differences in different schemes and methods for connecting stoves and ovens. The plate is connected to a socket or box using a power cable. If such components were not found in the kit, then they will have to be purchased separately, not forgetting all the rules for choosing the cross-sectional area and number of cores. Then the plug is mounted in the selected cable, and you're done!
to contents ↑Stock footage
In this article, we examined all the basic rules for connecting kitchen electrical equipment. But remember that the whole process of connecting requires certain knowledge and skills to work with electrical appliances. If you don’t have any, it’s better not to risk it, but to contact a specialist.
 (No ratings yet)