

How to connect the hood?

A cooker hood is a fixture that is not required for installation, but still, most people purchase it. Some choose along with the delivery and installation of this unit, well, some decide to install it themselves, although they do not always know how to connect the hood, where to start. We will try for you to disclose these topics in this article so that you can successfully cope with the goal.
to contents ↑Types of hoods and a brief description of them
Cooker hoods are of the following types:
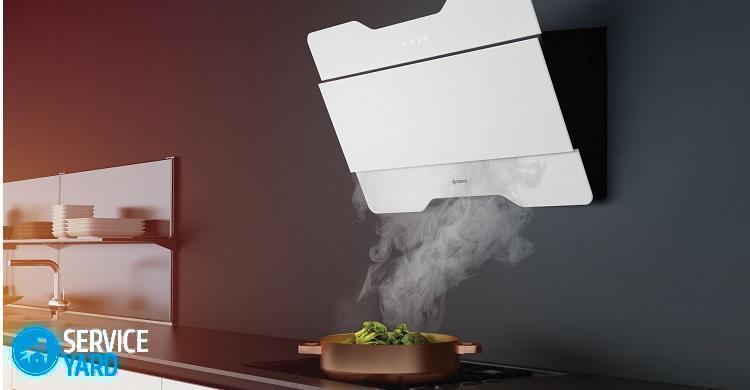
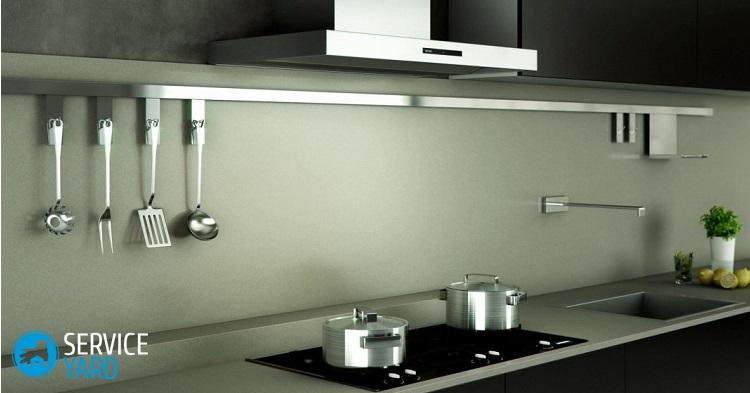
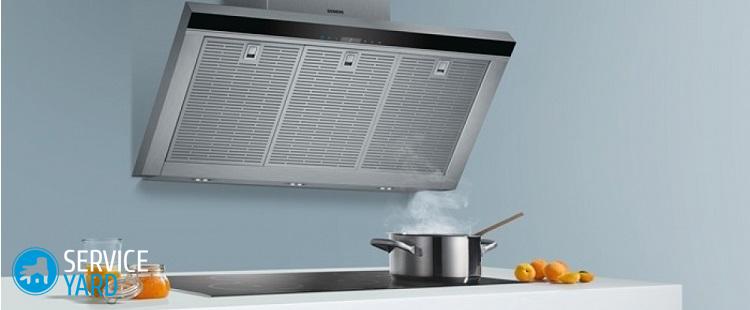
- Wall mounted. They have a rather diverse case design, which is why everything will be in order with aesthetics in your kitchen. It is fixed directly on the wall above the stove.
- Corner An excellent option for those who have a small kitchen, where every centimeter must be used extremely functionally. It is fixed on the wall in the corner.
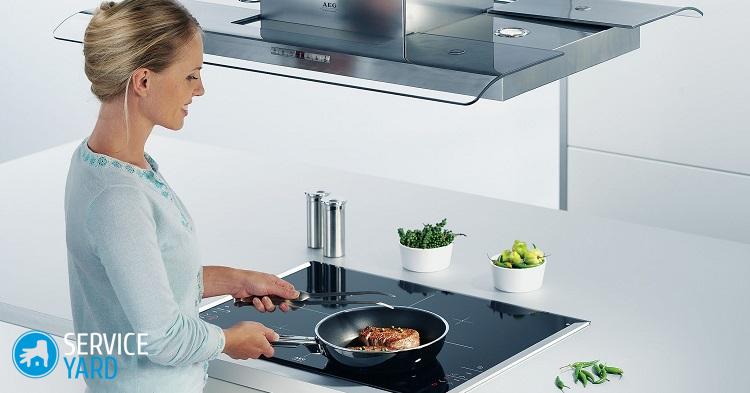
- Suspended or, as they are otherwise called, flat. They are located directly above the stove, under the cabinet.
- Recessed. They are installed directly in the cabinet itself.
- Island. This is the most versatile type of cooker hoods. It is possible to mount such equipment in almost any area of your kitchen. Usually used for large kitchens, where all kitchen furniture is in the middle of the room.
The main steps in connecting a cooker hood
Before connecting a cooker hood, furniture or sets must already be in place. Thus, it will be clearer to you where you should connect the hood.
Choose the right place
When choosing an installation location, consider the following recommendations:
- It should be located directly above the stove, and also under no circumstances should it have lower parameters than the stove.
- The hood should be located no lower than 60 centimeters from the stove itself. The instructions are usually given at the moment.
- The upper threshold is still better to set, given the growth of the hostess of the kitchen, in order to make it as convenient as possible during cooking.
At what distance from the stove is it necessary to install the hood?
The answer will depend directly on the hood model you have chosen.
Each hood should be accompanied by instructions that indicate how far it needs to be mounted.
As a rule, an exhaust hood is installed from 65-90 centimeters from the level of the plate. In no case cannot the lower threshold be exceeded, because the hood itself or its individual parts may begin to melt.
Important! For electric stoves, the threshold is even lower, 65–70 centimeters, but for gas stoves more than 65–90 centimeters.
Once you have correctly identified the type of structure and its installation location, it's time to get down to business and connect the hood.
Install an anti-return valve
It is located in front of the ventilation shaft. The procedure for performing this work necessary to connect the hood in the kitchen:
- In order to be comfortable working, you can temporarily install it on your kitchen cabinet. More carefully, the valve will rise a little later.
- When the case rises as needed, mark the inside of the cabinet to drill holes.
- Remove the cabinet, cut out the necessary holes in the lower part of the wall in order to install the crackers.
Important! In a similar way, holes are made for the duct.
We connect the duct:
- Fix the corrugation, it is desirable that it be in the form of a square.
- Trim the corners and twist them out.
- Fasten the clapper so that it connects your corrugation to the ventilation shaft.
Important! In the event that gaps of a sufficiently large size remain, seal them with ordinary mounting foam, you can process small gaps with silicone-based sealant.
Install the hood itself:
- It is hung on self-tapping screws and depends on the method of fastening.
- Fix the corrugation on the hood using a special harness.
- Check the operation, and if everything is in order, put on the top cover of your cooker hood.
Important! In order to effectively connect a cooker hood with your own hands, consider one nuance during the installation of the ventilation pipe: the less the number of bends, the better and more powerful the air draft.
Install a flat cooker hood
The flat design gives a real opportunity to connect the hood if there is no ventilation duct. It is easily and quickly mounted. Mounting was already provided for on this unit in order to install it.
There are 2 ways to install a flat hood:
- U-shaped frame. Using self-tapping screws, attach the frame directly to the wall - it serves as a lock directly to the hood housing.
- Stud screws, also called plumbing. On the one hand, they look like a standard self-tapping screw. Well, on the other hand, they have a thread on which a metal nut is screwed. The dowels are driven into the wall, the body of the hood itself is fixed with the nut on the wall needed.
It remains only to carefully fix the flat hood, then check its performance, connect it to the network. If everything is in order put on a decorative cap.
Important! This type of hood operates according to the recirculation mode, that is, it purifies the air using the built-in filters. In no case do not forget that it is necessary to change the filters at least 2 times a year.
How to install a cooker hood?
Let's talk a little about the options for this hood, namely those that are on the market:
- Fireplace, they are also called wall - mounted on the wall. They are very similar in design to the ventilation system directly for fireplaces.
- Corner - these hoods are rare in kitchens, namely when the stove is in the corner.
- Island - such hoods are installed in fairly large kitchens, mainly in catering kitchens, when the stove is in the center of the kitchen. They are attached to the ceiling itself.
Important! These devices are made of enameled or stainless steel, much less often of wood or plastic.
Features of selection and functioning
Dome hood is able to work in a variety of modes. If the duct is laid outside or to the ventilation system, it simply removes air from your room.
It sometimes happens that the duct is impossible to conduct, then you can put the circulation unit, because it will let air through the filter and return it back to the room. There are dome hoods that can work in both versions.
Connection Basics
In order to connect a hood of this type with your own hands:
- Bring the corrugation to the ventilation system of the building, connect the device to the network using an outlet and a plug.
- You may need to increase the corrugation or wiring, so it is better to use the help of professionals.
- In case you decide to do absolutely all the work yourself, first equip the kitchen with furniture.And only after that you can work on marking the location of the hood, given the height of its location.
- We proceed to the preparation of fixtures. Drill or hollow out holes for ordinary expansion bolt shields. Bolts will be attached to them, on which you will have to put on the base of your exhaust device.
- Observe extreme tightness when connecting the special exhaust hood to the air duct.
- Next, check the operation of the device, and then put on the top hood of the hood.
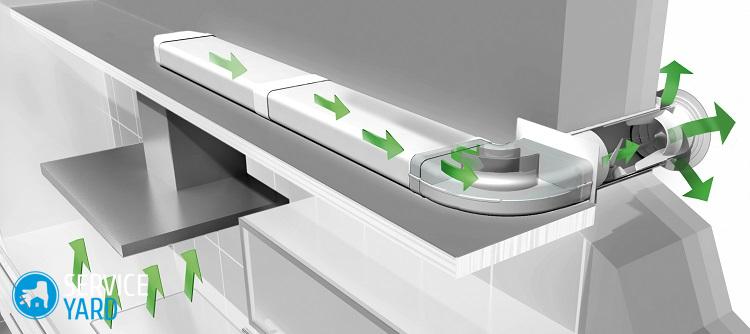
How to install the corrugation?
If there are practically no problems with connecting the hood in terms of installing its body itself, then with respect to the corrugation, they are most often present. Let's figure out what to do in a particular case:
- In the event that the ventilation hole is located directly above the stove, you can connect it with the hood using small adapters. But often they are separated by a much greater distance. In this case, install a special duct that is designed for exhaust. It is either an absolutely smooth plastic pipe, or corrugated from plastic or aluminum.
- When choosing a smooth pipe, whether round or square, additionally purchase connecting bends that can help get around the corners. In addition, an adapter is useful in order to fix the corrugation on the hood, as well as for the ventilation hole.
- If you have the opportunity to hide the duct inside the wall cabinet, it is better to use the corrugation, as it is cheaper and easier during installation. Adapters are not required, because the corrugation perfectly envelops all corners.
- Before installing, stretch the corrugation as much as possible in order to reduce noise during the operation of the hood.
- Fix the corrugation on the exhaust pipe with a clamp, but on the hole for the ventilation system with a special grill.
to contents ↑Important! Choosing the diameter of the pipe, focus on the size of the outlet of your hood.
Stock footage
As you can see, connecting a cooker hood is not so difficult, the main thing is to know the correct sequence of actions. Now you have it, which means that from now on your kitchen will have only pleasant aromas from baking or stew, but not burning or chemistry.
- How to choose a vacuum cleaner taking into account the characteristics of the house and coatings?
- What to look for when choosing a water delivery
- How to quickly create comfort at home - tips for housewives
- How to choose the perfect TV - useful tips
- What to look for when choosing blinds
- What should be running shoes?
- What useful things can you buy in a hardware store
- Iphone 11 pro max review
- Than iPhone is better than Android smartphones
 (No ratings yet)