How to disassemble a washing machine?
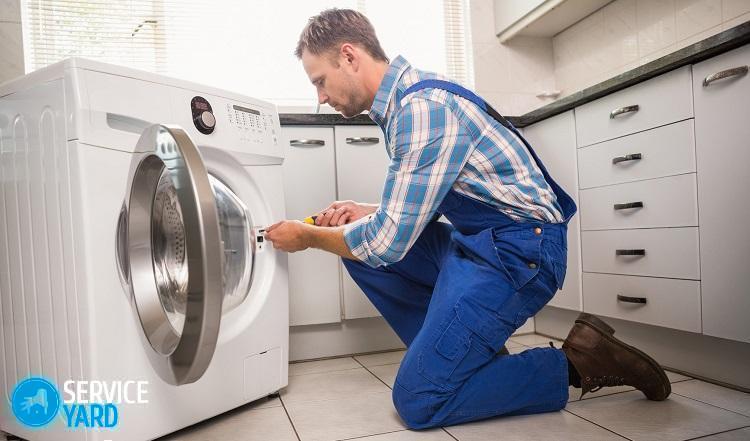
Regardless of the complexity, do not be afraid to repair the washing machine yourself. Now the network has a lot of information and video lessons that detail how to disassemble the washing machine. According to experienced craftsmen, all modern cars are similar to each other, and their main problems are also typical. In this article, we will reveal in detail the issue of disassembling such a technique.
to contents ↑Cooking Tools
All washers have a similar design and operating conditions. Before disassembling the unit, assemble the tools. Such a set is in every home.
So, you need to get:
- Phillips screwdriver;
- Slotted screwdriver;
- Wrenches of different sizes;
- A hammer;
- Pliers simple and bent;
- Ticks and nippers.
to contents ↑Important! Before starting work, disconnect the household appliance from water and the mains. All tools must be insulated.
Disassemble the washing machine
When disassembling the Indesit washing machine, as is the case with other brands, it is necessary to photograph each step. Thus, step-by-step instructions will be saved, thanks to which the unit can then be assembled back.
Procedure:
- Remove the cover. To do this, you need to unscrew the two bolts from the back, for which a Phillips screwdriver is used. Then the lid is pushed a little in front and removed.
- To remove the dispenser, the point in the center of the tray is pressed, and then it is pulled out.
- To remove the control panel, unscrew the screws that secure it. Then the panel is carefully detached and neatly placed on the top of the washer so that it does not interfere with further work.
- To remove the bottom panel, unscrew the mounting bolts. Then the rubber cuff of the hatch is removed, for which the door is opened and the fixing collar is removed. To do this, use pliers, a screwdriver or round-nose pliers.
- After removing the cuff, unscrew the bolts that secure the sunroof lock. After removing all the locking elements, the front wall of the washing machine is removed.
- To disconnect the inlet hose suitable for the tank, the retaining clamp is removed. To do this, use pliers. Now the hose can be freely removed.
- To remove the hose leading to the pressure switch, you must first remove the clamp.
- We get rid of the internal clamp, which fixes the rubber cuffs on the washing tank. The cuff is removed, the screws securing the rear wall of the unit are loosened, and it is also removed.
- The balances that must be removed in the next step can be located both in front and behind the device. Visually, they are similar to concrete blocks. Their purpose is to eliminate the strong vibration of the machine during the spin cycle and other washing processes. They are fastened with long bolts that need to be twisted and counterweights removed.
- Most often, the heater is located behind the machine, below. In order to remove it, it is necessary to get rid of the fixing nut. Its location is in the center. Then the stud with which the nut was twisted is pushed and pushed inward. In the event that you can’t do it with your hands, you can use a hammer. The main thing is not to overdo it. Then the heating element should be slightly pry off with a flat object and carefully removed.
- A drive belt connects the engine and the pulley mounted on the tank. Before you remove it, you need to remove the interfering wires and remove the locking elements.
- The tank remained suspended on the springs, and shock absorbers fix it from below. The shock absorbers must be twisted, the springs carefully removed and the tank removed.
- In the event that disassembly of the tank is required, there is nothing complicated in this process. First, you need to twist the bolt that secures the pulley. Then it is necessary to remove the pulley itself and press the shaft into the tank. Then you need to remove the clamp and the tank will be divided into two parts.
Important! In some models, tanks may be non-separable. Sometimes they are sawn, and then assembled back, using bolts and a waterproof sealant for this.
We learned how to disassemble the Indesit washing machine. As it turned out, there is nothing complicated in this process. Even a layman will need about three to four hours to do this.
Typical malfunctions
Thanks to the washing machine, the hostess can significantly save time and effort. If suddenly it does not work, life turns into uncomfortable. But not in every case, the complete disassembly of the washing machine is required. Some breakdowns are easier to fix.
There are malfunctions that manifest as follows:
- Water does not heat up. Most often, a heater is responsible for such a malfunction. A much less common cause is an open circuit. And very rarely this happens due to faulty sensors or a malfunction in the control unit.
- No water intake. For water to flow normally, normal pressure is required. In its absence, there is no water. Often this happens with a closed faucet connected to the machine. If some time has passed since the start of washing, then this indicates the filter to be cleaned.
- As soon as the car has collected water - it immediately drains. This may occur due to the fact that the device is not correctly connected to the sewer. Self-draining may not occur immediately, but only after some time after the start of operation. Another reason is a serious internal breakdown, which disrupts program control.
- The appearance of water under the machine. If the curtains were erased before that - there is nothing to worry about, just in the process a large amount of foam was formed, which eventually leaked through the technical hole. The reason can also be called a poor gasket of the hose through which water is supplied. To resolve the problem, it is enough to replace it.
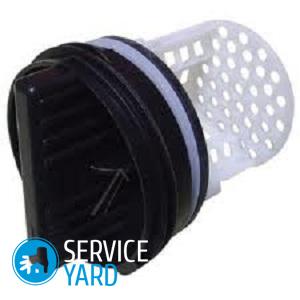
- Water does not drain. Cleaning the drain pump filter is usually sufficient. If you repeat this procedure regularly, there should be no problems.
- The washing machine during operation is very noisy. Such a symptom indicates a malfunction in the mechanism. Perhaps there was a foreign object in the tank, or the laundry in the drum is not evenly distributed. Incorrect installation of the machine itself or bearing malfunction is also possible.
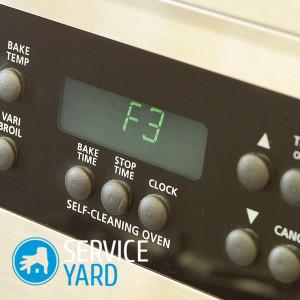
Important! Modern washing machines in case of malfunctions on the display show a set of letters and numbers. This is an error code in the operation of the equipment. What do they mean? We have prepared separate reviews of decryptions of error codes of the most famous manufacturers and methods for their elimination:
We change TEN
The heating element suffers most often, so it is important to know how to replace it in the event of a breakdown. Most often, malfunctions arise due to increased water hardness, which leads to the formation of excess scale. In this case, disassembly of the washing machine is required.
Important! To combat scum, various special and folk remedies are used. In our separate article, we examined in detail the widely publicized tool Calgon.
How to replace the heater:
- Communications are disconnected from the machine: electricity and sewage.
- We check for water in the mechanism. If present, drain through the drain hose.
- We disconnect the wires leading to the heating element, which is usually located below the machine.
- We dismantle the heating elements, while it is necessary to act very carefully. The location of the heating element should be cleaned of accumulated scale.
Important! In this case, you need to mark the wires, otherwise - there may be problems with the reverse connection.
- Install a new heater.
to contents ↑Important! As mentioned above, the quality of the water affects the operation of the washing machine and its life, therefore, the equipment must be looked after from the day of purchase. We have prepared a separate post in which you will learn how to properly take care of the washing machine.
Pump replacement
Situations when you need to disconnect the pump are not so rare. In such a situation, such a disassembly of the washing machine will be required:
- First of all, the unit is disconnected from water, sewage and electricity.
- Disconnect the wires going to the engine.
- We remove the fasteners and get the pump.
- We clean it and inspect it to determine whether repair is required or replacement.
If it is necessary to replace the pump, proceed as follows:
- Remove the screws located on the rear panel. Remove the top cover.
- Pull out the detergent dispenser.
- You need to open the filter cover, which is located in the bottom panel.
- After unscrewing the screws, the bottom panel is removed.
- Under the panel there are four screws that need to be unscrewed.
- Then - open the hatch, loosen the clamp, remove the cuff.
- Three bolts are located above the top panel - they also need to be unscrewed and the front wall removed.
- Next, get rid of the three bolts that connect the pump casing and the scroll.
- We disconnect the wires.
- Disconnect the pump and filter.
- Install a new pump.
- We collect the car in the reverse order.
Stock footage
As you can see, nothing is impossible. With minimal skills and the necessary tools in the house, even repairing the washing machine is possible.
 (No ratings yet)