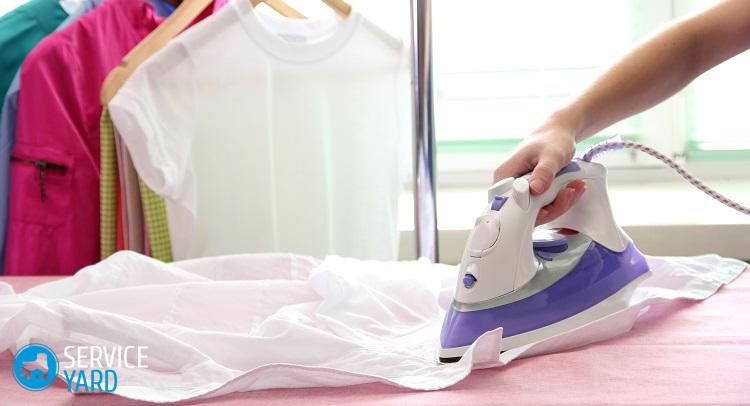
How to disassemble Scarlet iron?
A failed iron can ruin all plans, especially if you are far from hypermarkets and hardware stores. You can try to fix the unit yourself. Not all modern models are repairable, but there are devices that can be brought back to life. First you need to get to the insides. How to disassemble the Scarlet iron? This, as well as the repair of some other models, will be discussed in our article.
to contents ↑What happened?
Before you take apart the Vitek, Scarlet, or any other iron, try to figure out what exactly happened. Malfunctions are different:
- the iron does not heat up;
- the iron turns off quickly;
- the iron overheats;
- steam comes out;
- steam is not sprayed.
In the first case, you must first examine:
- the wire;
- power outlet;
- a plug;
- place of fastening the wire and plug.
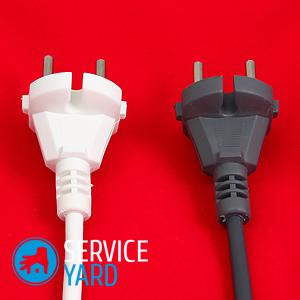
Socket and cord
To check the outlet, just plug in some other electrical appliance or plug the iron into another outlet. If you can see with a naked eye that the reason lies in the plug, then read the step-by-step instructions, how to fix an electric plug.
If everything is OK, inspect the outside of the wire:
- There should be no knots, kinks or damage to the insulation on the cord.
- The wire should not stick out at the junction of the wire and the plug, and the sheath of the wire should be free of cracks and tears.
- Do not allow the plug to have slots, loose screws.
What to do with the cord?
If there is visible damage, the wire is best replaced, fortunately, in any company salon of the company that produced the iron, you will find accessories. To do this, of course, you need to remove it.
But sometimes there is no way to disassemble the iron. Therefore, in a damaged place, it is necessary to connect dangling pieces of wire and wrap it all with electrical tape. Or just wrap if the outer part is torn. It is possible that you do not have to get to the terminal block.
Other damage
If everything is in order with the wire and the power supply in the house is working normally, most likely the heater has burned out. When the iron quickly turns off or overheats, problems can be with both the heating element and the thermostat. These parts cannot be repaired; they are best replaced.
to contents ↑Important! It is better to buy replacement parts from the same company that produced the unit itself - then there is no risk that the parts will not fit.
What does an iron consist of?
Any electrical appliance consists of many different parts. In modern irons, of course, there are fewer small elements than in old ones. Individual elements are combined into non-separable units, and it is the group of parts that changes.
Regardless of whether you need to disassemble the Scarlet, Vitek or any other iron, you need to understand what is inside it. Each iron has:
- sole with built-in electric heater;
- water tank;
- thermostat with handle;
- nozzle;
- steam regulator;
- cord;
- fork;
- contact block.
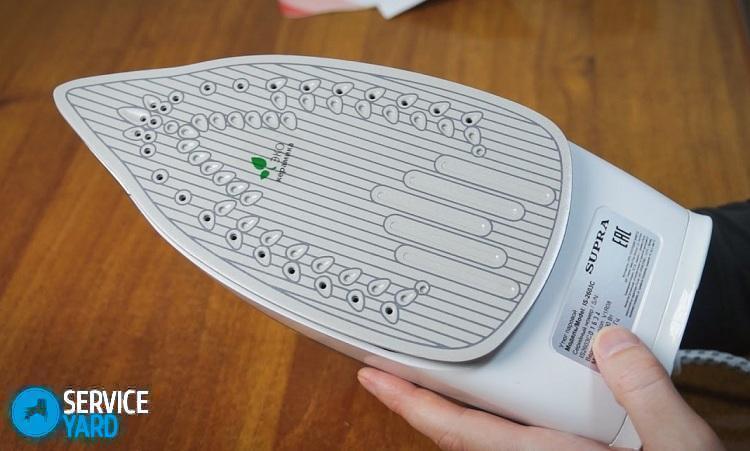
Important! Almost all modern models have holes in the sole. They are intended for steam output. Using the thermostat, the ironing mode is set - it is he who is “responsible” for the temperature to which the sole heats up. The steam unit includes not only a water tank, but also a sprinkler for the forced exit of heated steam, a flow regulator.
We begin to disassemble the iron
Before disassembling the Vitek iron or any other, prepare the necessary tools and materials. You need:
- Screwdriver Set;
- wide knife;
- multimeter;
- soldering iron;
- solder;
- insulating tape;
- heat shrink tubes;
- sandpaper;
- pliers.
Screwdrivers will need two types:
- flat;
- cross
- with asterisks (rare, but can be found).
Important! The knife can be successfully replaced with any solid flat object - for example, a ruler or a bank card that you forgot to throw away. With their help, you will pry off those parts that are mounted on latches.
A multimeter is needed to ring the wire and all the elements of the electrical circuit that make you suspicious. Sandpaper is useful if you need to clean the contacts.
We remove what is removed
Where to start repairing the Scarlet iron? There are not many options - after inspecting the unit, you will see that there are only a few screws, and besides them, there are removable parts. Therefore, it is better to act in this order:
- Remove the temperature control dial (just hold it with your fingers and pull it up).
- Remove the steam buttons (in the same way as the disk, and if necessary, depress the latches).
- Remove the screws on the back cover.
Most of the screws are located on the rear panel:
- They need to be unscrewed, this is usually not a problem.
- It may well be that there are additional latches. Pry off the cover with a flat object and remove it from the body.
- Under the cover you will see the terminal block. It is it that needs to be checked right away - it is entirely possible that the cord is burned out or has come off.
to contents ↑Important! This trouble is simple enough to eliminate, and further to disassemble the Scarlet iron or any other is not required. The burnt wire must be soldered, insulated and ring the tester, and then just screw the cover.
If the pad is ok
If the terminal block is serviceable, the iron will have to be disassembled further. It should be noted that some models (including Scarlett) may have fasteners under the cover and on the handle, most often bolts. They also need to be removed. In general, you need to remove all the fasteners that are removed.
Important! To prevent them from getting confused, put a white sheet of paper on the table, and fold the screws and bolts on it in the order in which you unscrew them.
Loosen the screws until the sole separates from the body. In almost all models, this is possible.
How to ring a block?
For this you need a multimeter:
- Put it in dialing mode.
- Press one probe against one of the plug contacts.
- With the second probe, touch one wire on the block, and then touch another - once the appliance should be cleaned.
- Repeat the same experiment with another pair of “plug-wire contact”. If there is a signal this time, the wire is in perfect order.
We check TEN
This is the main part of any heating appliance.
Important! If an element fails, it is best to buy a new iron - some companies have a very strange marketing policy when replacing an element is more expensive than a new device.
But first, the heater must be checked. To do this, you need to get close to the sole:
- Look at the back of the sole - there should be two exits of the heater.
- Measure the resistance with a multimeter, for this it must be transferred to the measurement mode up to 1000 Ohms.
- Look not at the display - after seeing a value of the order of 250 OM, leave the heater alone, it is working.
- If you see a value greater than 250 Ohms, run to a service center for a new heater or to a store for a new iron.
Important! In order to avoid problems with the heater, it is enough just to regularly care for the device. And there is nothing complicated. See for yourself by looking at some powerful and very simple ways, how to clean the iron from scale inside.
If the cause of the breakdown is too serious and buying a new part will be very expensive, it is wise to purchase a new device. Our business will help you in this matter. iron rating.
Checking the thermostat
It can be extremely unpleasant if you put the disk on “silk” or “synthetics”, and the unit warmed up in a second as if you were going to iron the cotton. There is nothing to be done, you have to deal with the thermostat.
It is a plate with a pin and many contacts. The pin is needed so that a disk is put on it - the same one that you removed at the beginning of the process. Then we act like this:
- We are looking for two contacts that fit the plate.
- We put on them the probes of the multimeter and call in two positions,
- If the thermostat is set to “off”, there should be no squeak.
- In any other position, the appliance should beeping.
There may be several problems:
- If in the “on” position the device does not emit sounds - the iron does not heat. This case may turn out to be quite simple - it is possible that carbon deposits formed. Contacts need to be cleaned with fine sandpaper.
- In all positions, the controller behaves the same. In this case, you can try to separate the burnt contacts, but this is not possible for everyone and not always. It is best to replace the thermostat.
to contents ↑Important! Sometimes the contacts interlock with each other. It happens if the iron falls. The iron heats up - the plate presses on the contacts, but they do not open. In this case, the plates must be made to move, but curvature must not be allowed.
Fuse
This part can also cause a lot of trouble. It is located approximately in the same place as the thermostat, and is needed to prevent overheating. Usually the fuse is protected by a white tube (but may be of a different color):
- Find the fuse contacts.
- Set the multimeter to dialing mode.
- Check your contacts.
- A squeak is heard if the part is in order.
Important! Theoretically, the fuse can be excluded from the circuit, but this is not necessary. It’s better to replace it. You can get out of the situation by soldering a piece of copper wire with a cross section of 0.5 mm in place of the burnt element, putting a piece of cambric on it.
Steam system
Doesn't steam come out even though the tank is full? First, check the holes. Cope with trouble by performing a simple iron repair, you can pretty quickly.
Option 1:
- Take a clean frying pan.
- Fill it with water.
- Add vinegar at the rate of 1 tbsp. table vinegar in 1 liter of water.
- Turn off the iron.
- Place it in a skillet so that the solution covers the entire sole.
Option 2
You can make another solution:
- Pour a glass of boiling water into the pan (or other dishes with low sides).
- Dissolve 2 teaspoons of citric acid.
- Place the iron in the pan.
- Put the whole structure on the stove, bring the solution to a boil.
- Turn off the hotplate.
- Wait for it to cool.
- Reheat the stove again
- Repeat the procedure until the salts blocking the holes dissolve.
to contents ↑Important! In the same way, you can clean not only the iron, but also the sole separately - for this, its top must be sealed with polyethylene and adhesive tape, and only then lowered into a container of water.
If no water comes out of the sprayer
This is a fairly simple breakdown, most often caused by disconnecting the tube:
- Disassemble the panel on which the injection buttons are located.
- Replace all tubes and wires.
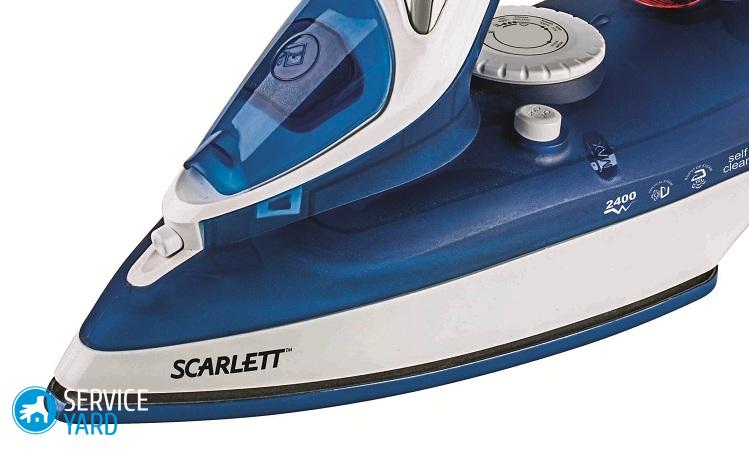
DIY Scarlet Iron Repair
The irons of this brand are not much different from other popular modern models, but still have some features. As in all other cases, for work you need:
- screwdrivers;
- flat item;
- nail scissors;
- tester.
Important! The most difficult will be the first step. For irons of this brand in the back there is a decorative cap with an unusual shape of the screw. It is easiest to turn it out with small scissors, but screwdrivers with the corresponding sting in the set may not appear.
The sequence will be as follows:
- Open the lid of the hole into which water is poured.
- Remove the screw (a Phillips screwdriver is suitable).
- Remove the back wall (same as with irons of other models).
- Remove the remaining screws.
- Remove the temperature control knob.
- Open the knot attached to the sole - there is a heat sink ..
- Check all contacts as described in the previous case.
Important! Remember that when using such a technique, it is very important to observe the temperature regime and other settings. We strongly recommend that you, even if you are confident in your knowledge, remember again:
Vitek Iron
The principle of inspection of the unit of this brand will be the same as for Scarlet, but again, there are subtleties, and the first of them is the screws that screw the back cover. On the slots you will see three-pointed stars, so a Phillips screwdriver will not save you, as well as a star-shaped one.
If suddenly you have a special set, consider that your iron is very lucky. It usually costs more than a service in a service center. You can, in principle, try the scissors, but you must act very carefully. By removing the back cover, you get access to the inside of your unit, which means you can disassemble the iron, ring and replace the burnt parts.
to contents ↑Stock footage
As you can see, most of the probable problems with household appliances can be eliminated with your own hands. But still, if you have no idea about the operation of irons and electrical appliances in general, it is better to contact a service and repair center so as not to aggravate the problem.
 (No ratings yet)