How to disassemble an Ariston water heater?
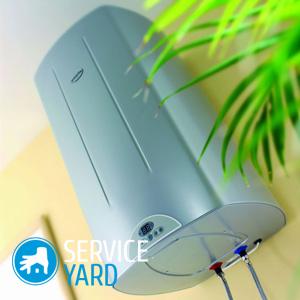
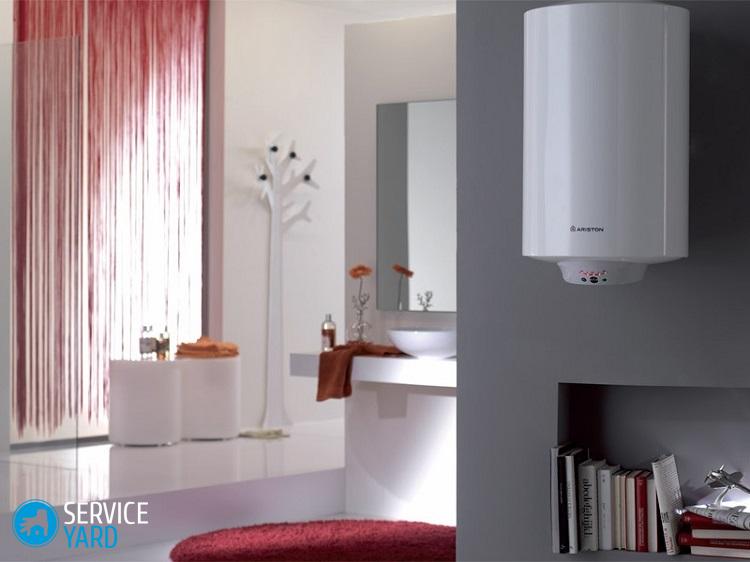
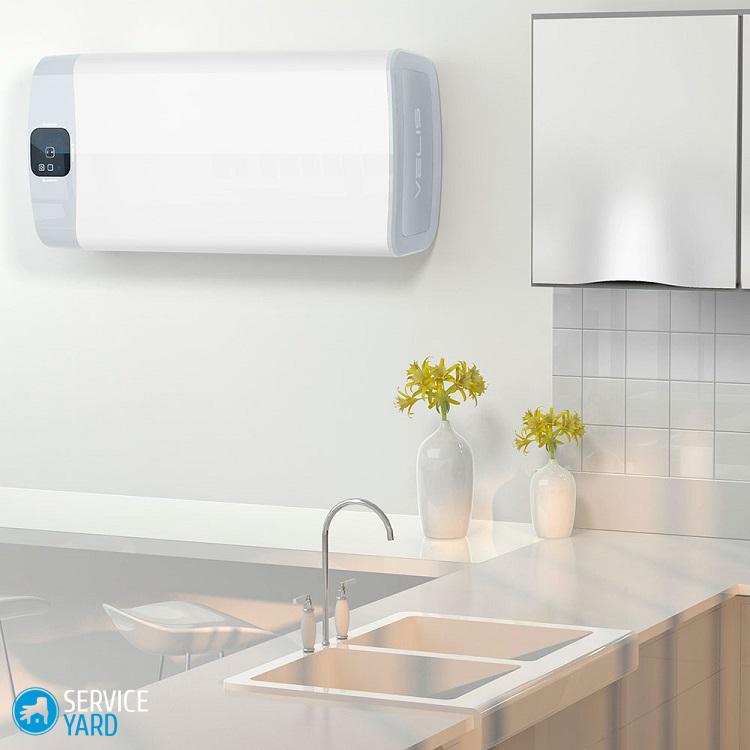
Boilers today can be seen everywhere both in private houses and in apartments with centralized water supply. The reason for this is simple - the desire to save money or the simple desire of a person to live in comfortable conditions with regular access to hot water to the extent that he needs it. Ariston water heater is one of the most popular models. And it is very important to ensure that he is in order. And for this you need to know about how to disassemble the Ariston water heater in order to perform preventive examinations and replacements.
to contents ↑The main components of the boiler and the reasons why they can fail
An internal tank, the wall thickness of which is up to 2 mm, as a rule, can fail due to the formation of corrosion. In the event that you come across a quality-made “Ariston” and you timely replace the magnesium electrode for prevention, the tank will last for many years.
External protection:
- Thermal insulation - as a rule, there are no problems with it.
- Tubes that are responsible for the arrival of cold water, as well as the output of hot water, are usually not needed to be repaired.
- The outer shell of the tank - plastic or metal, fails only when the boiler falls.
Thermocouples
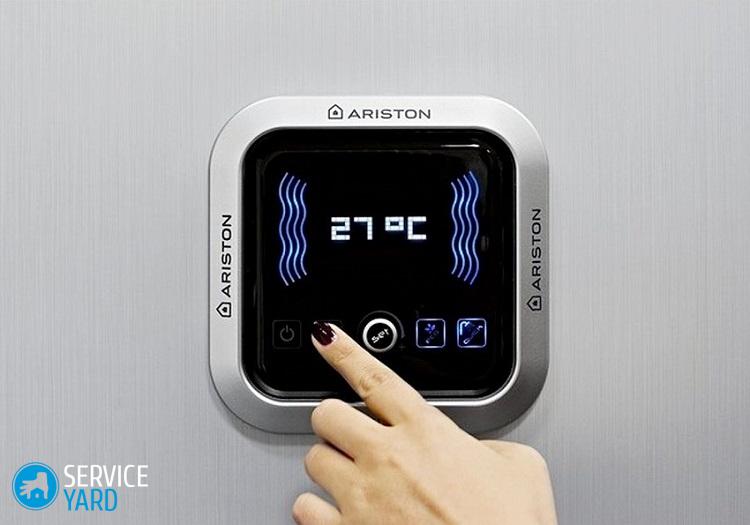
Thermostatic device or sensor - in case of malfunction, the water heating element continues to operate, but it remains impossible to determine to what temperature the water is heated.
A heating element or heater - the failure of this element is caused by accumulated scale on the surface of its housing and contacts, and in this case it must be replaced, which naturally leads to the question of how to disassemble the Ariston water heater.
Important! To prevent damage to the heater, just follow our instructions and tips for regularitydescaling the water heater.
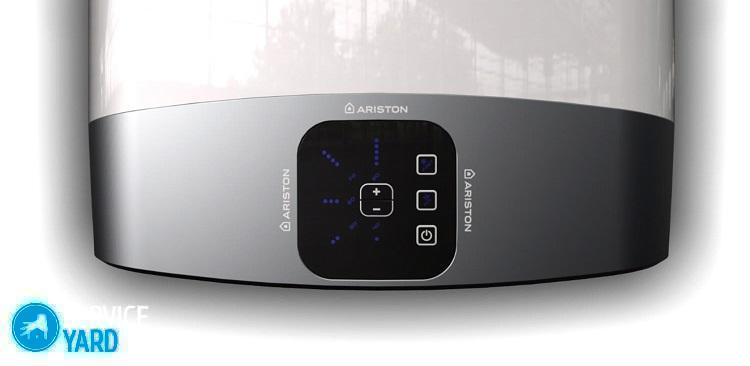
Thermostat - it serves to provide autonomous heating of water and is made in three formats:
- Rod.
- Electronic.
- Capillary.
The sensors respond to an increase or decrease in water temperature and turns on or off the relay, which connects the heater together with the electrical circuit.
Internal protection
Anticorrosive magnesium electrode - this element is located in incredible proximity to the heater. It performs the function of protecting the water heater body. During periodic replacements, there are no problems with it. The device, as a rule, fails due to the formation of various kinds of plaque on the contacts to be replaced.
Another part of the Ariston water heater is an insulating gasket, which provides sealing as well as electrical protection. The location of this gasket is in the place where the flange is in contact, on it are mounted a heating element, well, a magnesium anode, with the tank body directly of the heater.
Important! This gasket must be changed periodically, otherwise it may dry out, which will cause the boiler to leak.
Some models of the Ariston water heater have a component called an electronic control and management circuit, without which this unit will not start working.
Having figured out what exactly you need to monitor, you can proceed with the preventive work. For this, we’ll figure out how to disassemble the Ariston boiler with your own hands.
to contents ↑Important! If your water heater is not repairable and you plan to purchase a new one, find outwhich water heater is better.
The process of disassembling a water heater Ariston:
- Disconnect the water heater from the mains.
- Drain all existing water from the tank through the drain valve and the valve on the hot water nozzle.
- Unscrew the thermostat from the terminals, then remove it.
- Remove the heater heater - to do this, unscrew the bracket holding it, remove the heater from the socket, and do not forget to put a bucket to drain all the remaining water.
- For further and more comfortable disassembly of the boiler, remove it from the mounts and carefully lower it to the floor, putting the water heater upside down.
- Unscrew the flange and remove the gasket.
- Clean the tank of accumulated plaque - in most cases it accumulates at the bottom. This process is carried out manually, and after cleaning the tank is washed.
- Inspect the magnesium electrode - if it is in order, then proceed to check the heater. Remove limescale from it, as well as rust, of course, if it is present.
- Check the integrity of the spiral using a special tester. In the event that it was damaged, then purchase a new heater and install it during assembly of the water heater.
- Inspect the gasket and if it has dried, replace it with a new one.
- If during the inspection of the flange you find any damage or notice that it has rusted, then purchase a new one in the store, and then install it.
to contents ↑Important! The device is assembled in the reverse order. Before starting up the unit, be sure to check the strength of all fasteners and connections to avoid leaks and more serious problems.
Stock footage
In this article we told you how to disassemble the Ariston boiler and why this should be done. Take care of your home appliances in a timely manner, then it will serve you for a long time properly and without unexpected failures.
 (No ratings yet)