

How to install a hood in the kitchen with your own hands?
Since the kitchen is constantly preparing food, it needs air recirculation. Various smells, steam from the hob, burnt milk, fogged windows - all this negatively affects the condition of the room, even if it was recently renovated. In this article, we will describe in detail how to install a hood in the kitchen with your own hands, so as not to encounter similar problems. In fact, anyone can connect it, the main thing is to know the rules of wall mounting and grounding.
to contents ↑What should I look for when choosing and installing a hood?
First of all, it is recommended to decide which version of the equipment suits you, what power and device it should have. Installing a kitchen hood is a feasible task, even for a home master. The main thing before this is to carefully study all the information related to the installation, pay attention to every little thing and nuance. We begin, of course, with the selection of the most suitable device, according to the main parameters.
Classification and device types
The installation of a kitchen hood with your own hands largely depends on the principle of its action, so according to this criterion they are divided into the following types:
- Evacuators. They throw polluted air outwards, having previously driven it through a special filter that absorbs odors, and then let it in again. If in such equipment the air duct is replaced with a carbon filter, then a completely different version of the device can be obtained, described below.
- Circulating. They do not interfere with the functioning of regular ventilation, but are not in great demand, because they are expensive, their filters do not provide complete air purification, and also require constant replacement.
Depending on the installation location, hoods are divided into the following varieties:
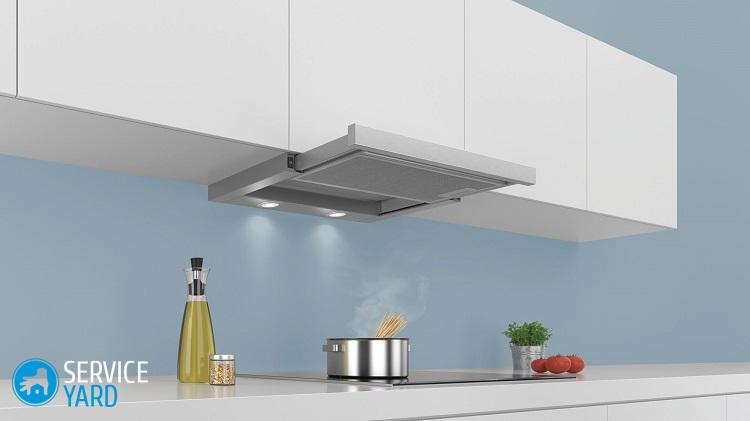
- Board. They are an oblong, horizontally located bell, which is part of the processing equipment. Use such devices mainly in professional kitchens.
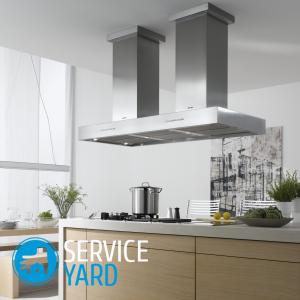
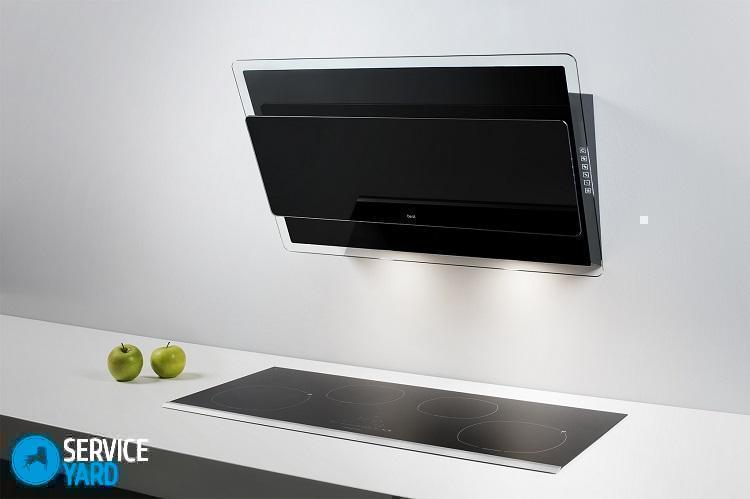
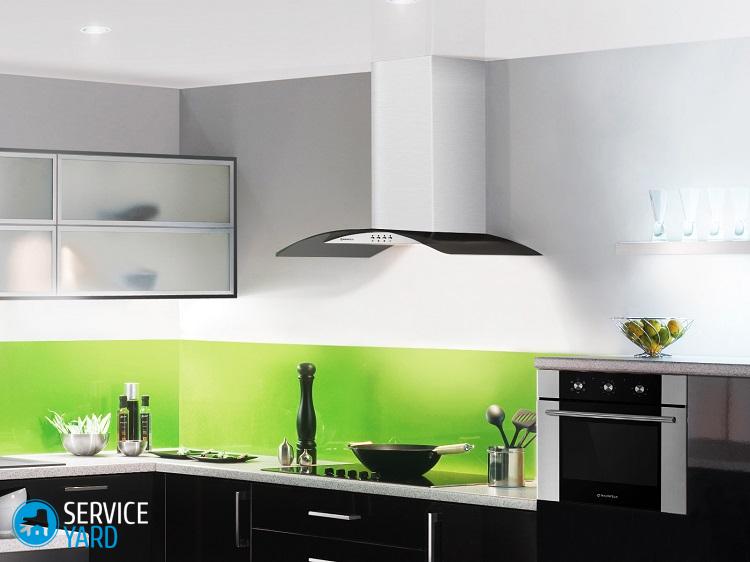
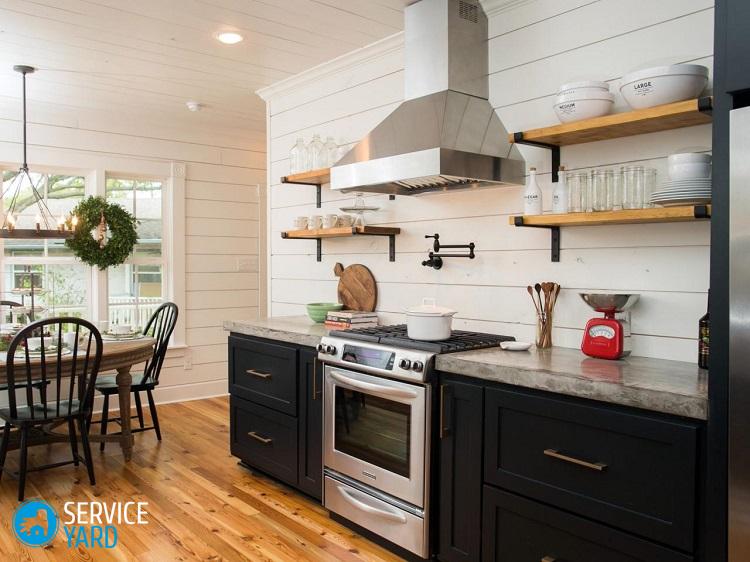
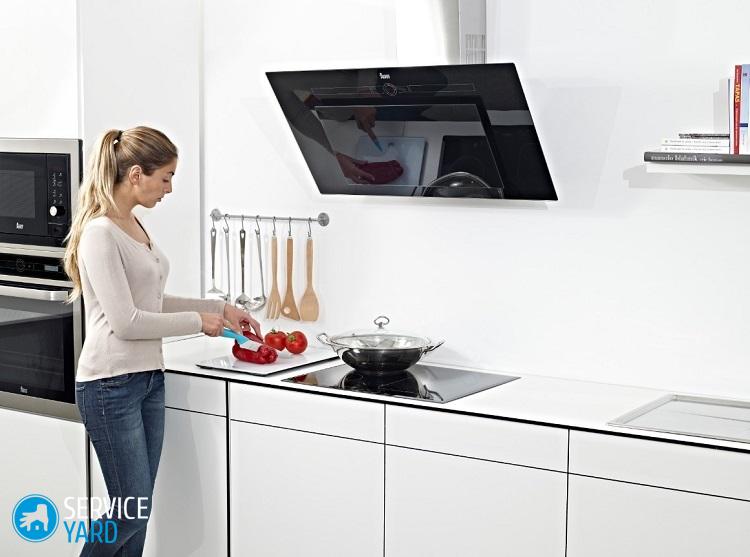
- Fireplace. These are separate devices that are an integral part of kitchen design. They are equipped with, in particular, elite rooms that are designed according to individual requirements.
- Island ceiling. Such hoods are several air intakes located on the ceiling. To install such a device, you will need false ceiling equipment and a developed duct system. Doing it yourself is almost unrealistic and expensive.
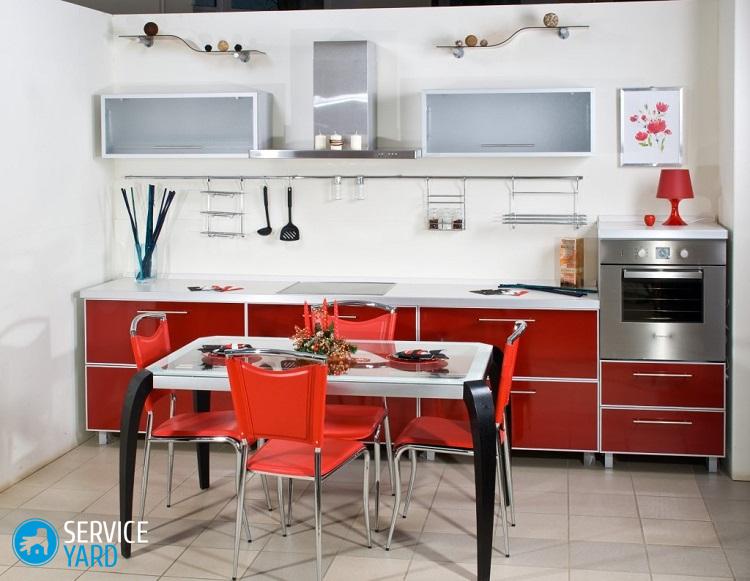
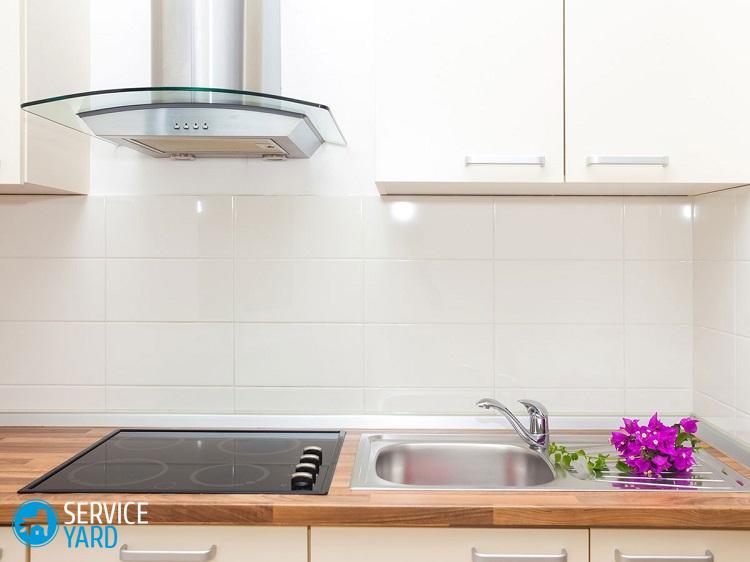
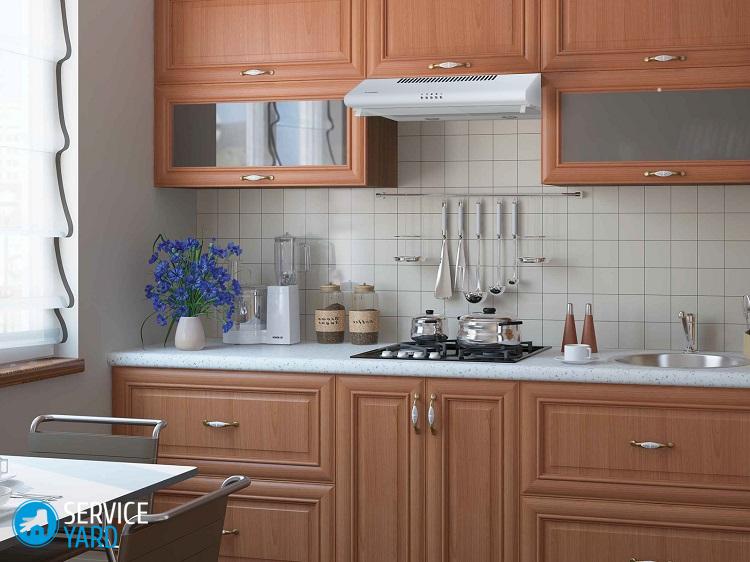
We conclude that for an ordinary apartment or private house, the owner of which is a person with an average income, the only acceptable option is to install a built-in kitchen hood directly above the hob.
electrical safety
Since this is an electrical device that creates an increased level of danger of electric shock, it is imperative to dwell on this parameter. Moisture and grease settle in any extractor hood, due to which electrical breakdowns often occur on the metal casing from the fan motor.
In fact, the room itself is a fire hazard, because here the air temperature often rises and the moisture level rises. That is why it is necessary to connect the hoods with three wires: zero, phase, earth.It is important to ensure high-quality grounding of the device before starting work. If your house is equipped with a ground loop, then there will be no problems, otherwise you will have to provide grounding yourself.
Ground protection device
To ensure reliable grounding during the installation of a kitchen hood, it is not necessary to dig a trench and drive metal pins into the ground:
- It is forbidden to carry it on a heating or water pipe. It should be connected to a neutral blank design.
- First you need to go into the porch or open the shield in the apartment, and you will see that the electric wires come out of the pipe walled in the wall. As a rule, it has a threaded pin with an already connected ground, this is a blank neutral base. It is from it that a multicore flexible wire should be drawn to the installation site of the kitchen hood.
- The device itself is connected to the network through a 6.3A disconnect switch.
Important! If other ground wires are already connected to this pipe, do not try to disconnect them, otherwise, you can disconnect something of your own. It is dangerous not only for your life, but also for other residents of the house.
It is enough to throw over the terminal and tighten it with a nut. If the pipe is too smooth, you just need to clean it gently and tighten your ground wire with a cable tie.
Ventilation
Installing the hood in the kitchen with your own hands somehow violates the regular ventilation device in the house. Therefore, experts recommend for her to break through an additional window leading to the ventilation duct or directly to the street. But so simply the problem is not solved. The cross-sectional area from the additional window does not increase, as a result of which three-quarters of the children from the kitchen are thrown into the ventilation, everything else goes back to the apartment.
Do not despair, there is a way out - an additional section of the air duct equipped with a dummy valve. Due to it, the cross-sectional area coincides with the parameters of the duct.
Odor neutralization
Often hoods are equipped with special odor neutralizers, they are of the following types:
- Chemical neutralizers. They need frequent replacement due to the fact that their active element is quickly dragged on with a fat film, without having fully developed its resource. In addition, they also exude various vapors that do not have a pronounced smell, but adversely affect human health.
- Electric ionization devices. They are arranged almost in the same way as ordinary air ionizers. But given the fact that the amount of impurities in the kitchen above the stove is higher than in the rooms, additional cleaning levels have to be created. A person working on a hob is exposed to an electric field emanating from the device, which adversely affects him.
- UV converters. They need constant cleaning of the lamps from the plaque. It is necessary to change the lamps from time to time, they are quite expensive. But such devices are completely safe and harmless.
Air duct
Hoods are not equipped with air ducts. Therefore, they are often built from an aluminum corrugated pipe with a diameter that coincides with the size of the top opening of the cap itself. If it is short - less than 1.5 m, then even the slightest fluctuations in ventilation can lead to the loss of its aerodynamic drag. But fortunately, you can even cut the corrugation with ordinary scissors, shape it into a square for subsequent pairing with a cracker.
Important! The corrugation does not buzz and does not ring, but rigid boxes can suddenly change their resonant properties, as a result of which the housewives have to cook to a monotonous buzzing sound.
The corrugation does not look very aesthetically pleasing, therefore it is better to think in advance where to hide it, or how to place it so that it is less noticeable after installing the hood in the kitchen.
to contents ↑How to install a cooker hood yourself?
The installation of an inclined hood in the kitchen and any other device of this purpose begins with the preparation of all the tools. In fact, nothing special is needed - all that is needed is probably in any home. The only exception is only an electric jigsaw with a special saw.
Installation of the hood in the kitchen occurs according to this scheme:
- First you need to make a box with a clapperboard. It is better to choose aluminum thin material, such as galvanizing or tin. It is better to place it on a cabinet directly above the stove. In the future, it will be installed with mounting foam in the ventilation window. To begin, try on it, mark the holes on the cabinet on top of the cabinet, corresponding to its lower part. You will need a pencil for this - you just need to temporarily remove the shutter and make markings. The sides of the crackers should also be outlined.
- Free the cabinet, remove it, in the bottom board with an electric jigsaw cut a recess to the size of the lower frame of the device itself. Drill holes with a diameter of 8-12 mm inside the circuit. Insert a file into it and cut along the contour. Remove the shelves, cut round holes for the air duct in them in the same way. In the upper board, cut a square hole under the cracker window with an allowance of 5 mm on all sides.
- To continue installing the hood in the kitchen with your own hands, lay the cabinet on the back side, insert a piece of corrugation into the round holes, form the end of it in the square, put it into the top hole. Cut 3 cm corners with scissors and bend them out.
- Put the cabinet together with the corrugation into place. Apply a little silicone without breaking on the bent strip of the pipe and on the tree in the corners. Up tilt the clapperboard, insert it into the ventilation window, lower it clearly between the marks on the cabinet board. After the silicone has dried with foam, blow the gap between the edge of the ventilation and the edges of the cracker box.
- Insert a hood from the bottom of the cabinet. Do not immediately put on the corrugation - just then bend its pipe up. Using self-tapping screws, attach the hood to the cabinet, put the corrugation hoods on the pipe, fasten with a clamp or wind it with soft wire.
- It is necessary to lay wiring in advance - it all depends on the design of the kitchen itself. If the hood is connected using an ordinary plug and socket, you can forward it directly behind the furniture. In other cases, the wiring is hidden in special boxes, behind the wall sheathing or under the baseboard. First, connect the ground. All must be properly tightened.
to contents ↑Important! You need to know not only how to install the hood in the kitchen, but also how to care for it. To avoid accidental fire, it is necessary to clean the device once every six months. It is enough to loosen the clamp holding the corrugation on the pipe, remove it, unscrew the screws and remove the cap. All hood elements become accessible for cleaning. Everything should be done carefully so as not to damage the thin material.
Stock footage
Now you can decide whether to install a hood in the kitchen with your own hands or invite for this specialist. The order and scope of the proposed work you now know, then you need to really assess your capabilities, technical literacy and skills.
- How to choose a vacuum cleaner taking into account the characteristics of the house and coatings?
- What to look for when choosing a water delivery
- How to quickly create comfort at home - tips for housewives
- How to choose the perfect TV - useful tips
- What to look for when choosing blinds
- What should be running shoes?
- What useful things can you buy in a hardware store
- Iphone 11 pro max review
- Than iPhone is better than Android smartphones
 (No ratings yet)