Oil heater - DIY repair

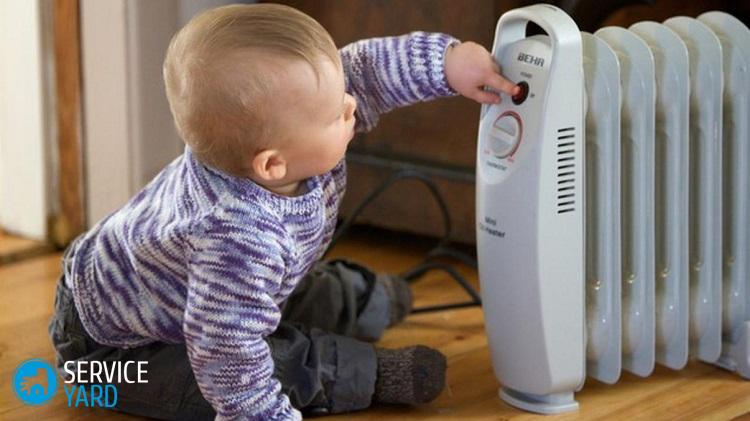
Autumn comes, on the street it begins to rapidly cool, in apartments too. Good for those who have individual heating systems - when you want, then you heat it. But for most residents of urban high-rise buildings, the time when the outside temperature tends to zero, and the heating systems are not ready yet, is very painful. Can help out the oil cooler. It is reliable, but any equipment breaks periodically. Oil heater - do-it-yourself repair is always possible? Let's talk about it.
to contents ↑Oil cooler device
Do not think that having bought such a unit, you will constantly think how to fix the oil heater. Quite the contrary - it is reliable enough, it can work for decades. But technology is technology, failures can occur at the most inopportune time - and what to do? Throw away the old and buy a new one? Take your time. It is possible that the breakdown is not so serious and you can cope with it even without a service center. But in order to repair something, you need to know how this thing works, on what principle it works.
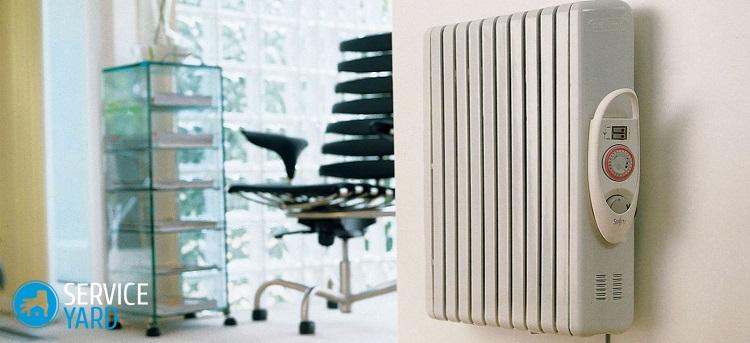
If you carefully consider the unit, you will see that it consists of the following parts:
- accordion cases;
- TENA;
- control unit.
Important! If you are faced with a choice of which type of radiator will satisfy your needs, we recommend that you read the articles:
Housing
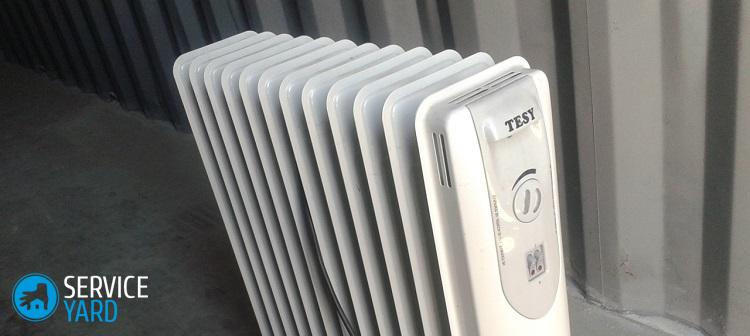
There are not many nodes, and each has its own task. It’s clear why you need a case. Its device is quite simple:
- 2 panels welded together.
- inside is oil and some air.
With panels and oil, even a schoolboy is more or less clear, and why is air needed? Everything is very simple - so that the radiator does not rust from the inside, the technical oil must come in contact with air. It would have been much worse if there had been water inside instead - the body would have torn in two. And if there is no air bag, the radiator may explode.
TENY
Heating elements do not need to be searched for a long time - they are located in the lower part on the side. As a rule, there are two of them. Actually, this is the most important part, as it warms up the oil. Near the heating element you can easily find the control and safety unit. It consists of several nodes, is responsible for the stable operation of the unit.
Its main detail is a thermostat with a fuse. Both elements are needed:
- The temperature of the entire system depends on the thermostat, and accordingly - the provision of heat to your apartment.
- The fuse serves to ensure that the power supply and the device itself do not fail. It works if oil starts to ooze.
Two words about fuses
DIY oil cooler repair often comes down to replacing the fuse. Therefore, it is useful to know what they are:
- disposable;
- reusable.
In some devices, wire fuses are installed - they serve only once. As for reusable elements, they are bimetallic tablets.
Control relay
Almost all modern electrical appliances have a control relay. Sometimes the relay from one unit can be safely put into another, but this does not always happen. If we talk about types, then we can roughly distinguish two:
- like dummies;
- like irons.
Important! The oil cooler relay is the same as in the kettle, and in case of emergency one can be replaced by another. But the part from the iron in this case does not fit. This node is suspended in the air - it does not touch the case.
Circuit breakers
Do not even take on the repair of the heater yourself, if you do not know which wire goes where. Having looked closely at the unit, you will see two switches on it. Each is joined by three postings:
- phase;
- zero - comes from the heater;
- wire from the relay.
Important! Both the operation of the unit and the backlight depend on the state of the wires.
Electric circuit
Different electrical appliances not only have similar relays - their electrical circuits are also similar. And again, two types of household appliances can be distinguished - like dummies and irons. The radiator circuit is similar to the one on the iron. If you still have instructions - great! In it you will find which element to which wiring is connected. But it happens that the oil heater lasts a long time, and the instruction disappeared somewhere. You can easily find all the necessary data on the Internet - just enter the heater brand into the search engine.
The principle of operation is as follows:
- Both TENA are included.
- Electricity consumption is increasing.
- The device gradually reaches the desired temperature.
- When the room is cold, the heating elements can work for a very long time without shutting down.
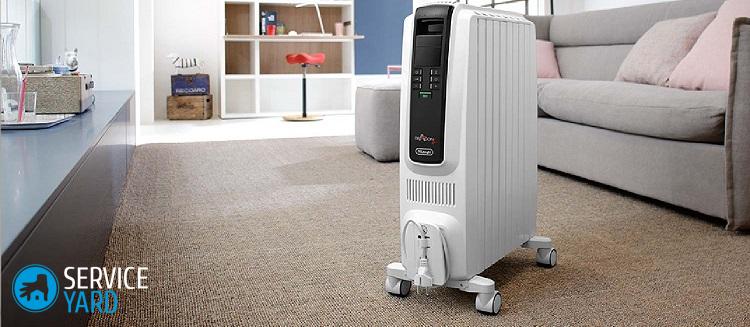
- To prevent heating elements from overheating, there are ventilation slots in the case - they do not allow the power supply to overheat.
- When the room becomes warm, cold air ceases to fall into the cracks, the thermostat is activated and the unit turns off.
to contents ↑Important! Do not dry things on an oil cooler - jackets, pants and socks close the slots, as a result, the unit shuts off faster: if something needs to be urgently dried, try to keep the slots open.
What is broken?
Now that you know the device of the oil heating radiator and the principle of its operation, you can talk about breakdowns. Most often, one has to deal with three situations:
- The unit began to make unpleasant sounds - something was whistling inside.
- Bimetallic plates are out of order.
- One heater or even both ordered a long life.
Why is he whistling?
How to fix an oil heater if there is a strange whistle? This effect is observed in two cases:
- part of the oil somewhere disappeared from the tank;
- the unit does not stand as it should.
Option 1
In this case, you need to carefully inspect the radiator. Oil from a closed housing alone cannot go anywhere. If it has become scarce, look for a leak.
Option 2
This is a very simple case, which is especially often encountered by those who tend to carry it from room to room. If the radiator is at an angle, albeit barely noticeable, an air plug appears inside.
The way out of the situation is simple - you need to put the unit straight. By the way, this also applies to transportation. The device that you want to transport from home to the cottage must be positioned vertically in the car.
Important! Do not expect the heater to stop whistling right after you put it in correctly. He needs to stand for about an hour to enter the operating mode.
Bimetal plates
If the unit does not work, but there is no external damage or burning smell, then you will have to deal with individual components in order to repair the oil heater and use it further. The most common failure is the failure of the fuses.
In order to deal with them, you need:
- new fuses - the same kind as they were;
- screwdriver;
- paper;
- camera.
Important! With fuses and screwdrivers, everything is clear, but why paper and a camera? Everything is very simple:
- You will have to unscrew a certain number of screws, and then screw in as much as it was. It is best to put them on a piece of white paper or in a box.
- As for the camera, so that at the end of the process there are no unnecessary details, you need to remember what position it is in and in what order it is unscrewed. It’s easiest to shoot, but you can sketch it.
And then everything is very simple:
- Set the temperature control knob to the minimum heating position.
- Remove all screws.
- Unscrew the fixing nut.
- Separate the frame.
- Separate the spring.
- Remove the plate.
- Remove the sensor rod and magnet.
- Replace the new plate and fasten all parts in the reverse order.
Important! You made a decision to assemble the heater yourself and don’t know how to do it right and where to start? Then use the information that we have prepared for you in the articleDIY heater.
Heater does not heat
If the unit does not want to turn on, most likely the heater has failed. Heat elements are of two types:
- built-in;
- removable.
to contents ↑Important! In the first case, you cannot do without a service center, and they will not always help there. It is likely that you will have to buy a new unit. But with a removable heating element it is much easier to understand. It is enough to buy a new element, remove all the mounting bolts, disconnect the wires and put in a new one.
Clean contacts
If the unit heats up, but weakly, check the contacts. Perhaps they have oxidized. Then they will have to be cleaned, and the device will be as good as new:
- Remove the radiator from the base.
- Loosen the fixing screws.
- Remove emphasis.
- Remove the washers (it is convenient to use a screwdriver).
- Remove the anchor. Contacts are anchored. If they have spots of oxides or even flakes, they must be removed. In the first case, it is enough to wipe with alcohol. Flakes are a much more difficult situation, although it is quite possible to deal with it. Sand your contacts.
- Then put them in their previous position and reassemble everything in the reverse order.

Housing
If the oil starts to leak, there's nothing to be done, you will have to repair the oil heater case. Holes occur in two cases:
- the case is rusted inside;
- the radiator hit something outside.
It is easy to detect a leak, it is usually visible - and oil is leaking. The procedure is complicated, but nothing is impossible for the master:
- Drain the oil.
- Flush the tank with alcohol.
How to repair?
Special repair kits for oil coolers are not available, but for other units they are. The one designed for the refrigerator is right for you. You can buy it at a hardware store or an electrical goods store. You will also need a soldering iron and solder. As the last fit:
- copper-phosphorus composition;
- brass;
- silver.
Heater Repair
The work is painstaking, and it must be done carefully so that the oil does not have the slightest chance to go outside:
- Strip the damaged area.
- Coat it with an anti-corrosion compound.
- Wait for the liquid to dry.
- Wipe the soldering spot with alcohol.
- Apply solder to the soldering point.
- Preheat it with a burner - this is usually the repair of those parts of refrigerators that must be airtight.
Important! Do you have a cottage that is not heated in the autumn and winter and are thinking about buying a mobile device? Then the article is useful to you"ABOUTheaters for summer cottages. ”
Refill the radiator
After you managed to fix the oil heater with your own hands, it must be filled with oil. In principle, this is not difficult - it is simply poured through the neck, the lid is twisted or tightened with a screw (it depends on the design). But there are a few subtleties:
- Determine the type of oil - it can be organic and mineral, you can not mix them.
- If you know the type of oil, just add the appropriate one.
- If the type of oil is unknown to you, drain it completely, rinse the unit and fill in any.
to contents ↑Important! Do not forget to leave an air cushion - when heated, the oil tends to increase in volume, so you need to leave a margin of space of about 10%.
Stock footage
Do it yourself, you can repair almost any device - however, some nodes are not disassembled, they must be completely replaced. If you do everything right, the oil heater will give you warmth for a very, very long time.
 (No ratings yet)