Do-it-yourself heater
Many people, due to the lack of centralized heating in a country house or garage, come to the decision to assemble home-made heaters. Such heating equipment may be needed in the case of construction work or in the cold season after the cessation of centralized heat supply. Other homeowners decide to make a heater with their own hands to save on the purchase of factory-made devices, which, as a rule, are not cheap. But, regardless of why a person decided to start making a home-made heating device, he must perform all the work correctly and in accordance with applicable state standards. We will talk about this in this article.
to contents ↑Advantages of homemade heaters
Such devices have a lot of undeniable advantages over traditional factory analogues, but the most important of them are the following:
- Homemade appliances are made from improvised means.
- Low cost price.
At home, such devices are manufactured in strict accordance with the applicable rules for the operation of gas and electrical appliances. Nowadays, you can independently make an infrared heater, more efficient and inexpensive in comparison with commercially available analogues. Any person can also make an oil heater, and at the same time it will be distinguished by increased power indicators.
to contents ↑Proper Homemade Home Heaters
It doesn’t matter what you decide to make a heater for your home from, what type of energy source you choose, it must in any case meet the following requirements:
- Be safe in terms of operation.
- Differ in ease of manufacture.
- Have enough power.
- Be cost effective in terms of energy consumption and manufacturing.
- Have a high level of performance.
- Compact.
- Be convenient and easy to use.
Important! Unfortunately, not all factory-made devices can boast of cost-effectiveness, efficiency and safety today. Home-made equipment is characterized by an increased level of performance, power, ease of use, but with regard to security, this is a moot point. Therefore, all home-made devices need to be checked before operation.

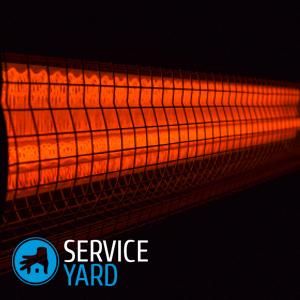
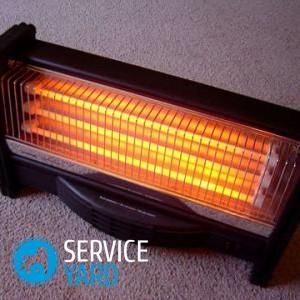
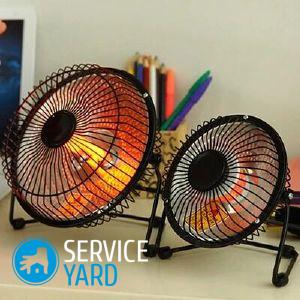
How to make an infrared heater yourself?
All infrared emitters used for space heating are highly efficient and effective. This is achieved due to the unique principle of operation. The waves in the infrared spectrum do not interact with air, but the temperature of all surfaces in the room rises. As a result, they are already heating the air. That is, the maximum amount of radiant energy is converted into heat. That is why such heaters are more often manufactured at home.
Graphite Dust Infrared Emitter
Now we will look at how to make a do-it-yourself heater for a room that works in the infrared spectrum.
Prepare the following elements for work:
- Graphite, crushed to dust.
- Epoxy adhesive.
- A wire with a plug.
- Two pieces of glass or transparent plastic of the same size.
- Thermostat.
- Copper terminals.
- Wooden frame corresponding to the size of the pieces of plastic.
- A brush.
Perform the manufacture of the device according to this scheme:
- Prepare a work surface. Take two pieces of glass or plastic of the same size, preferably 1 by 1 m. Clean the material from dirt, paint residues, traces of greasy hands - you can use alcohol. As soon as the surface dries, you can begin the main work.
- The heating element will be graphite dust. She conducts electric current with great resistance. The dust begins to warm up when connected to the mains. As soon as she reaches a sufficient temperature, she will immediately begin to emit infrared waves and heat the room. But first, the conductor must be attached to the work surface. Just mix the carbon powder with glue until a homogeneous mass is formed.
- Using a brush, make tracks from the mixture prepared in the previous step on the glass surface. Do it in a zigzag fashion. It is important that the zigzag loops do not reach the edge of the glass by 5 cm, and the graphite stripes begin and end on one side. In this case, you do not need to indent from the edge of the glass. This is where the terminals will be attached.
- Put the glasses to each other on the sides on which graphite is applied and fasten them with glue. To ensure a high level of reliability, place the workpiece in a wooden frame. To the places where the graphite conductor comes from, attach copper terminals and a wire on different sides to connect the device to the mains.
- Dry the heater for a day. Connect a thermostat in the chain to facilitate operation.
Important! This device is good because it does not heat up much, which means that it is impossible to burn yourself. In addition, its glass surface can be decorated in any way, since this will not affect the integrity of the device itself.

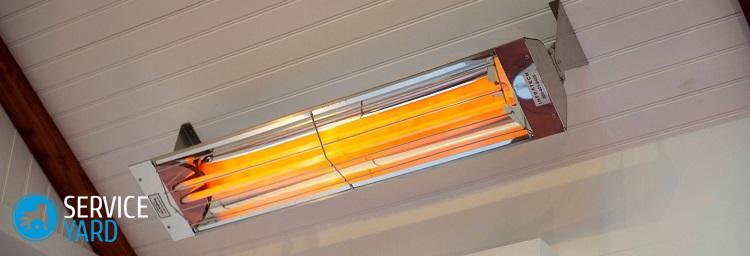
Film infrared heater
If you are interested in how to make a heater for a full-fledged heating of a medium-sized room, then use ready-made film materials that can emit infrared waves. In the market they are present in large quantities.
Important! When buying material, pay attention to the composition of the heating element. Remember that it should not include lead, which is incredibly hazardous to health.
For assembly, you will need the following structural elements:
- Two sheets of infrared film with a size of 500 by 1250 mm.
- Foamed, foil, self-adhesive polystyrene.
- Two-wire cable with plug.
- Decorative corner.
- Polymer glue.
- Natural fabric for decor.
Important! If you decide to buy such a unit, we recommend you use the review, which is based on customer reviews -"The best infrared heaters".
Assemble according to the following instructions:
- Prepare the wall surface for arranging a home-made heater by attaching thermal insulation. It is important that its thickness does not exceed 5 cm. Remove the protective film from the self-adhesive layer, attach the polystyrene with the foil up to the surface. Press the material firmly against the wall.
- Consistently connect the sheets of infrared film. Put glue on the back of the material with a spatula. On the already mounted polystyrene, attach it all. Attach the thermostat and the cord with the plug to the film.
- Decorate the appliance with a cloth. Simply attach it with decorative corners on top of the film.
Important! The entire process is described in more detail in the article. "ANDDIY infrared heater. "
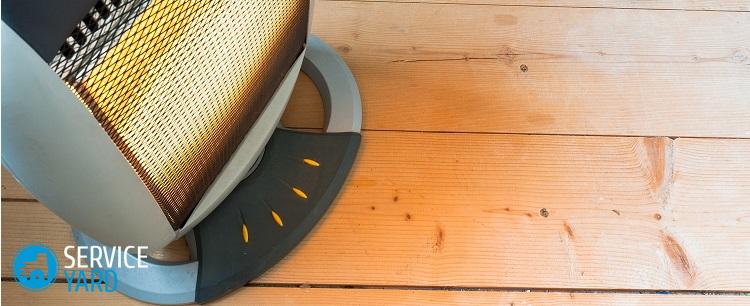
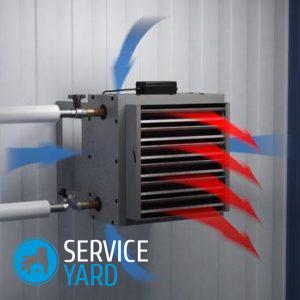
How to make an oil heater with your own hands?
Next, we will look at how to make a high-power mini heater.First of all, carefully study the factory models of oil devices, after which you will understand that you can independently realize any of them in life.
The main thing is to understand the main nuances of their manufacture:
- Note that the capacity for the future heater must be completely sealed, otherwise - the coolant will flow out of it, which will inevitably lead to overheating of the heater.
- It is better to use mineral oil, preferably transformer, as a heat carrier. They fill the tank with 85%, the rest of the space is left for air, which is necessary to prevent water hammer.
- If you decide to use a cast-iron tank, then it is recommended to use a steel heater for heating. For stainless steel tanks, copper TENs are more suitable.
Important! It is forbidden to use magnesium anodes in this system.
Prepare materials for work on the list:
- Steel pipes with a diameter of 7 and 15 mm, or an old cast iron radiator.
- TEN.
- Thermostat.
- Transformer oil.
- Two-core cord with plug.
- Pump with power up to 2.5 kW.
- Welding machine.
- Drill and drill set.
- Electrodes
- Pliers.
Do it yourself oil heater using this technology:
- Prepare the tank. If you took an old cast-iron battery, disassemble it into sections, clean from rust and dirt, degrease the surface. If you need a unit of increased power, then prepare a welded structure from steel pipes, while large pipes should be horizontal. Small pipes will act as jumpers. Leave the bottom hole for installing the heater and pump. Bolt the heater.
- If the device is large in size, it will not be able to circulate air normally, so it is better to use a pump. Place it at the bottom of the device, but make sure that it does not come into contact with the heater.
- Check the equipment for leaks after mounting all structural elements.
- Fill the device with coolant. Close the drain hole with a stopper.
- Plug in the appliance. But do not forget to ground it before the first start.
Important! The use of gas devices is cheaper. A perfect solution for a summer residence or a country house will be a gas-type convector. Click on the link that describes how to dodo-it-yourself gas convector.
How to make a candle heater for the home?
You are wondering how to make a heater with your own hands without electricity, because it often happens that electricity disappears in a house for some reason, and you need to be prepared for such situations. Use the original system called a “candle heater”. Outwardly, this device is like a candlestick, but it is indispensable in the absence of electricity.
Need to work:
- Three flower pots of different diameters.
- Metal bolt.
- Washers and nuts.
- Ordinary candle.
Important! Find out how you can create from the available elements and accessories that are at handdo-it-yourself fan heater.
Heater assembly is quite simple:
- Put the pots on top of each other.
- Connect them with a long bolt to the nuts and washers strung on it.
- From below install a candle that produces heat.
Important! This idea may seem ineffective to you, but, in fact, the candle has a considerable supply of energy. And the labyrinth cap located above the flame collects and accumulates energy, while heating up very much. It is from it that heat is slowly transferred to the air through the ceramic surface of the radiator.
Today, electric convectors are gaining more and more popularity. Read which ones exist best convectors for heating.
to contents ↑Stock footage
In this article, we have offered you several options for heaters, which you can assemble yourself. Choose the one that will be available to you in terms of available materials and skills, then the result will be what you expected.
 (No ratings yet)