Connect the gas stove
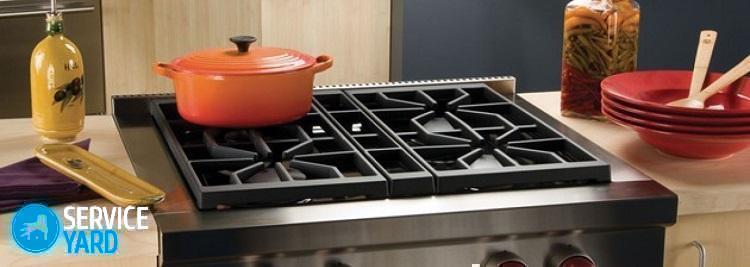
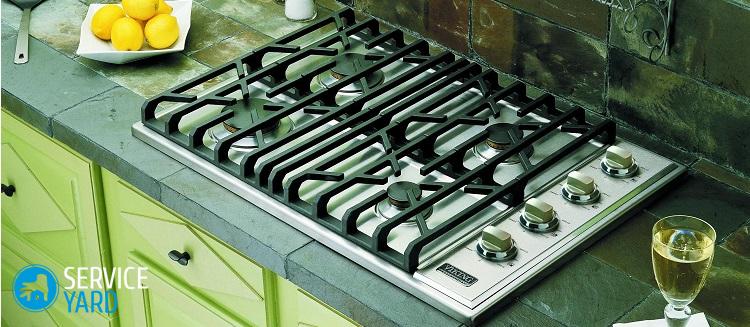
Despite the huge variety of hobs, gas models remain invariably popular and the most demanded in the home appliance market. The question of how to connect a gas stove is asked by almost everyone who decided to try to install it on their own. In fact, this is not such a difficult job, but it requires careful observance of the rules, which we will tell you about in this article.
to contents ↑Plate preparation process
In order to connect a gas stove without additional assistance, you must purchase:
- special gas hose, the length of which is not more than 2 m;
- paronite gaskets;
- sealing tape: from teflon - FUM, or “Loktayt” thread.
Important! If your kitchen is already equipped with furniture and you plan to add new appliances to it, use separate instructions, how to embed a gas stove in a countertop.
It is also better to replace the inlet crane, which is located on the branch, with a ball valve with a mounting parameter of ½ inch.
Important! In order for the components to be of good enough quality, purchase them in specialized stores, and not at the “flea market”. The safety of equipment operation depends on this.
A bit about the hose
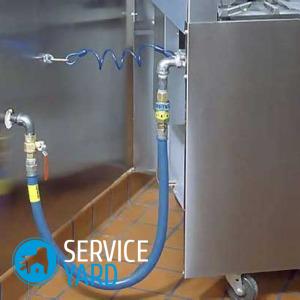
At the moment, the connection to the gas pipeline takes place using flexible rubber hoses, bellows, a corrugated metal pipe or with a metal braided hose:
- The most expensive, but the most durable and reliable connection is with the help of a bellows, because its service life is more than 25 years.
- Connecting gas using a metal-braided hose with a yellow stripe glued on it, which conditionally means gas, is somewhat cheaper than a bellows, but at the same time, their life is no more than 5 years.
- The most budget option is a black rubber hose, which is designed for gas, and its service life is approximately 3 years.
Important! The hose must be only gas - it is strictly forbidden to install other hoses.
Instruments
To connect the gas stove, you will need:
- Adjustable wrench;
- Spanner 22x24 mm;
- Flat screwdriver;
- Shaving brush or shaving brush;
- Soap dish with a ready-made soap solution to check the density of the compound;
- Clamps to clamp the ends of the hose on the fittings.
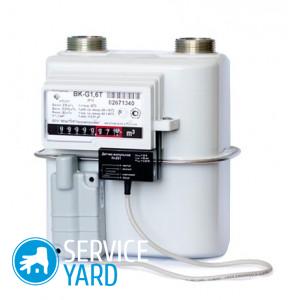
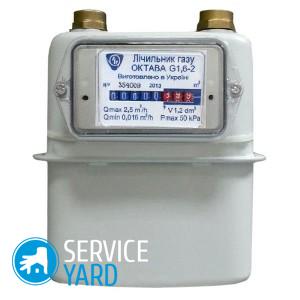
to contents ↑Important! If you plan to install flow meters, it’s better to do it right away, because you will need to seal the gas service representatives. Perhaps our tips will come in handy:
Old stove shutdown circuit
First of all, you must turn off and then remove the old stove. To do this:
- Turn off the tap, which is responsible for supplying gas to the lowering.
- Then use a wrench to unscrew the hose fitting that supplies gas to the stove.
- Unscrew the lock nut on the lowering, then - unscrew the coupling.
- Using one key, hold the tap; at the same time, the flare is screwed out, which is screwed into the tap itself.
- After that, turn out the old tap, remove the old stove and clean the place to install a new one.

Install a new plate
Connecting a gas stove in an apartment will not be difficult if you act according to this algorithm:
- On a previously prepared section, install a new gas stove, at a distance of no more than 4 m from the gas pipe.
- After that, you must block the total transmission of gas to the apartment, as a rule, the crane should be located on your landing.
- Dismantle the old gas supply valve to the stove itself, which is installed on the outlet.
- Clean the threads on the layering, wrap a sealing tape over it and screw in a new ball valve.
- The end of the tap, which remains free, must be filled with a fitting, but before screwing it, wrap a sealing tape around the thread.
- Screw a fitting into the outlet pipe of your plate, put a rubber hose on all ends of the fittings and secure them with clamps.
- At the junction of the hose with the stove, install a gasket with a metal mesh in order to prevent clogging of the device with various debris from the main pipeline. This is done to significantly extend its service life.
Important! The hose you installed must be able to sag freely from the supply valve to the plate; tension should not be allowed under any circumstances.
Even if you yourself connected the gas stove, representatives of the gas service must definitely seal it.
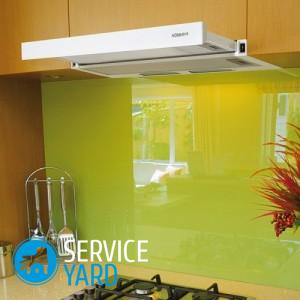
Important! So that nothing further distracts you in the arrangement of the hob, connect in one fell swoop and extractor hood. It will be much easier to choose it if you read the article by reference “Hood for a gas stove”.

Connect the gas stove to the gas bottle
There are areas in which there is no main gas pipeline, therefore, for the operation of hobs, and sometimes heating, liquefied gas is used in special cylinders.
Important! Installation of special gas equipment is allowed exclusively by gas service specialists. Incorrect connection of devices, as well as their subsequent operation, can lead to accidents.
But in rural areas you have to wait a long time for the arrival of a specialist, and quite often the owners of the house independently carry out both installation and connection of gas appliances.
During connection, the following rules must be observed:
- The gas stove must be at least 1.5 m from the cylinder. This requirement is from the list of fire safety rules. The safest option is to install the cylinder outside the room, in a locked metal box.
- The room in which the stove will be located must have excellent ventilation, so that in case of leakage, gas can be freely removed from the room. The best option for this would be to install a hood over the stove.
- Under no circumstances should the cylinder be closer than 1.5 m from all heating appliances.
- In order to connect the plate to the cylinder, in addition to all of the above materials and tools, a reduction gear is required. This pressure reducer lowers a very high pressure in the cylinder until it becomes operational, thereby ensuring stable operation of the nozzles. This device is installed on the gas cylinder itself.
Important! Be sure to install a gasket made of paronite under the fitting of your gearbox. Put a rubber hose on the fitting and squeeze it with a clamp.
- Attach fittings to all outlet nozzles of the plate, seal the joints with tape. After that, put the other end of the hose onto the fitting and secure it with a hose clamp.
- After that, open the valve on the bottle, check all connections for leaks with soap foam. If you find bubbles, be sure to disassemble the connection, re-seal with tape and reassemble, then check it again for density.
Important! Never forget to check the connections for leaks. Otherwise, the consequences can be fatal.
- If the gas stove was prepared for operation from gas from the main, then when it is connected to a cylinder with already liquefied gas, the burners will not work and smoke well. In order to eliminate this drawback, you must replace the burner nozzles with smaller nozzles with nozzles.
Important! The most popular today are stainless steel plates. If you, too, have preferred this, simple methods will come in handy, how to wash the stove.

Question regarding documents
The process of connecting the stove does not begin with the preparatory work, as you might think, but with the purchase of the stove itself, and then - its unpacking very carefully. But even after completing the most thorough inspection, you should not rush to start work, because you should also receive a list of special documents from the gas service.
To do this, you must provide local gas workers:
- personal passport with a document on the composition of your family;
- special title document for housing;
- passport for the counter;
- maintenance contract;
- gas receipts;
- subscriber’s book;
- certificate of ownership.
Only after providing all these documents to Gorgaz, it will give you:
- a subscriber’s book with notes on instruction on the necessary rules of behavior with natural gas - you and your family members;
- certificate statements on the account of gas supply to your apartment;
- contract or a copy of the contract for this same supply of natural gas.
to contents ↑Important! After receiving all the necessary documentation, try to connect the stove as soon as possible. The warranty period extends from the date of purchase of this household appliance, and not from the moment it is connected. Therefore, if you want to put the newly purchased stove indefinitely in the pantry or garage, this is not a good idea.
Stock footage
Now you know how to connect a gas stove in an apartment and a private house. But if you have not performed such work before this time, it is better to entrust this procedure to specialists, since even a slight error in connecting the equipment or putting it into operation can cause an emergency with a life threat. And the information obtained from this article will allow you to complete this process faster and to control the literacy of the actions of the masters.
 (No ratings yet)