Repair of household appliances
- What will be needed for repair?
- Take care of the documents!
- What is possible repair of household appliances?
- Where to get spare parts for repair of household appliances?
- Safety measures for the repair of household appliances
- How to replace the battery in a quartz watch?
- We repair a heater
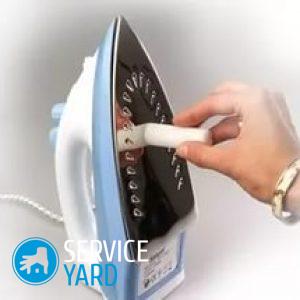
- We repair an iron
- We repair a kettle
- Stock footage
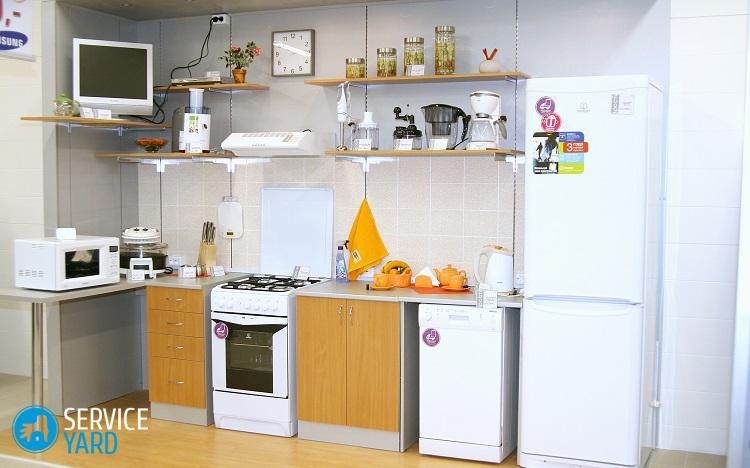
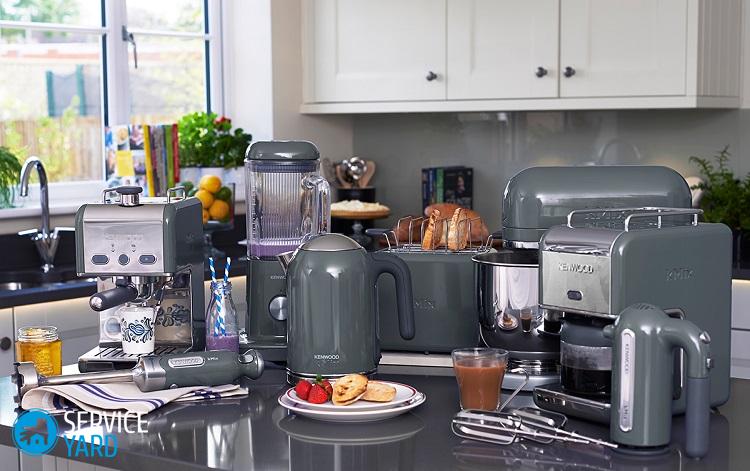
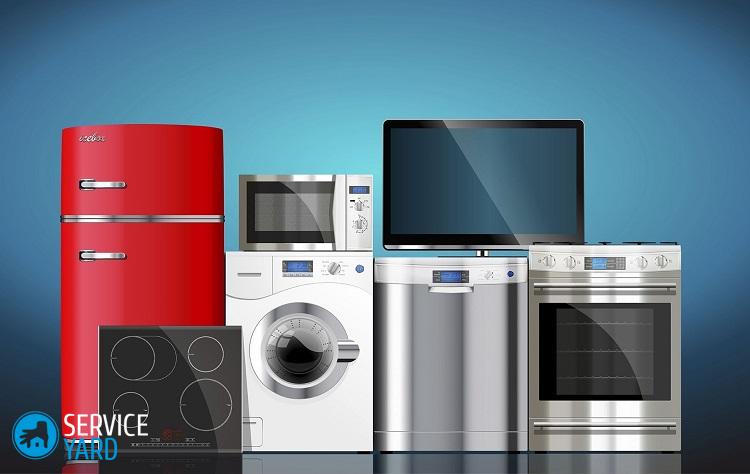
Washing machines, vacuum cleaners, heaters, air conditioners, refrigerators are far from a complete list of devices without which the life of a modern city dweller would turn into hell. People just got used to doing without all this. But household appliances periodically fail, and the question arises of what to do with it. Is household appliance repair available to everyone? Let's talk about it.
to contents ↑What will be needed for repair?
Of course, all household appliances are arranged differently. Each of them has many nodes that fail for various reasons. Accordingly - in order to fix the malfunction, you will need different tools. It may very well be that when you decide to repair an air conditioner or a washing machine, you will have to buy some tools.
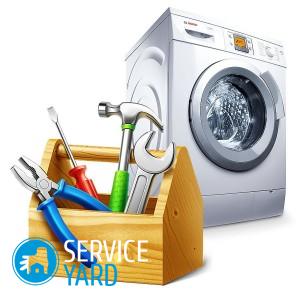
Standard tool kit
But there is a certain set that every self-respecting owner needs, if only he is not going to run to the service center because of every minor breakdown:
- tester (best multimeter);
- a set of screwdrivers of different sizes;
- screwdriver;
- pliers;
- chisel;
- sharp knife;
- drill with nozzles.
Important! Do not rush to repair expensive equipment yourself, as this may affect warranty service. In the event of a serious breakdown, you may be refused a free repair or replacement of a broken unit. Find out more in our separate review. “Warranty repair of washing machines”.

Why is all this necessary?
- Testers are needed to determine which elements of the electrical system are out of order.
- You can buy screwdrivers separately, but there are many sets of screwdrivers of various sizes on sale, including Phillips screwdrivers. So it’s better to immediately get a couple of different sets.
- The purpose of the screwdriver is understandable - it is needed not only for repairing household appliances of large models, but also for fixing built-in equipment, and is also useful for manufacturing all kinds of shelves and cabinets.
- Do not open the wall of the washing machine with a chisel, but in some cases you just can not do without this tool.
- A sharp knife is never superfluous.
- As for the drill with nozzles, it is not always needed for repairing household appliances, but it can be very useful for fixing it.
Important! In general, there are not many tools, and it is better if they are always at hand, when you need to perform minor or more complex repairs of home appliances with your own hands. And so that they do not lie all these screwdrivers and pliers in the most unexpected places, you can buy a special organizer for them with containers of different sizes and shapes.

What else is needed for repair?
In addition to tools, at any time to start repairing household appliances with your own hands, it is useful to have:
- fasteners;
- several types of glue;
- masking tape;
- marker;
- camera.
to contents ↑Important! With glue and fasteners, everything is clear, but why do I need a camera? And everything is very simple. Very few people know thoroughly the device of all household appliances. If you undertake some kind of repair for the first time, it is very important not to confuse anything during assembly and not to leave unnecessary parts.The arrangement of elements is best to photograph before disconnecting, the benefit of modern digital photographic equipment makes it possible to do this without problems.
Take care of the documents!
Each new appliance is accompanied by instructions. It certainly needs to be saved:
- If the appliances are from a reputable manufacturer, everything is written in the instructions - from equipment to repair methods for household appliances.
- When buying equipment from hand, do not forget to ask the former owners if the documentation has been preserved. This will greatly facilitate your life when you have to change the seal, put in a new heater or do other repairs of household appliances with your own hands.
Important! On the Internet now you can find instructions for any devices, including old ones. You just have to make sure that your computer reads formats such as pdf or djvu - it is in them that the technical documentation is most often stored, since such formats allow you to place not only text, but also pictures.
What is possible repair of household appliances?
There are problems that anyone can fix, if only his hands grow out of the right place. For example, it can be such a repair of household appliances:
- put a new battery;
- replace the heater and other components;
- change seal;
- clean the filters.
Failures also occur, for which it’s best not to take it yourself if you do not have the appropriate knowledge and skills. For example, it is better not to do the repair of household appliances with your own hands:
- If the touch panel is clogged, it is best to contact a service center, because flashing is not ruled out, which you can hardly do yourself.
- Some washing machines will not work without a specialist to replace the power cord.
In general, in each particular case, it is necessary first of all to soberly assess your strengths and capabilities.

Where to get spare parts for repair of household appliances?
In the salons where household appliances of one or another company are sold, there are usually accessories. So for a replacement hose or a new battery, you should go there.
Why is that?
- The manufacturer may have their own standards, and accessories from other companies may simply not fit your device.
- The company salon employs people who deal with this particular brand, they have probably been approached with a variety of questions on repairing household appliances more than once, so you can count on a consultation.
- If you have lost the instructions for your device - you can find it in the company’s salon, there you can also scan it or, in extreme cases, retake it on your camera.
Important! Accessories from other companies can be not only useless for your device, but even dangerous: if you have to use them, find the correspondence table.
Safety measures for the repair of household appliances
Having decided to take on the repair of household appliances with your own hands, think not only about putting in order the appliances, but also about your own safety:
- The device must be disconnected from the power supply during repairs.
- The unit must be clean and dry.
- Some types of work when repairing household appliances are best done with gloves, or even a respirator.
- When working with acids (for example, with acetic acid), you need to ensure that drops of the substance do not fall into the eyes or mucous membranes.
- Tools, fasteners and in general everything that is needed to repair household appliances must be stored in a place where little children can not reach.
What is this all for?
- During the repair of household appliances, you disrupt the operation of the electrical circuit, a breakdown can occur anywhere. Therefore, you must unplug the plug from the outlet.
- As for moisture, water is an excellent conductor, and if the circuit is broken, you can get a pretty strong electric shock.
- Some units may be greased, or dirt may accumulate there. Therefore, it is best to always have gloves at hand.
- It is better to remove the fasteners so that a small child cannot put a screw in his nose or swallow a nut. And for electrical appliances, an element that is accidentally out of place can become fatal.
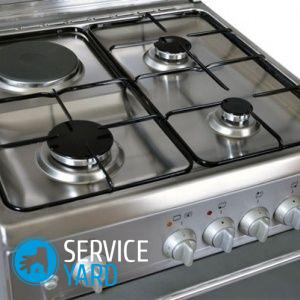
to contents ↑Important! Small breakdowns that can be handled on their own happen with gas and electric stoves. Useful tips for repairing these devices can be found in our separate reviews:
How to replace the battery in a quartz watch?
This action refers, rather, not to the repair of household appliances, but to prevention - the batteries in the watch must be changed periodically, otherwise the device will stop showing the exact time.
Important! The quartz resonator operates at a frequency of 32768 Hz. It is located on a microcircuit that looks like a drop, but in fact it is a compound flooded semiconductor crystal with wires.
All quartz watch patterns look the same:
- Voltage is supplied from a battery rated at 1.5 or 3 V to the switch.
- The switch is connected to the crown.
- The crown is pulled - the contacts open.
- The voltage is interrupted.
- The clock stops.

When to change the battery?
In most models, the battery is designed for 1 year, for some branded watches it can work longer - three, or even five years. When the battery runs down, the watch starts to lag. In the end they stop.
Important! Some models have a special function that indicates that the charge is running out - the second hand starts to jump through several divisions.
Table preparation
Before changing the battery, although this is not a full repair of household appliances, you need to take care of the workplace. The watch has very small details, and losing something is very simple. Even worse, if a foreign object gets between the cloves of the gears, and it can just be a grain.
To prevent this from happening:
- Wipe the table surface with a damp cloth.
- Spread a large white sheet of paper on it.
Important! Hair before work is best removed under a scarf or cap.

Watch preparation
Even the weakest battery lasts long enough. In a year, a lot of dirt can accumulate in the watch and bracelet. Replacing the battery is a great reason to clean it all up.
But first you need to remove the bracelet, which is attached to the watch with the help of pins that easily go into the fastener tubes:
- Engage the awl on the pin with an awl or thick needle.
- Push the pin into the tube of the bar.
- Separate the bracelet from the watch
To put the bracelet back in place, you will need to do the following:
- Insert one plank pin into the eyelet hole and drown.
- Insert the second pin into the second hole.
- Make sure the pins are clearly in the holes.
Important! Do not forget to properly orient the watch when you fasten the bracelet.

Clean the clock
It is very easy to do. It is enough just to wipe the watch with a cloth dipped in soapy water and carefully wrung out. But the bracelet or leather strap can be washed - in the dishwasher or washing machine. Just remember to put it in a cloth bag. As for the internal details, we have revealed this topic in detail in our separate article. “How to clean the watch at home?”.
Open the lid
To change the battery, you need to get inside the clockwork:
- Find the cover - it is on the side that is in contact with the hand.
- Determine the mounting method.
- Remove the cover.
- Remove the battery.
- Put a new one and close the lid.
There are only four ways to attach the cover:
- on screws;
- without fasteners, due to tight fit;
- on the thread;
- using the snap ring.
In the first case, select a suitable screwdriver in size and just unscrew all the screws. When you put the cover back, tighten the screws all the way.

To remove the snap-on cover, inspect the place where its edges are adjacent to the watch case.As a rule, a barely noticeable gap is somewhere near the ears for the bracelet:
- Insert a thin knife or small flat-blade screwdriver into this slot.
- Gently press the handle, acting with a sharp object, like a lever.
- Remove the cover. The cover, worn on a thread or secured by a circlip, simply needs to be unscrewed - with pliers or a vernier caliper.
Important! This action should be performed effortlessly.
Change the battery
First you need to remove the seal and remember how it was located. It’s best to sketch or photograph it. The battery itself is attached with two slats, one of which is fixed. In this case, the movable bar is fastened with a screw so that the battery does not fall out at the most inopportune moment:
- Unscrew the screw halfway, thus loosening the bar.
- Slide the bar to release the battery.
- The battery should rise - there is a spring under it.
- Take the battery - best with plastic tweezers.
- Take her out.
- Examine the petal of negative contact (it is in the center of the recess).
- Check the new battery (voltage).
- Remove the sticky layer from the battery.
- Put her in the nest.
- Replace and secure the cover.
The simplest repair of household appliances completed!

We repair a heater
Domestic heaters come in several types:
- electric;
- oil;
- convection.
Any of them can break down, most often it happens with electric ones, and first of all it is necessary to determine what exactly has failed. Usually it looks simple: the heater ceases to heat, and accordingly, equipment repair is needed.
Important! First, check if there is voltage in the outlet. The circuit breaker at the entrance to the apartment works quite often, and sockets break periodically.
To check the voltage at the outlet, simply plug in another device. You can arrange a test with the help of a heater, which causes you doubts - just plug it into another outlet to understand if it is out of order or wiring.
Having found out that the outlet is in order, take care of the heater itself to understand what kind of repair of household appliances you need. Pay attention to the position of the switches:
- Turn on the heater.
- Turn the switches to the on position.
- Wait a few minutes.
- If the heater does not work, you have to disassemble.
We carry out diagnostics
Before disassembling the system and repairing household appliances, conduct an external inspection:
- Inspect the plug with which the device is plugged in - it must be intact, without visible defects.
- Inspect the plug pins - they should not be loose.
- Pay attention to the color of the pins - there should be no darkening and tanning.
- Check the integrity of the cord, especially the joints between the plug and the body.
- Look through the openings in the panel inwards for torn or burnt ones.
- Please note if there are any visible mechanical damage on the heater - this is usually visible through the holes.
- After making sure that there is no visible damage, take a tester or multimeter and set it to low resistance.
- Check the power cord at the junction with the plug by setting the instrument switch to the working position and connect the ohmmeter probes to the plug pins.
- Shake the cord from side to side, watching the tester - the slightest deviation of the arrow indicates that the defect is in this place.
- Replace the plug.
Heater - inside view
It is possible that the device will still have to be disassembled. To do this, you need to know how it works and by what principle it works.
Important! The easiest option is when the cord with the plug is connected directly to the heating element. A more complex option is that between the cord and the heater there is a terminal block with terminals, they are connected by a thread or union terminals.
Most household heaters have a more complicated circuit, it also has a switch.There may also be an option when a fuse is added to the circuit, the task of which is to open the circuit when overheating. There may also be a sensor that is connected in series with a fuse.
Finally, you may come across a circuit with two heating elements and an additional switch. But in any case, the device is not particularly complicated, and it will not be difficult to deal with the elements of labor.
Important! The situation is somewhat worse with the fan heater. He has an engine with an impeller, respectively - an additional switch. In expensive models, there may be other "bells and whistles", such as a temperature controller, all kinds of indicators, etc.
We disassemble the heater
Start the analysis for repairing household appliances from the place where the power cord enters the housing:
- Loosen all the screws that you see on the side panel.
- Loosen the countersunk screws by removing the decorative cap.
- Open the screw hole that connects the heater cover and base. Unscrew another countersunk screw - it may be under the seal.
- After removing the side cover, inspect the wires.
- Check the tester for all items.
Check the cord
The wire for modern heaters is three-wire, painted in blue, red and yellow-green:
- Set the tester to resistance measurement mode.
- Connect one probe to the plug pin, and the second touch the green and red wires in turn: in one case, the resistance should be zero.
- Similarly, check the second pin and second wire.
- If the wire is in order - measure the resistance between the common terminal and the rest, it should be zero.
- Check the temperature regulator by touching the tester probe to the terminals and turning the knob - the resistance should be zero.
Important! If the thermostat gives any other resistance, remove it by unscrewing the two screws. The heating elements are checked by measuring the resistance between the wires. You must also check the fuse, if any.

Change the details
Having found out the cause of the malfunction, decide what to do with the failed element. The best way out is to replace, fortunately, there are no problems with this. In each company’s store you will also find accessories, and if not, you can order the necessary parts via the Internet.
to contents ↑Important! Before shooting parts, do not forget to sketch or photograph their position, especially if you are repairing household appliances for the first time. The sequence of analysis is best written down - it will be necessary to assemble the heater in the reverse order.
We repair an iron
The design of all heating appliances has a lot in common. In this sense, iron repair is not much different from heater repair.
And in our separate review you will find out "How to clean the iron from scale inside at home?".
Diagnostics
The scheme differs slightly, respectively - you have to act in a similar way:
- To begin with - check the condition of the wiring and the outlet.
- Inspect the iron. In the same way as with the heater, start with the cord and plug. The plug should be completely intact, its pins should sit tight and not loose, and the screw should be fully tightened. Tanning is unacceptable. The cord must be completely intact.
- Check the terminal contacts. A faulty power cord is best replaced. Of course, you can wrap it with electrical tape, but this is a temporary measure, and even unsafe.

You won’t be able to look inside the iron, there are no perforations or nets in this case. Therefore, if the cord and plug are in order, and the unit does not work, you will have to disassemble.
Where to start? There are few options. You will find only a few screws on the back where the cord is attached. They must be unscrewed to make repairs.
Important! Not every iron can be taken apart. If this does not work, the device will have to be changed completely.
What can be repaired?
The most frequent breakdowns are oxidation of thermostat contacts and the fuse is working:
- If the heater fails, you will have to part with the iron. It is unlikely to be able to remove it from the sole - unless, of course, you have an antediluvian grandfather iron, that one is easily disassembled.
- And the thermostat can simply be changed.
We repair a kettle
Not every modern kettle can be repaired simply because some models are not understood.
Important! To find out if your kettle is repairable, look at its bottom. If you find even one screw - the kettle can be taken apart.
A kettle is also a heater, but it is arranged a little differently than an iron:
- The main detail is the heater, as with all heating appliances.
- Power is supplied to the connector located in the stand.
- The kettle is connected to the stand through the connector.
- In the vessel itself, in addition to the heating element, there is a switch, an indicator light (on some models) and a thermoelectric relay.
Important! When the kettle is placed on the stand and the switch is turned on, the circuit closes, the indicator lights up. When the water warms up to a temperature of 100 ° C and boils, the thermal relay trips and the circuit opens. If the kettle is faulty, first you need to look for damage to the circuits that supply voltage to the heating element.
Important! The main source of all the troubles with household appliances is scale. Proper care of the equipment can extend her life. And what’s most convenient, you don’t have to spend a lot of time and money for this, if you take note of the methods we proposedcleaning the kettle with citric acid.
Where is the repair needed?
As with the heater, repairs may be required:
- in a cord;
- at the outlet;
- in a fork;
- in the connector.
Do-it-yourself home appliances repair usually comes down to repairing the cord. The wire is checked in the same way as with a heater or iron.
If the connecting circuits, switch or thermal relay are damaged, the device must be disassembled. This is not always possible:
- If the case is not separable, repair should be discarded.
- If the case is collapsible:
- Loosen the screws.
- Ring the circuit and the switch in the same way as you did with the heater.
- Electrically conductive circuits can be restored - solder or strip the contacts, fix the circuit breaker spring, etc.
Important! You can check the heater itself with the tester. If it turns out that it is burned out, then repair is impractical, since spare parts for dummies are extremely rare on sale, and sometimes cost more than a new kettle.
In this post, it was not possible to talk about the repair of all household appliances. But there are many more interesting articles on this topic on our portal of useful tips. Here are some of them:
to contents ↑Stock footage
In this article, we told you about how a simple repair of household appliances can be performed. We hope you take advantage of this information and save some money while enjoying the new knowledge and skills.
 (No ratings yet)