

Repair of oil radiators
Reliable classic heaters, such as oil heaters, fail very rarely. But still, sometimes breakdowns do happen. Repair of oil radiators sometimes does not require any special skills, so often it can be done independently at home. How exactly and in which case it is worth doing this - we will understand in this article.
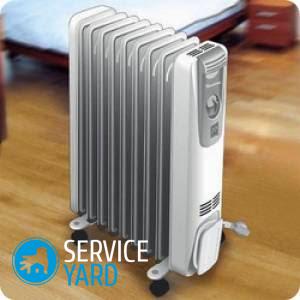
to contents ↑The simplest oil cooler
To find the cause of the breakdown, you first need to navigate the design of the device. It consists of the following parts:
- Body. It is a sealed accordion with technical oil inside.
Important! You need to know that inside the case of the oil cooler is not only oil, but also a little air.
- At the bottom of the device, a heater is integrated on the side. This element also carries out heating of oil. Often it consists of two spirals, which makes it easy to adjust the power of the device.
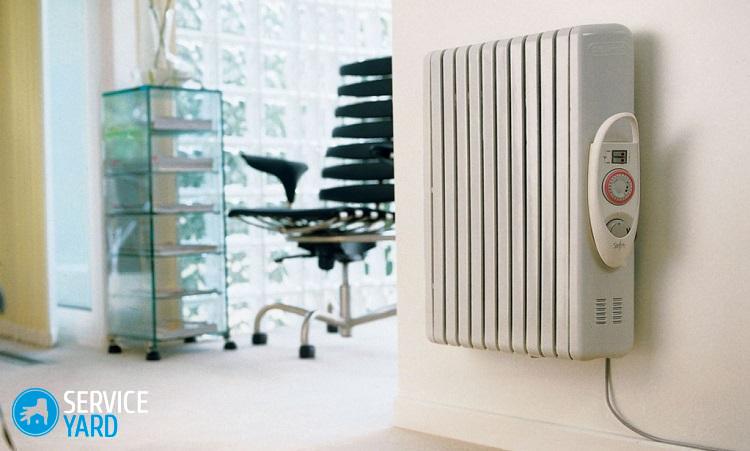
- Nearby is the control and safety unit. At the top is a thermal relay, and so that it does not touch the case.
- The device also has a fuse that, in the event of a malfunction (for example, an oil leak), turns off the device. Such elements can be disposable wire type and reusable (bimetal).
- The design has two backlit switches. Three wires are suitable for each: zero and phase from the heating element and grounding.
to contents ↑Important! The electrical circuit of the oil heater is very similar to the electrical circuit of other household appliances (kettle, iron).
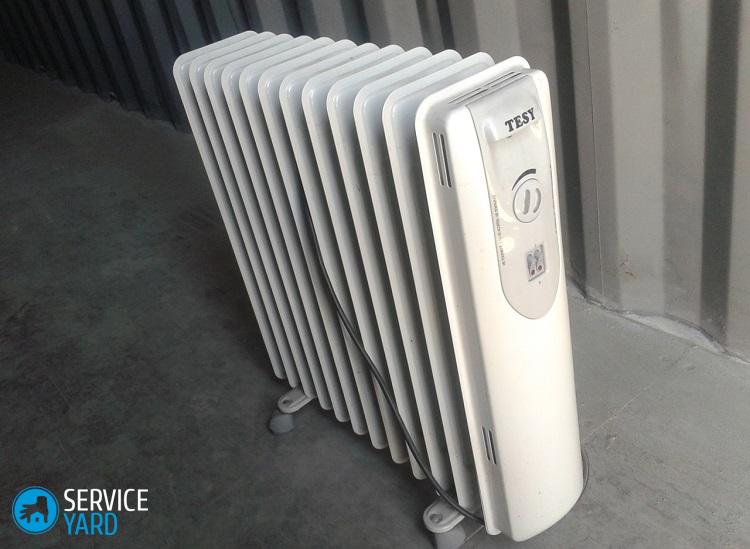
How to disassemble the oil heater?
Repair of heaters begins with a search for the cause of the malfunction. As a rule, for this it is necessary to disassemble the device. How to do it right, so as not to harm the radiator parts along the way, because at first glance it seems that oil heaters are monolithic and cannot be disassembled. First, let's figure out what is needed to disassemble such a design.
Necessary tools
To repair the oil heater and its maintenance, you may need the following inventory:
- An item with which you can pry a plastic panel. It is better that it has the shape of a wedge.
- Screwdriver.
- Multimeter or tester.
- Sandpaper.
- Alcohol, cologne or other alcohol-containing liquid.
- Soft cloth.
- Needle file.
- Brush
Important! Before disassembling, the device must be disconnected from the network and not connected until it is completely assembled.
Disassembly procedure
Of course, all models of heaters are different, and it is impossible to describe the standard algorithm for analyzing the units. But there are some tips that will help you cope with the task faster:
- First, carefully inspect the radiator control panel. If the case has screws and mounting brackets, then the disassembly process will begin with them.
- However, a spring latch often acts as a plastic panel mount. Walk around the entire perimeter of the panel with a wedge-shaped object made of plastic or any other material. Do this carefully so as not to scratch the case. By touch, you can determine where the latch is. By pressing on this place you can bend it harder.
Important! If you rarely deal with equipment, then use the camera to shoot the entire process. It is also recommended to lay bolts and nuts in a row during disassembly. So you can easily assemble the device after the repair.
But do not rush to disassemble the device for heating. Some breakdowns can be diagnosed without looking inside the device.
The oil heater does not work. Causes and troubleshooting
In some cases, you can fix the oil cooler with your own hands. Consider the main breakdowns of such devices and the algorithm for subsequent actions.
Important! When repairing an oil heater, follow all safety precautions and follow the unit's operating instructions and manufacturer's instructions. Violation of any of the items could result in personal injury.
Extraneous noise
Often after a heater falls or stays for a long time at an angle, it starts to crackle or hiss during operation. This is one of the cases when it is not necessary to disassemble the device. During an improper position or due to shock inside the device, air and oil moved.
Corrective action - Place the unit in an upright position for several days. After this, the problem should be resolved by itself.
Electrician
If the device does not respond to plugging in, does not heat up and the indicator light does not even light up, then first try connecting the power cord to another outlet. Perhaps the cause is a faulty outlet. If the radiator is broken, then using a multimeter, you should check the health of the electrical part of the device.
Important! If you feel a burning smell during heater operation, unplug the device immediately. Search for the causes of malfunctions should only begin after the device has completely cooled down.
Troubleshooting:
- Check outlets and plugs. Inspect for a short circuit between the heater elements, because often the cause of this malfunction is burnout at the junction of the wire.
- A de-energized radiator must be checked for the operation of all the keys on the switch. This can be done using a multimeter or tester. In the on position, there will be a short circuit at the ends, and in the off position, nothing.
- Also, using a multimeter, you need to check the temperature regulator. Short circuit should be absent, and resistance should be small.
The remaining breakdowns associated with this problem can be detected only by disassembling the case:
- Inspect all contacts in the control unit - they may oxidize, burn out, or weaken. In this case, the repair of the oil heater comes down to treating the contacts with alcohol. Weakened contacts with a screwdriver should be tightened, oxidized ones should be rubbed with sandpaper and insulated.
Important! The most heat-resistant insulation is fiberglass insulating tape, which withstands temperatures up to 200 degrees.
- Finally, check again for a short circuit. Perhaps the repair will end there. If, after the described actions, the device did not work, then you should look for a breakdown in another place.
Thermal fuses
There may be several of these important details in the heater. If one of them becomes unusable, the device stops working.
Corrective action - Ring and thus find the defective fuse. The non-working part must be removed, the wires insulated and connected.
Important! This procedure is safe if there are several safety elements in the heating device. If the only fuse has failed, then it should be replaced by a new, working one.
Bimetal plate
The plate may be deformed during operation. This often causes oil to leak from the device.In this case, the replacement of the damaged element is required.
Troubleshooting:
- Disassemble the temperature controller.
- Set the heating temperature to minimum.
- Remove the regulator knob from the screw, unscrew the nuts and remove the frame.
- Remove the deformed plate and install a new one.
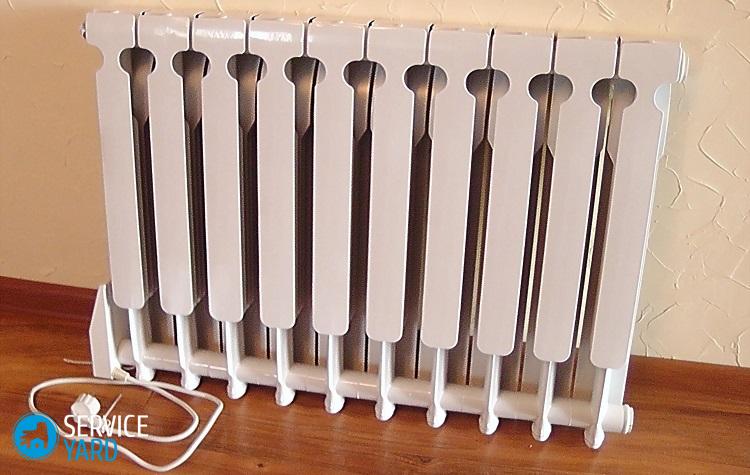
Oil leak, tank repair
If you notice oil smudges from the heater, it means - the tightness of the housing is broken.
Troubleshooting:
Repair of oil radiators in this case is a responsible matter and not always justified. If you decide nevertheless to take such actions, then you must do the following:
- Drain the oil.
- Seal the tank using not tin solder, but silver, brass or copper-phosphorus. Use a burner for this.
- It is necessary to clean the edges of the joints from rust, so that they firmly “seized”.
- During work, water should be poured into the tank. This will protect against fire. After completion of work, the tank should be dried.
- After the tank has been repaired successfully, an oil change should be made. Use transformer oil for this. It must be remembered that mineral oils are not compatible with synthetic ones.
Important! Do not use used oil for radiators. It leads to clogging with a TENA scale. It should be borne in mind that oil should fill the tank by 90%, the rest should be air.

Failure of the heater
This part of the oil cooler cannot be repaired. If it is broken, then it can only be replaced by a worker. And then this is only possible if your heater model has a removable heating element.
Debugg:
- If you can change the heater in your radiator, then you should choose a new, preferably copper, one that would be identical in power to the old one.
Important! It is worth paying special attention to the joint between the heater and the housing. The gasket is supplemented with sealant.
- If the heater is a non-separable element, then after flaring and replacement it will be extremely difficult to roll it back.
Drop or position sensor
This part is a weight that ensures the safety of using the heater. At a certain angle of inclination of the radiator or its fall, the sensor turns off the device.
To check whether this element is working, put the heater on the floor and ring the contacts.
Important! It is not recommended to repair the drop sensor in case of its malfunction. It is best to replace it with a new one.
Useful recommendations regarding the operation of the heater
In order for the appliance appliance to serve you for a long time, and you do not encounter repair of the heater, you should adhere to several rules for its use:
- Do not dry clothes on the heater. Undoubtedly, it will quickly dry on the body of the unit, because its surface can heat up to 100 degrees. But this can also lead to a breakdown of the radiator, since the heater will not be able to transfer heat to the room through a closed access, and all internal parts will overheat. If you want to dry the laundry in this way, then you need to purchase a special device that is mounted on the radiator from above and is designed specifically for these purposes.
Important! Since the surface of the oil cooler may have a high temperature, it is recommended to put a special protective screen on it to prevent accidental burns.
- Dust off the appliance as often as possible. This will protect the equipment from overheating and increase heat transfer.
Important! Dust burned on the radiator can cause an unpleasant odor in the room.
- Do not use an oil heater in rooms with high humidity (bathrooms, showers).
Important! It is worth remembering that the heater dries the air, so it is not recommended to use the device in too small rooms.
- Only operate the unit in an upright position.Even storage should take into account this position of the heater.
Important! If the radiator spent a long time in a horizontal position, then before turning it on it is necessary to let the device stand upright. Thus, the oil drains down, and the heating elements do not overheat through a lack of heat conductor.
- Using adapters to connect the heater is not recommended. In this case, often an incomplete contact is obtained, as a result of which the unit turns on and off. There will be nothing good for the radiator from this - it simply can burn out.
Important! If there is still an urgent need for the adapter (this happens if the outlet does not have a European-style connector), then you should buy a really high-quality and reliable conductor.
- And finally, a very important point: for safety reasons, do not leave the heater turned on when you leave home, do not place it near curtains, upholstered furniture or other flammable objects.
Stock footage
As you can see, such simple breakdowns in radiators, such as noise, a fault in the wires, oxidation of contacts, can be eliminated at home on their own. But if after disassembling the heater you found a more serious breakdown than described in the article, then it is better to entrust the repair of the oil heater to professionals. Listen to the opinion of the wizard, it may be easier and more profitable to even buy a new device than to repair the old one. By observing all safety precautions and operating rules for oil heaters, you will significantly reduce the likelihood of any problems associated with the operation of the devices.
- How to choose a vacuum cleaner taking into account the characteristics of the house and coatings?
- What to look for when choosing a water delivery
- How to quickly create comfort at home - tips for housewives
- How to choose the perfect TV - useful tips
- What to look for when choosing blinds
- What should be running shoes?
- What useful things can you buy in a hardware store
- Iphone 11 pro max review
- Than iPhone is better than Android smartphones
 (No ratings yet)