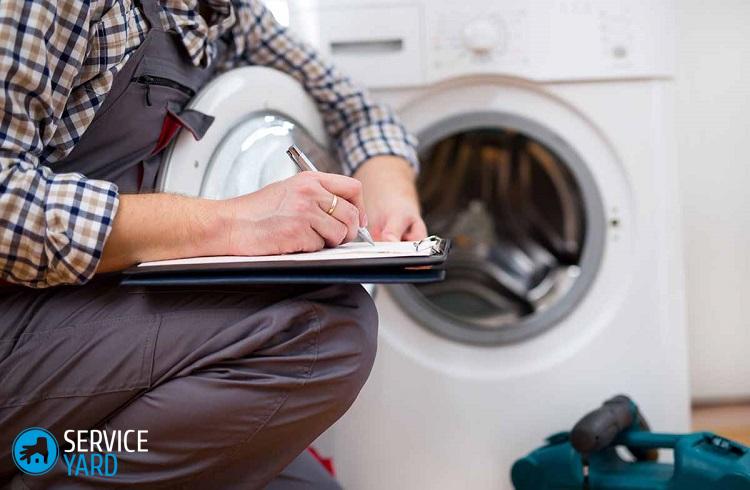
Repair of washing machines - replacement of gum
- Causes of cuff damage
- Preparing to replace the cuff of the washing machine
- How to remove the old cuff?
- How to install a new cuff for the hatch of the washing machine?
- Possible difficulties that may occur during cuff replacement
- Differences of rubber cuffs for washing machine hatches
- Prevention of a possible rubber cuff replacement
- Stock footage
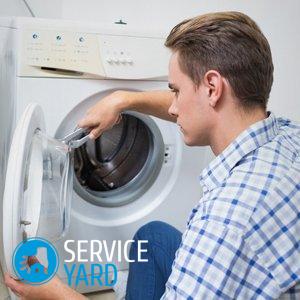
If you have been using the washing machine for a long time, then damage to the cuff of her hatch should not cause any surprise. It is needed to prevent water leakage from the machine during washing. The rubber gasket creates the necessary tightness for this, and water, despite all the difficult operations with the laundry, remains inside the machine. In the event that it is proved that the cuff is damaged and the washing machine needs repair, many of its owners try to carry it out without the assistance of a specialist, since it will not take a lot of time to repair the washing machines on their own, or to replace the rubber band, but can save a significant amount of money. Repair in a specialized workshop, as a rule, is very expensive. In principle, many malfunctions can be eliminated by yourself, when not particularly expensive repair equipment is required. The exception here can only be complex blocks stuffed with electronics, which require special knowledge and some inaccessible parts with tools. Well, to change the rubber cuff will be clearly on the shoulder of every man.
to contents ↑Causes of cuff damage
The rubber on the door of the washing machine may be damaged due to various reasons. The main ones are listed below:
- Of course, the first reason may be the venerable age of your typewriter. If you have been using it for more than 10 years, before that you have not changed anything in it, then it is clear that damage can happen at any time. All parts, without exception, have strength limitations and fail if the specified limit is exceeded.
- As you know, the cuff material is rubber. It can get severe damage from the frequent use of strong chemicals added during washing.
- During washing, the door can interact with the inside of the unit. In other words, ordinary friction may appear, which is very dangerous for rubber. From it, holes may appear in the cuff.
- In addition, friction can occur with hard parts of the laundry that undergoes the washing process. It can be: outerwear, shoes or a belt forgotten in trousers with a metal fastener.
- And sometimes it happens that with increased humidity in the bathroom and the constantly closed hatch of the washing machine, a normal fungus can form on the rubber, which later leads to its fragility and complete unsuitability.
- One of the common causes of damage is also rough loading of laundry.
- Another nuance of damage to the gum of the hatch is the cutting effect of the screws and bolts left in the pockets of the clothes. Therefore, do not forget to check your pockets before putting your laundry in the wash.
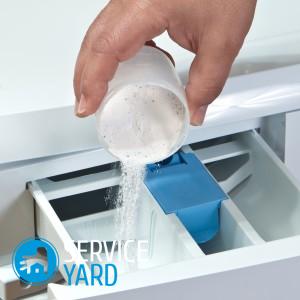
- The next reason may be the use of low-quality washing powder, which destructively affects the rubber structure.
Important! We recommend refusing too cheap powder and the same quality detergent. It is better to buy expensive and high-quality chemistry, which will be required at times less and which will not ruin your washing machine.
Most of these reasons can be avoided if you pay attention and monitor the status of the device, on time eliminating mold from the washing machine and other pollution.
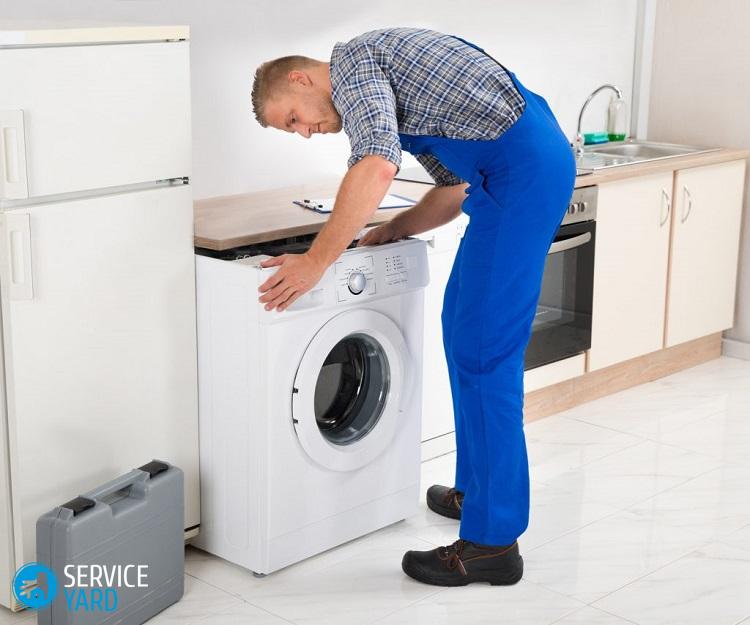
to contents ↑Preparing to replace the cuff of the washing machine
For such an important event as repair of the cuff of the washing machine, careful preparation is required. And it doesn’t matter at all which type of washing machine you have - LG, Electrolux, Samsung, for all of them the repair process is usually the same.
Step-by-step preparation for cuff replacement:
- First make sure that the old cuff is leaking water.
- Get a new rubber with similar technical parameters.
- Prepare all the necessary replacement tools (a few flat-head screwdrivers, a soap solution, a marker pen and round-nose pliers if you are dealing with an old washing machine).
Replacing the cuff of the hatch of the washing machine is not a difficult job, respectively - it does not require a lot of tools.
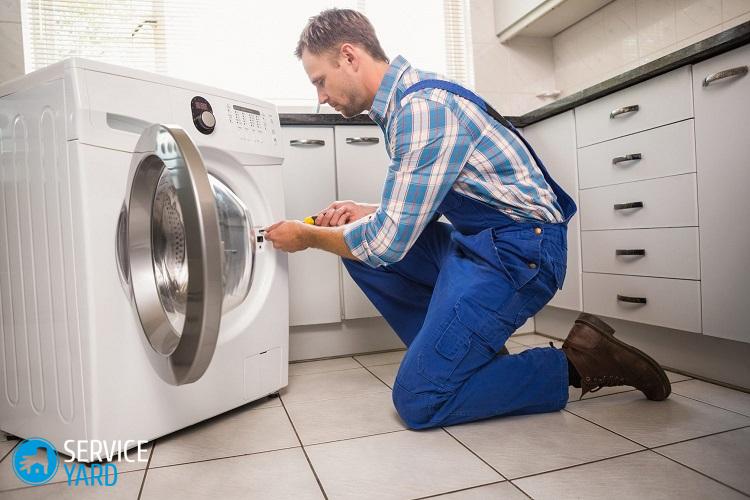
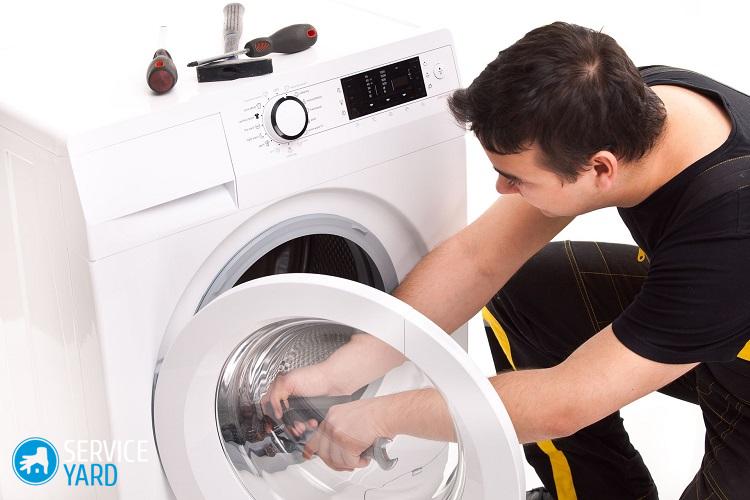
How to remove the old cuff?
Some washing machines have the ability to replace the cuff without removing the case. Others have to dismantle part of the machine panels. And replacing the cuff of the hatch of the LG washing machine will require removal of the top and front covers.
To replace the gum and dismantling part of the washing machine body, you do not need to have special skills. All operations are quite simple. Just remember to be careful when installing new rubber. In addition, before you begin the replacement process, take a close look at how much your replacement cuff fits the old one.
So, you checked the cuffs and made sure that they are completely identical, then you can proceed to the old one:
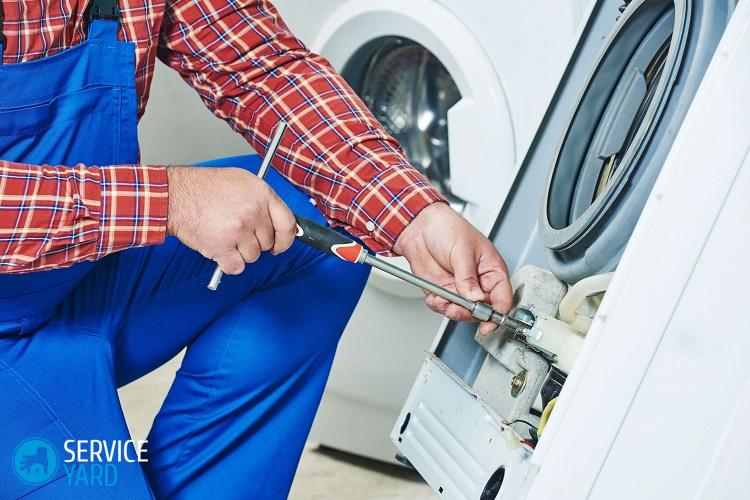
- First of all, we get rid of the fixing clamps. The cuff rubber is mainly located in the opening between the walls of the washing machine body, where it is held by a special clamp. It can be made of metal or plastic. To remove it, you need to hold the latches and just pull them to the side. This, as for the clamp made of plastic, and in the case of a metal clamp, you first need to unscrew the screw.
- Then it will be necessary to find a special mark on the elastic band, which serves as a guide for the correct installation of the cuff. If a new cuff is placed according to the label, then in the future you are guaranteed against possible leaks. After finding the control mark, you can remove the last clamp and remove old rubber from its place.
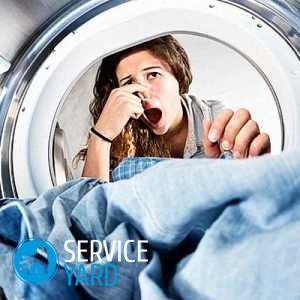
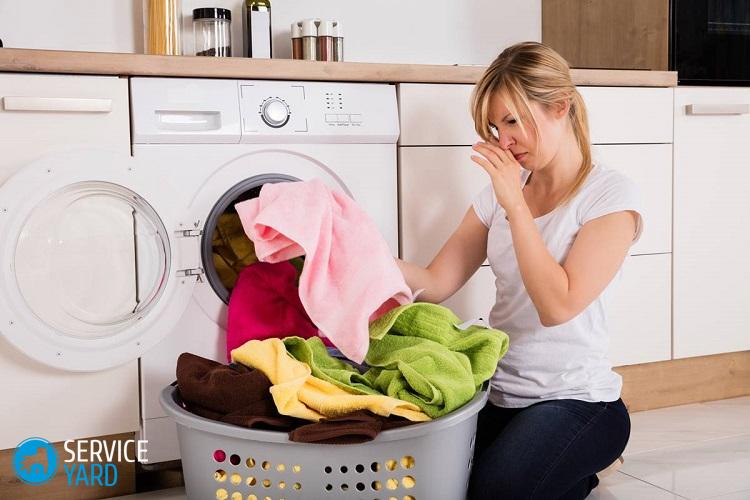
Often, during prolonged use of the device, an unpleasant odor forms inside it. Therefore, to solve this problem, we decided to present you an article in which you will find outhow to remove the smell from the washing machine.
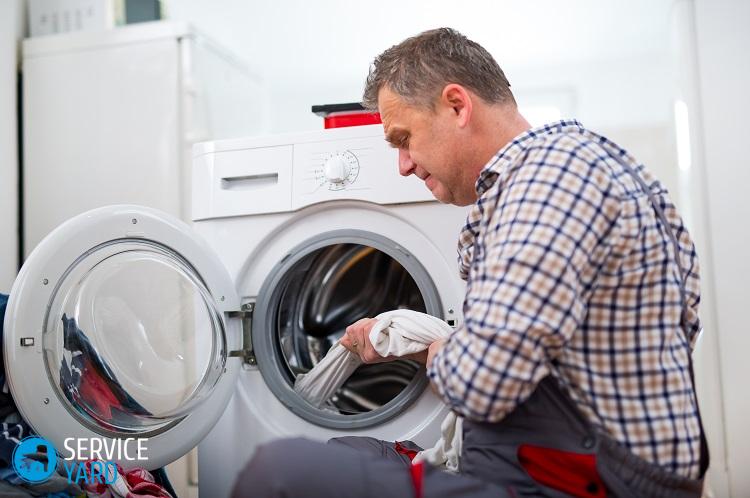
How to install a new cuff for the hatch of the washing machine?
Typically, replacing the cuff on an LG washing machine does not take much time, but it will all depend on your attention and accuracy.
First you need to prepare a place:
- The entire working surface is thoroughly cleaned from all traces of old dirt.
- Next, a specially prepared solution consisting of soap and water is applied to it. Due to the use of soapy solution, installation will only become easier.
After completing the preparatory procedures, it is necessary to wear a rubber cuff. This may seem to some people quite difficult, however, if you do not rush, then you will understand that there is nothing complicated here. The main thing is not to forget about the correct position of the gum in relation to the tank and the marks:
- Just align all marks and try to put the cuff on the tank.
- To do this correctly, use your thumbs and stretch it a bit in a circle.
Important! Given that the hem has already been pre-prepared using soapy water, the cuff should sit in place without any problems. Having put the rubber in its place, use the clamps to fix it.First we put on the inner clamp, checking how well it is fixed, then the outer one.
- If the inner clamp is adjusted using a screw, then make the necessary adjustment and, having installed it on the cuff, tighten the control screw tightly.
- In the case when this clamp has a spring, you will first have to attach it under tension, so it will take a little longer. For a final fix, you will need a screwdriver, which must be fully inserted into the lock slot.
- The next step, put the spring on the makeshift instrument, slightly pull and the clamp is fixed in place.
Important! Fixing the clamp on old washing machines will require the use of pliers. With their help, you can connect or disconnect the hooks of the clamp, which have a fairly rigid tension.
- After we have finished installing the internal clamp, proceed to the external. The installation and fixing procedure is completely identical to the internal installation.
Test mode
Since we now have a fully installed cuff with fixing with two clamps, it remains only to check our machine for its tightness. Put the program in rinse mode and start the washing machine, and after a couple of minutes of operation, drain all the water. We begin a thorough inspection for water leaks. If the cuffs were correctly installed and all related work was also done according to the technical requirements, then there should be no trace of water. If so, the installation of the cuff of the hatch of the washing machine has been successfully completed.
Possible difficulties that may occur during cuff replacement
In some cases, various kinds of difficulties may arise:
- Usually the following happens - during the installation of the rubber cuff, when it is almost sitting in place, one of the edges starts to fall out unexpectedly. The solution to this problem is to use a second hand for safety. The cuff starts to be worn immediately on both sides. In this case, there will be no more drops, the part will clearly sit in its place.
- Another interesting point in the process is the possible difficulties with installing rubber on the hatch tank. Sometimes new rubber has increased stiffness and cannot be put on the first time. But do not despair - before you start dressing her, just grease her opposite edge a little with soapy water. It turns out that the rest of the edges themselves will be firmly held on the tank, and the top, greased with a solution, should easily sit in place. Thus, the entire cuff will be in place without much effort.
Differences of rubber cuffs for washing machine hatches
As you know, rubber cuffs in washing machines can be attached in a variety of ways. However, not every owner knows exactly how to install the cuff of the hatch of the washing machine. Therefore, in order not to make unnecessary mistakes, you must first look at the existing differences:
- The rubber cuff for the Samsung brand washing machine is attached with one rubber ring. The only difference here is that for different models will require different widths of elastic. To facilitate the repair of equipment of this brand, it is possible to remove the front door.
- To fasten the cuff of the LG washing machine, two small springs made in the form of a ring are used. To replace the gum on this brand of washing machine, you just need a screwdriver.
- The cuff on the washing machine of the well-known Bosch brand is fixed with a plastic clamp, which also includes a spring. This method is very convenient for self-replacement of gum. During operation, it will only be necessary to slightly bend the edge of the mount.
- The hatch cuff for the Indesit brand is fastened with metal clamps, and the principle of replacement is practically no different from other automatic washing machines.It will also be appropriate to say here that this brand has a non-removable front cover.
- Candy washing machines have a cuff mount made in the form of separate clamps, which themselves are secured with bolts.
Important! The information given applies only to the indicated brands of washing machines. In addition to them, there are a number of other well-known brands, but it is these specific names of manufacturers that are very popular.
Also find outhow to clean the powder tray in the washing machine.
Prevention of a possible rubber cuff replacement
You were able to repair your washing machine yourself, and that’s very good. However, it is best not to bring the matter to him, since he, even if not so much, but still takes some time and always not extra money. And in order for you to be free from these problems in the future, you just need to adhere to a number of simple rules that can significantly increase the operating time of your washing machine:
- before starting the next wash, once again run your eyes according to the instructions, as many problems with rubber arise from simple non-compliance with the rules;
- try not to use any very strong chemicals for washing clothes, this will clearly shorten the life of rubber;
- do not try to wash very large clothes and shoes, especially coarse and hard coats or boots;
- carefully check all clothes before washing, pay special attention to pockets;
- clean the cuff a couple of times a month from accumulated dirt and from the remaining chemical products;
- Do not try to load as much laundry as possible to prevent it from rubbing with the cuff rubber.
- right and on timetake care of the washing machine.
Stock footage
Observing these simple rules, you will achieve excellent condition of the washing machine for many years and will be able to avoid significant cash costs for its repair.
 (No ratings yet)