Built-in oven cabinet
Built-in ovens - it is very convenient and functional. A cabinet under the built-in oven allows you to beat any kitchen room, even a very small one. The option when the oven is placed directly under the hob does not suit everyone. As for independent models, they can be placed in any place convenient for you and at an optimum ergonomic height. We will consider all the features of the installation of such furniture and equipment in this article.
to contents ↑Classification of modules
There are 2 types of modules for the oven:
- An oven, which is located directly under the hob.
- An oven placed in a pencil case.
The drawer can be located on the top or bottom of the oven. Each of the options has its own advantages and disadvantages.
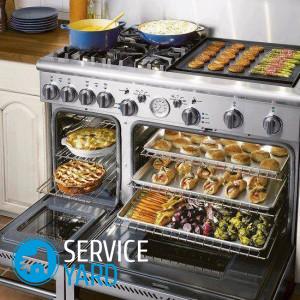
Cabinet under the hob
If the cabinet is under the hob, then:
- The cooking area is compactly combined. This option is especially relevant in order to save space in the kitchen.
- Another positive point is that this is a universal option suitable for women of any height.
Minuses:
- Lack of ergonomics. You have to work in a bent state. Cooking and cleaning the oven is certainly connected with the fact that you constantly have to “bow.” If a woman has problems with her back, then she is unlikely to often indulge in seven baked dishes.
- At the bottom or top of the structure is cooling ventilation. If the drawer is under the hob, the likelihood of blocking the system is higher.
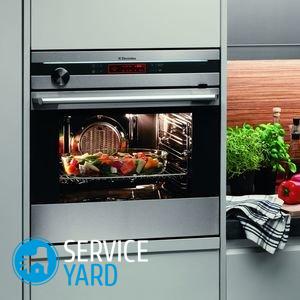
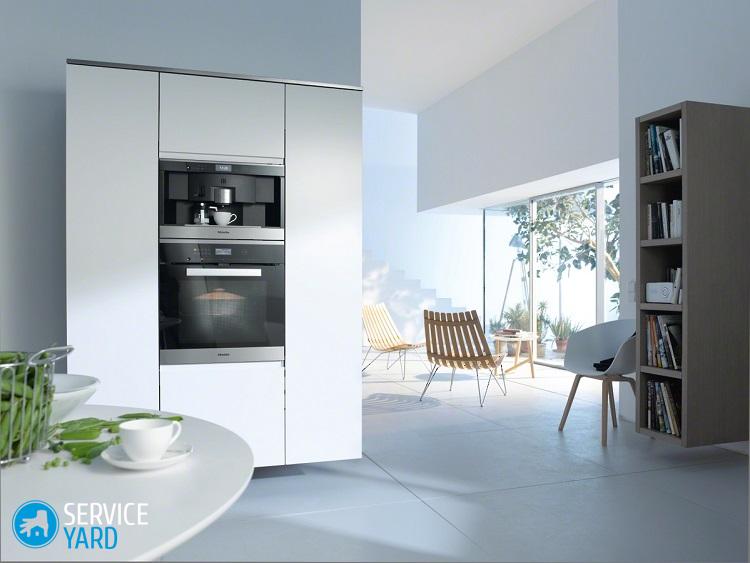
Pencil case design
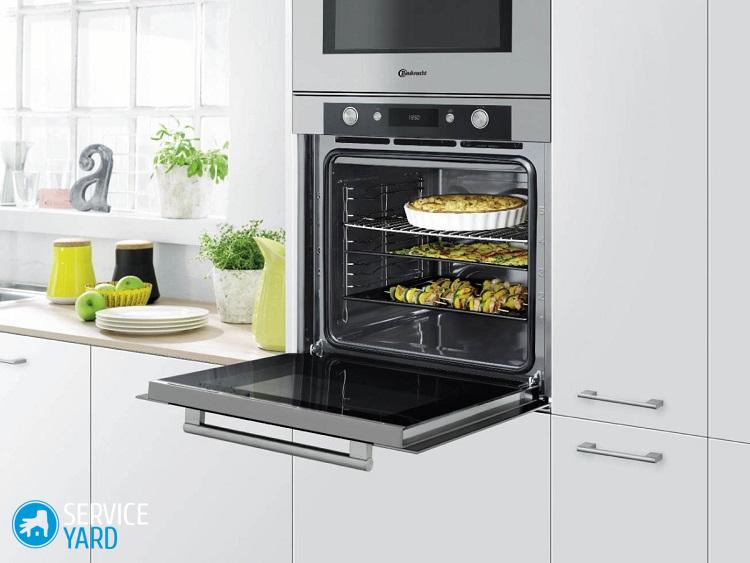
The most ergonomic and comfortable option is when the oven is at chest level:
- The hostess does not have to bend down, she is happy to prepare tasty and healthy dishes.
- Cleaning the oven is also not associated with great inconvenience.
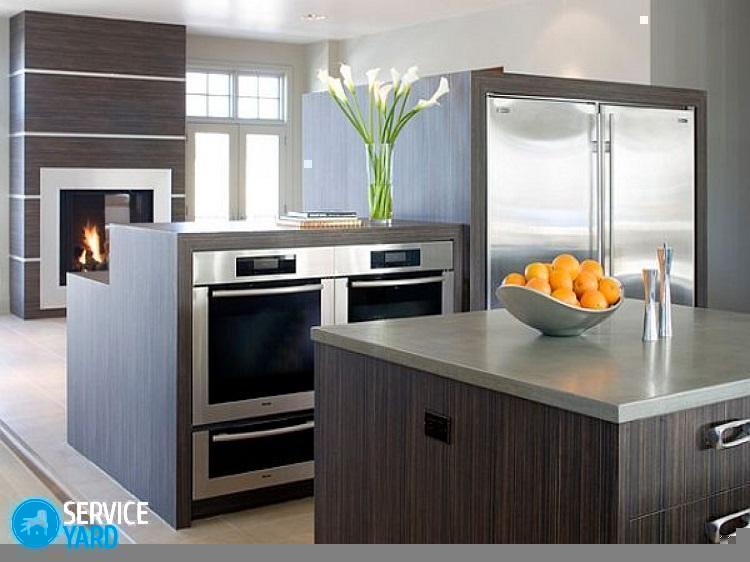
The only drawback of this arrangement of the oven is the inconvenience for undersized women. However, this minus is not critical. The problem can be easily eliminated if you make a cabinet for your oven yourself or order from a specialized company on an individual project.
Important! Please note that the installation of the oven in the pencil case and the strengthening of the bearing horizon on which it is located go side by side. To do this, it is enough to screw 2 additional slats down from the horizon. This makes it possible to avoid structural collapse.
Also, before installing, be sure to find outwhat do the oven icons mean.
to contents ↑Product Dimensions:
- In the west, the standard technique is considered to be 900-1200 mm wide. This is consistent with comfort in the US and Europe.
- In domestic kitchen sets, the width of the bedside table, suitable for embedding, is 600 mm. Therefore, the technique you need to choose the appropriate.
Important! These requirements, for example, are best met by products from IKEA. Choose an oven so that it is smaller than the bedside table in width.
- There are also very tiny models with a width of 450 and a height of 600 mm. But this is not mass production, but rather a trial version.
Important! Most supercompact models with a width of 450 mm remain 850 mm high, that is, standard. The depth of most products is 500-550 mm.

How to make a bedside table yourself?
To get started, stock up materials and the required minimum of tools:
- Particleboard or plywood with a sheet thickness of 1.6-1.8 cm.
- Worktop (the same materials can be used, but with a sheet thickness of 2.8 mm or more).
- Legs.
- Fasteners - dowels, confirmations and self-tapping screws.
- Guides.
- Screwdriver.
- Drill.
- Joiner's glue.
Important! The technical manual contains information not only on the dimensions, but also on the requirements for the installation niche. If you intend to purchase or make your own cabinet, be sure to consider this.
The dimensions of the furniture that serves as the installation niche are the dimensions of the oven plus 1-2 cm of stock in size plus the thickness of the material. In fact, this is a box with 3 horizontal bars - one at the top and three at the bottom.
Do all the necessary calculations. Then cut out the following parts from the prepared material:
- Lateral parts (niche height + leg height + tabletop thickness) - 2 pcs.
- Horizon - exactly with measurements in depth and width - 2 pcs.
- Case strip. Its length corresponds to the width of the niche. The width of the body strip is up to 100 mm.
Important! You can open the sheets of MDF and particleboard in a professional workshop. At the same time, rational material consumption, accuracy and speed of execution are guaranteed. In addition, edging is performed in the workshop with a waterproof melamine film.
Cabinet for built-in oven: assembly
Collect the finished product on dowels or confirmations. If the mount is on dowels, then it is duplicated with furniture glue. The assembly order is as follows:
- Assembly of the box - contour lines and sidewalls.
- Mounting the housing strip 1 cm from the sidewall.
- Fastening the legs with screws to the bottom of the product.
- Mounting articulated or telescopic rails on the walls for the drawer.
- Installation of the rear wall.
- Assembly of the product and installation on guides.
And also, we have prepared an article from which you will learn about proper temperature setting when cooking in the oven.
to contents ↑Stock footage
The cabinet for the built-in oven is ready. We hope that our article will help you to arrange your kitchen well.
 (No ratings yet)