Zanussi washing machine - malfunctions and their elimination
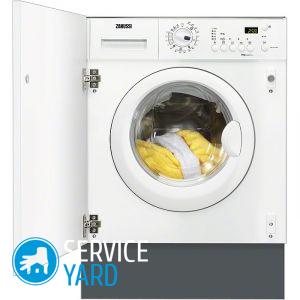
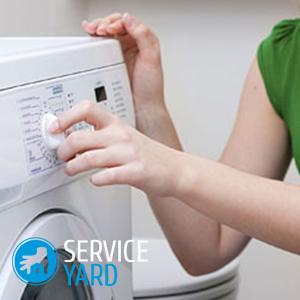
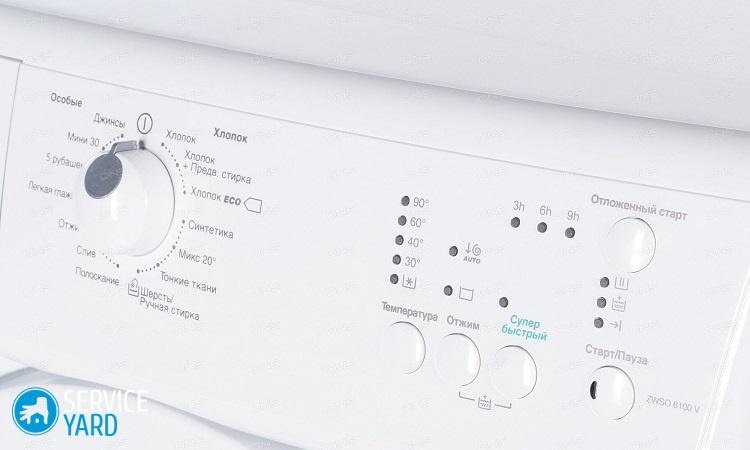
One of the most popular units of household appliances, according to all housewives, is a washing machine. The modern market offers a huge number of different models and manufacturers. However, one of the leaders is the Zanussi brand. This is a brand that has established itself in the best possible way. She produces quality models at budget prices. Today we will consider such a topic: the Zanussi washing machine - malfunctions and their elimination, and tell you how to replace the bearing.
to contents ↑Typical breakdowns of washing machines
The most common causes of Zanussi breakdowns:
- clogged filter;
- damage to the door lock;
- problems associated with the heater;
- drive belt failure.
Let's take a closer look at each fault in more detail.
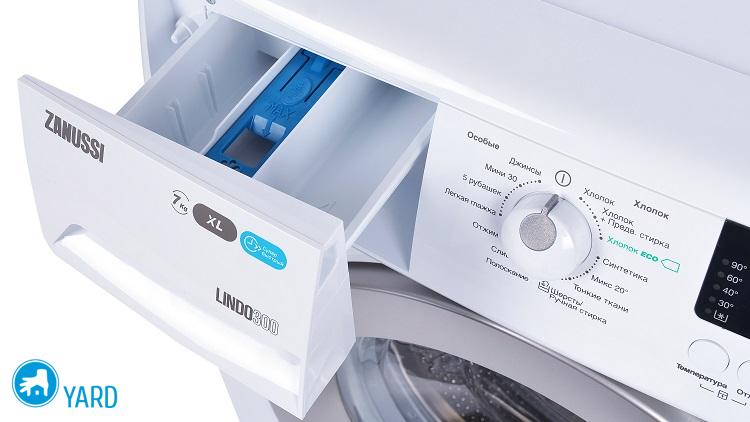
to contents ↑Filters and everything about them
In order to think less about the repair of Zanussi washing machines, you need to properly operate them. The most common cause of damage to these units is a direct connection to the central water supply. You must admit that the liquid that flows in our taps is not characterized as purified water. It is tough, poor quality, it can even go rusty. All this adversely affects the filter of the washing machine.
Important! When installing the device, pay attention to the fact that there are some unfortunate craftsmen who specifically remove the drain valve filter. It is absolutely impossible to do this. This can lead to the fact that in a short period of time the equipment will become unusable and nothing can be done.
What else clogs the filter?
The filter is needed in order to protect the internal parts from damage. This is due to the fact that dirt that enters not only from the water supply into the unit, but also with clothing, settles on this part of the device. Having turned off the filters, you can see there buttons, coins, hairpins, peel from seeds, sand and a lot of dirt.
Important! In order to less clog your “assistant”, before washing, check all pockets of clothing and clean them from unnecessary garbage.
Filters that are present in the washing machine must be cleaned periodically. This advice applies not only to units of the Zanussi brand, but also to everyone else.
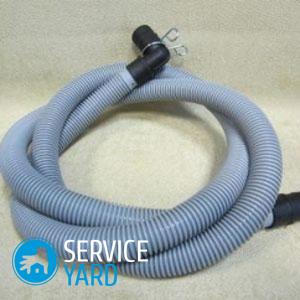
Important! Drain hoses must also be cleaned of dirt. Detailed information on their geometric features, extension and replacement can be found in our separate review. "Drain hose for a washing machine".
Filter Cleaning Instructions:
- There is an inlet filter on the water pipe. It must be removed and cleaned.
- In some cases, the inlet filter is not set. All clogging may then form on the intake valve filter. This place is located where the inlet hose is connected to the device. In order to clean it, you need to remove the top cover by the unit and unscrew the valve and filter.
- For thorough cleaning, clean the grille and cuff. Then twist the filter together with the valve and replace it.
- Screw on top cover.
Important! To think as little as possible about repairing Zanussi washing machines, you need to regularly clean these filters.All experts recommend doing this after two to three washes.
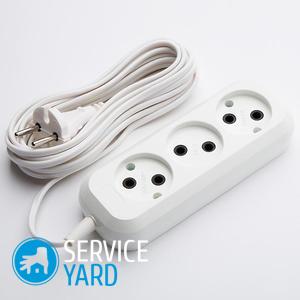
to contents ↑Important! Often, users encounter power problems, for example, when immediatelywhen turning on the washing machine. This may be due to internal damage to the device, as well as to outlet in the bathroomwhich it is connected to. Be sure to fix the problem so that the equipment does not fail. And from power surges protect the equipment using a voltage stabilizer or surge protector.
Crash “lock hatch”
In the Zanussi washing machine, malfunctions and their elimination are often associated with blocking the hatch. Possible reasons are:
- manufacturing defects;
- lock wear;
- improper handling and operation.
The main problem is related to the mating part of this component part. In the Zanussi washer, the plastic part, which holds the plates and serves to close the hatch, is made of low-quality plastic and quickly breaks if the doors are closed abruptly and forcefully.
Important! A feature of this problem is that it is virtually impossible to repair the hatch. Therefore, it will need to be replaced. The cost varies from 25 to 35 dollars. Due to the fact that this price is high, it is impossible to buy it for future use. Therefore, first make sure that your hatch is not working, and only then think about buying a new one.
We remove the old hatch:
- At the first stage, open the door cover to its full potential.
- On the right side of the window there is a hole that fixes the locking hook and two screws that need to be unscrewed.
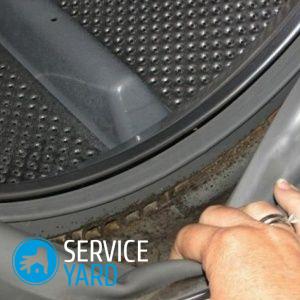
- In the third stage, you need to carefully remove the clamp that holds the cuff. Simply put, the large rubber band is gray and is located around the window. To do this, you need to take a screwdriver. Follow the link and find out how to replace a rubber cuff on a washing machine.
- Next, pull out the cuff. Do it better with your hands.
- Put your hand between the front of the device and the edge of the drum. Remove the blocking part.
- Visual inspection for damage. It is very easy to do this, as the plastic part will be crushed into small parts and the plates popped up.
- With all the spare parts, we go to the store and buy a new hatch.
Important! Due to the fact that the cost of the new hatch is very high, we strongly recommend that you use this part of the device as carefully as possible.
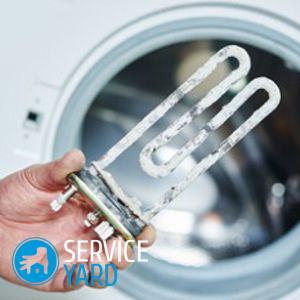
Failure of the heater
Among all the possible reasons for the repair of Zanussi washing machines, most often it is a failure of the heater. This is due to the fact that the heating elements work with water, which contains a large amount of mineral salts. To prevent this from happening, regularly conduct washing machine preventionas well as her descaling.
Important! In the event of a heater failure, the Zanussi washing machine generates an error E05, which informs the owners about the malfunction. This unit is located at the rear of the unit. In order to replace it or fix the damage with your own hands, you will need to remove the back wall.
Instructions for replacing and installing a new heater:
- The back wall is secured with bolts. In order to get to the heater, you need to unscrew them.
- In the lower part of the entire case there are two contacts, from which the wires are routed to the right side.
- At the third stage, you will need to check the resistance of the heating element - this is done using a multimeter. If the device shows you zero, then it is worth replacing the heater.
- Between the wiring is a nut that is worth untwisting.
- We remove the wiring from the heater.
- We take out the old heating element. To do this is not always easy, since during operation it sticks to the surface. In order to pull it out, use wd-40 grease.
- In the place where the heater was attached, it is necessary to clean the entire surface from traces of scale and dirt.After that, wipe everything with a cotton cloth.
- We insert a new heating element, we fasten it.
- Reinstall the back wall and check the operation of the heater.
Important! When buying a new heating element, give preference only to originals that are manufactured by the manufacturer of the washing machine. If you use cheaper heating elements, they can soon break down and have a detrimental effect on the control unit. In this case, the cost of repair will increase 5-6 times.
Drive belt and its breakdowns
How to identify a broken belt and find out if a repair is needed on a Zanussi washing machine? Everything is very simple! In case of a belt malfunction, the device makes a strong noise, while the drum does not rotate, or vice versa - it goes very easily in any direction. The motor will work. However, it is worthwhile to make a more detailed diagnosis of the breakdown.
Determine the malfunction of the belt:
- Remove the back of the device.
- The belt is attached in such a way that it connects the large drum in which the washing takes place with the small engine located at the bottom of the unit:
- In the event that the belt is in place, but the device does not work, then it has worn out during operation and it is necessary to replace it with a new one.
- If the belt slept from its location, then you need to put it in place.
- We twist the back wall.
Important! The malfunction associated with the belt is easily fixed, and even a teenager can do it if he acts carefully.
Change the bearing yourself
Bearing replacement is often done at service centers. However, you can install a new part on the washing machine yourself. The main thing is to do all the actions very carefully.
To replace the bearing you will need:
- WD-40 grease;
- bearing;
- stuffing box;
- silicone sealant;
- pliers;
- pliers;
- screwdrivers;
- hexagon;
- hammer.
Important! Be sure to buy WD-40 grease. It is she who will help you remove all the parts that “stick” to the surfaces during operation. It is also capable of cleaning internal components from scale and dirt.
To replace the bearing and stuffing box, you need to disconnect the device from the mains and place it in the center of the room or garage. You need access to all the details from different angles. Lighting should be very good.
Important! In the process of disassembling, all parts must be folded in the sequence that was removed. It is more convenient to photograph the disassembly process. So it will be better to collect it back.
Important! If you follow the instructions for use of the washing machine, you can avoid most unwanted breakdowns. Very often the cause of the malfunction is the wrong weight of the laundry loaded. In order not to overload the car, use our table of mass of linen.
Bearing replacement sequence:
- Unscrew the top cover. It is very easy to do. Unscrew the two screws and alternately move the component back and forth. Everything, the cover is removed.
- We unscrew the back cover - it is fastened with six bolts. There is nothing complicated in this action.
- Remove the drive belt that covers the pulley and drum.
- We remove the gray gum - the clamp, which is located on the window in front of the machine.
- Turn off the heater.
- Remove the wires from the heating element and the engine.
- Unscrew the terminal and ground.
- At this stage, unscrew all kinds of nozzles from our drum. Doing this is simple, with little effort.
- We take out the temperature sensor. We do it carefully from two sides.
- Shock absorbers must also be disconnected.
- We turn to our friend for help and together we carefully remove the drum. It is pretty heavy.
- Using a screwdriver, remove the engine.
- The drum is fixed with a large number of self-tapping screws that must be unscrewed.
- Remove the rear counterweight and disconnect the heater.This is necessary so as not to damage it when replacing the bearing.
- Now you can remove the oil seal and bearing. The first part is removed using a screwdriver, the second - by gently tapping the hammer on the drum.
- Replace the bearing. It is installed a little harder than the old part is removed. Using the winch, you can hammer it back. Never hit the inside of the bearing.
- The oil seal is easy to install.
- Putting back the washing machine.
to contents ↑Important! Repairing a washing machine can cost a lot of money. If you decide to buy new equipment, then our site of useful tips will help you choose the best model. Take advantage of the readyrated machines for quality and reliability.
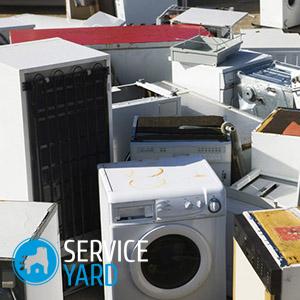
Remember that an old washing machine cannot just be thrown into a landfill. Our separate article will help you solve the issue of disposal. "Where to put the old washing machine?".
Stock footage
We told you about the Zanussi washing machine, malfunctions and do-it-yourself repairs. Take care of the unit, monitor all components and the service life increases several times!
- Outlets in the bathroom
- Surge protectors for household appliances - rating
- Knocks out the machine when the washing machine is turned on
- Washing Machine Prevention
- How to remove scale in a washing machine?
- Replacing the gum on the washing machine
- Laundry Weight for Laundry
- Drain hose for washing machine
- Where to put the old washing machine?
- Rating of washing machines in quality and reliability
 (No ratings yet)