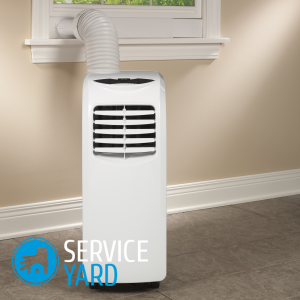
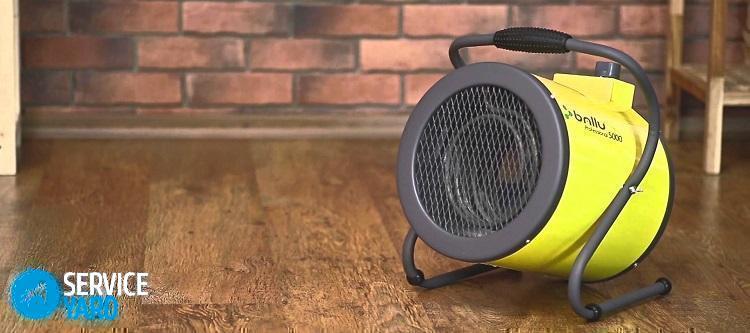
DIY fan heater
The fan heater is a type of climatic equipment, a forced circulation heating device, which is designed to transfer a certain amount of heat through the air flow. Unfortunately, powerful and multifunctional devices that are mass-produced today are not cheap. But you can make a fan heater with your own hands from the available components and elements. In this article, we will tell you how to do it yourself, without having much knowledge in electrical engineering.
to contents ↑How do fan heaters work?
Similar devices work according to the simplest principle, which is as follows:
- A stream of air flows from the blades of the working fan directly into the closed casing. A heating element connected to the network is heated by the main part - more often it is a wire spiral of a closed or open type. Such spirals are made of an alloy having high ohmic resistance.
- When the voltage is supplied to the ends of the spiral, it begins to warm up to several hundred degrees, due to which heat is released, which is enough to heat the air pumped by the fan.
- Directly through the outlet openings, the warm air stream enters the surrounding area, then mixes with those air layers that are not yet warmed up.
Important! The main purpose of the fan heater is effective and efficient air heating directly in those places where the largest number of people are located, and in technological zones.
In the warmer months, it can be used as a regular fan.
to contents ↑Important! Alternatively, also check out step-by-step workshops:
What components and materials are needed to assemble a fan heater?
Before you make a fan heater, you should definitely carefully study the design of such devices, consider what they consist of.
The device consists of three main elements:
- Body. As a rule, in shape it resembles a fragment of a duct. Cases are made of heat-resistant dielectric, that is, pipes with a circular cross section.
- Fan. Used in such devices direct or synchronous current. From the network comes AC power in the amount of 220 W or from the power supply.
- Heating element. It is a spiral, which is located in the pipe, is powered by AC voltage. A household charge is enough to warm a small room, garage or workshop with such a device in winter.
Important! The housing can be made of any suitable object that could provide air flow, which prevents the heating element from overheating. The main thing is that the dimensions of the latter do not exceed the inner diameter of the pipe section.
In order to make a fan heater yourself, you will need the following tools, parts and materials:
- Asbestos-cement or asbestos pipe 50-60 cm long with a cross section of 150 mm wall thickness of 10 mm. You will also need an old doorknob to transport the unit.
- Nichrome wire with a diameter of 0.5 mm and a length of 6 m. If you increase the diameter of the wire, then, accordingly, the heating power will increase.
- Two wooden bars, bench vise. A hand-made winder for winding spirals with a hole or a slot in it for threading the ends of the wire.
- Heat-resistant micanite film for insulation 2 m long and 0.5 m wide.
- Ordinary axial fan for 220 watts or from a computer cooler with a voltage of 12 watts. The edges of the body flange should have a size of 6 to 12 cm.
Important! In principle, you can use any fan that is designed for 250-370 milliamps of current consumption.
- Pliers, a hacksaw, a soldering iron, wire cutters, citric acid, rosin, ordinary tin-lead solder POS 60 or POS 40.
- A twin-core wire with a cross section of 0.5 mm and a length of 5 m. Ceramic heat-resistant adapter pads - 3 pcs. Switch and plug rated for household current. Fasteners.
- Ready diode assembly, capacitance, capacitor.
Production of constituent elements and fan heater assembly
We pass from theory to practice, we will consider in stages how to make a fan heater with your own hands after preparing everything you need.
Make all the incoming parts and assemble the device according to the given scheme:
- As a case for the future device, we will use a piece of pipe. Cut the size of asbestos cement or asbestos to a cutter or grinder with a diamond wheel. To speed up the work and give the material softness, it is better to first cut it into two parts and soak, and carefully pour water during the sawing process.
- Measure the resistance of the nichrome wire with a special device - it must be at least 30 ohms. Cut off the resulting excess wire. Cut this segment into pieces of 3.5-4 cm, bend in half to get cotter pins. They will help you to fix the spiral on the pipe.
Important! Varying the length and diameter of the wire, select the optimal heater power. Remember that the rated power is not enough, it is better to increase it to 2.2 kW.
- Tightly clamp the wire between the two bars in a vice, thread its end into the slot of the winch, which is located on top of the vice, wind a spiral. Spread the wound spiral evenly so that the distance between the turns is 2 times the diameter of the wire. On ceramic pads, connect the ends of the supply wire and wire.
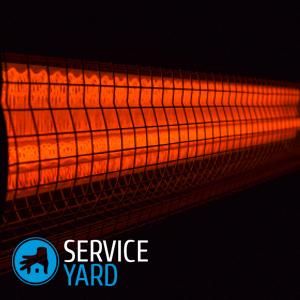
- Test the spiral. Wind it on top of the pipe so that the coils do not touch. Lay the pipe between the stable insulating supports, connect the wires, plug in the network for a few seconds. The glow should be bright red. Remember where the areas with the brightest glow are located, visually check for a short circuit between the turns. Where necessary - part the turns, thereby increasing the step between them.
- Hang the spiral inside the pipe. Drill through holes along the perimeter of the pipe. Hook the wire to the cotter pin loop at the attachment point. Bring out the cotter pin with the other end out through the hole and fix it, bend the antennae in different directions on the outer surface of the pipe.
- Connect the ends of the spiral through heat-resistant transitional ceramic blocks that are attached to the pipe, switch and attach the plug to it.
- Fix the fan from one end of the pipe, because it is important that it works on suction when the blades rotate. Connect the device to ceramic power strips through which voltage is applied to the spiral.
- To connect a constant voltage device, you will have to use a power supply. If it is not there or it is too large, then you can make yourself a reliable power supply. Solder the four diode rectifier on the textolite board according to the diode bridge circuit. Connect a smoothing electrolytic ripple capacitor between the outputs of the rectifier.Connect the device to the output of the diode bridge, following the rules of polarity. Connect the bridge inlet to the ceramic block.
- Insulate the housing with micanite film and attach the handle.
Stock footage
You already know how to make a fan heater, it remains only to improve it with additional devices and elements in the form of a protective grill, a fuse, a cleaning filter, an engine speed regulator, a temperature regulator, a bimetallic thermostat, and threshold current protection.
 (No ratings yet)