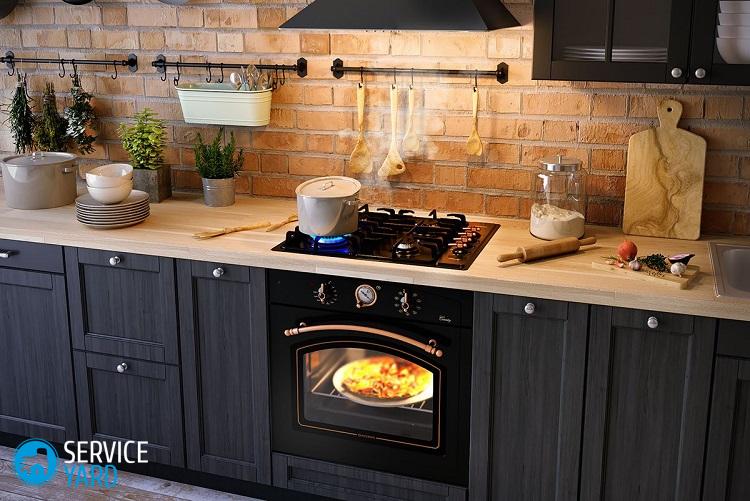
Oven installation
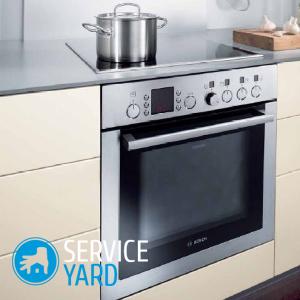
Any family uses a stove and an oven; without these devices, the cooking process is not possible. Along with modern electrics, traditional ovens are equally used. Installation of the oven is a process that requires special attention and proper connection according to all safety rules. Many people think that such equipment can only be connected with the help of specialists, but this is not entirely true. A gas or electric oven can be installed independently, following the instructions given in our article.
to contents ↑Installation of a gas oven. Connection Nuances
Most people scare away the work of connecting a gas oven directly to the gas pipeline. It’s not worth it to complicate things. Such work can be done not only by the relevant services, but also by you. To answer the question of how to install the oven built in under the hob, you need to understand that all the elements located after the shut-off tap can be regulated by the landlord.
In fact, everything is extremely simple - the shut-off valve can be left without touching, so as not to violate the integrity of the pipe structure. Your actions should be as follows:
- Disconnect the gas stove or hob from the shut-off valve.
- We screw a solid, expensive tee onto the external pipe. We do this work with tow.
- We wet the tow with paint, only after that we wind it up and tighten the tee tightly.
- We equip two “branches” of the tee with cranes.
Important! Remember that gas taps have yellow handles. Install them in the same way as the previous tee.
- Check all joints for leaks. To do this, open the central tap, which is located up to the tee (central). We coat the joints with soapy water.
- If you did not find bubbles that indicate a gas leak, then you can relax - the job is done correctly. Now you can start connecting the oven.
to contents ↑Important! From a separate article, be sure to find out whatcabinet for built-in oven - what it can be and how to make it with your own hands.
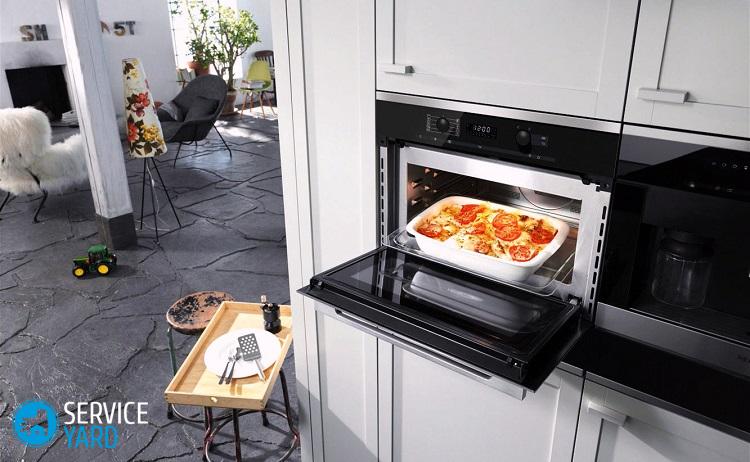
Installation of the built-in oven on gas
Gas cabinets, like electric ones, can be both freestanding and built-in. The installation process of this equipment at the very first stage is practically no different from the installation of an electric oven. You still need to first determine your location. The most important difference between similar household appliances is the power source. So, for example, a gas-fired oven is connected with a special hose directly to the gas supply pipe, which already has an adjustment valve. In the case of an electric oven, in addition to all of the above, you need to connect additional functions that work exclusively from the mains. We will all talk about this a little further.
Working process:
- We connect the oven and the crane designed for it with flexible wire. You can use a special corrugated metal sleeve to get a high-quality and wear-resistant connection.
- We put a gasket in a union nut pre-lubricated with solid oil.
- We fasten the nut, and then tighten it tightly with a wrench. The most important thing here is not to overdo it so that the nut does not burst.
- We install a gas oven in a niche and check it for performance. Do not forget that many gas ovens involve connecting to the mains (backlight, gas control and other functions). In this case, you need to take care of connecting these devices.
to contents ↑Important! To understand all the features and possibilities of using your equipment, follow the link and find out What is convection in the oven?.
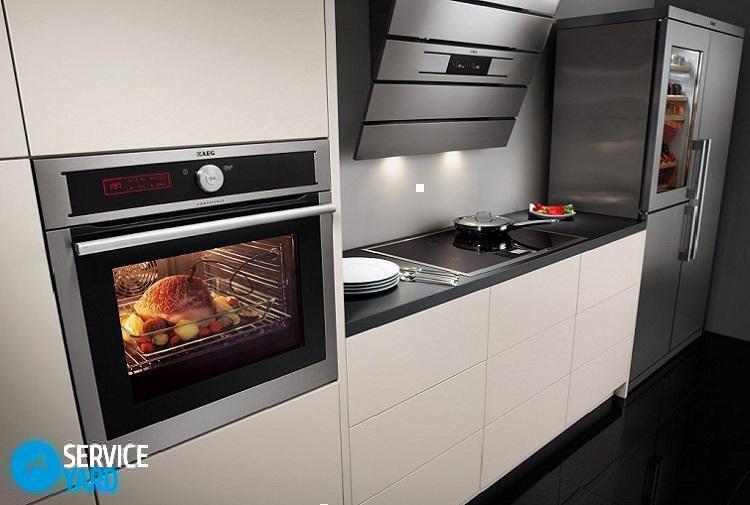
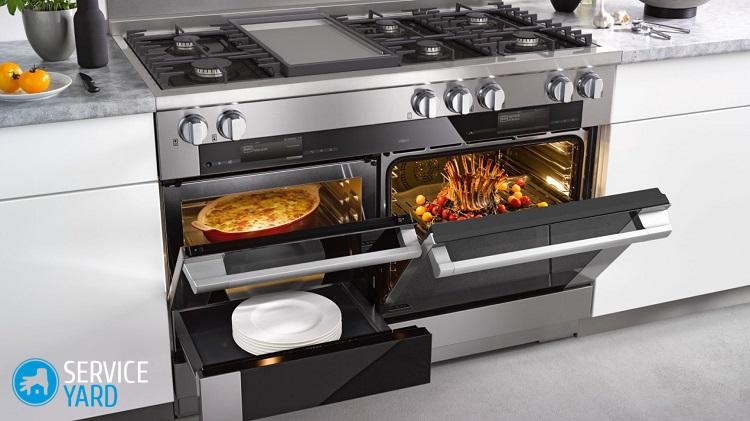
Installing an electric oven. Location arrangement
If the furniture in the kitchen allows you to install an oven, then for all the work you need 1-2 hours. There is nothing complicated in self-connection.
For preparatory work, you will need the following list of tools:
- Grounding plug (needed to connect the oven to the mains).
- Crosshead screwdriver.
- Electric drill.
- Insulating tape.
Stages:
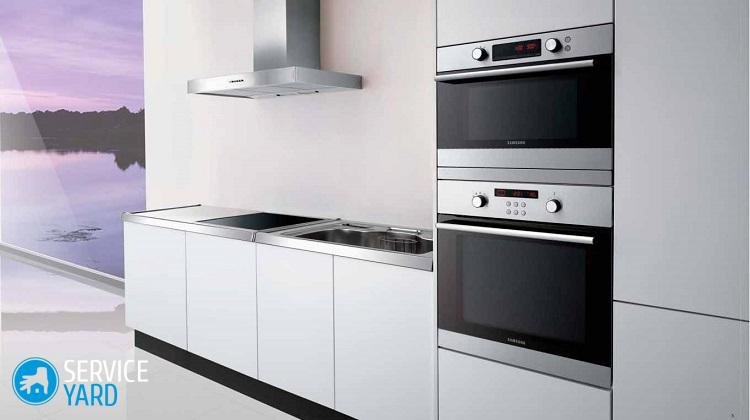
- We think over to the millimeter all the parameters of the built-in electric oven. It is necessary that the equipment clearly goes into the compartment in the furniture.
- We take care of protecting possible voltage drops in the network, we provide grounding. The back of the cabinet should be approximately 50 mm from the adjacent wall. This is necessary for good ventilation of this device. Moreover, the side gaps should be at least 5 cm.
- We install a power outlet with a capacity of 40 A. It is a socket of such a power that can protect you and the room from an unexpected circuit. We place it on the right or left side, departing from the floor for more than 10 cm.
Important! You can install an electric oven absolutely anywhere, which cannot be said about the gas version. But do not forget that the product should be away from the source of water.
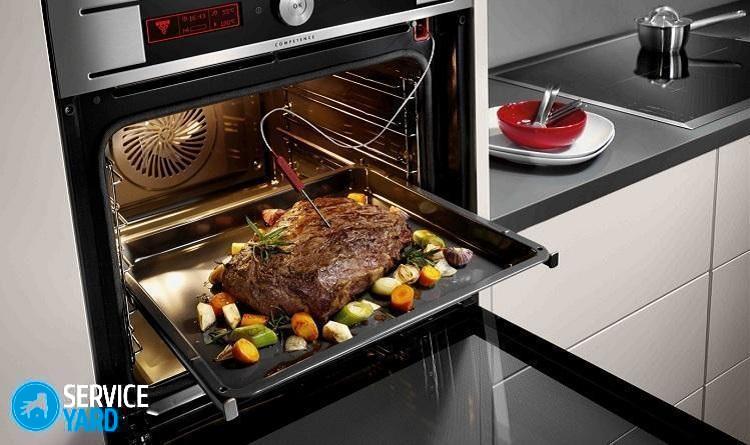
How to install an electric built-in oven?
Connecting an electric oven is much easier than a gas oven. Many people easily make the decision to independently install this type of equipment without resorting to qualified specialists for help. Yes, indeed, the design does not have a special hose through which gas flows, but you should not relax, because during installation you will need to take into account all the rules of electrical safety.
Important! Remember: only one of your mistakes can lead to a small circuit, and subsequently to a fire.

Safety rules when connecting an electric oven to a network source:
- Connection of household equipment is carried out using a separately located machine.
- To connect the cables, only screw terminal blocks should be used.
- No wire connections are allowed on the twist.
- When connecting, be sure to understand what do the oven icons mean.
Important! We recommend creating a separate wire branch for the electric oven. Many manufacturers advise using the highest power copper wire for equipment.
Connection Stages:
- After preparing the niche, we proceed to the direct installation of the electric oven. To do this, we need to correctly connect it.
- We drill a hole in the back wall of the space for the cabinet, if it is not provided at the very beginning.
- We insert the equipment into its intended place, then fix it with screws.
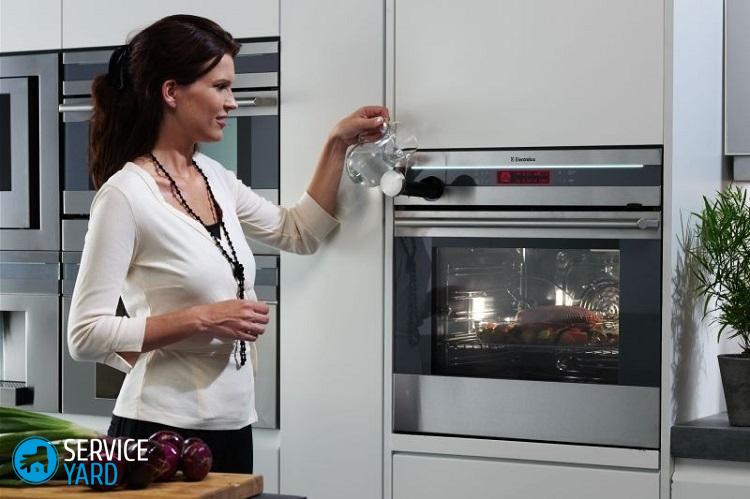
- Thoroughly rinse and dry the inside of the oven at a temperature of 250 degrees for 20-30 minutes. The oven can be considered ready for cooking various dishes, but this is only one part of the work, then you need to connect it to the mains.
- The electric oven branch has three wires, two of which are green or yellow - ground wires. We connect one of these wires to the terminal, and the other two wires to the other two terminals.Firmly clamp the contacts of all installed wires.
- We connect the kitchen appliance to electricity, as our oven is equipped with a backlight and an electric kindling function.
- We check the performance of our household equipment. We connect the oven according to the manufacturer's instructions, check the serviceability of all indicators and additional functions. We launch the product at full capacity.
Important! Do not be scared if in the first stage you see a light haze. This indicates that there is factory protective grease inside the cabinet.
The installation of the built-in oven is now complete. Now you can treat yourself to something delicious!
to contents ↑Important! If at the initial stage you correctly laid a separate branch of an electric wire, then all further work can be done independently without the help of an electrician. If you do not have a dedicated line, then you just need to use the services of a specialist. It is better to entrust the installation of such a design to professionals due to the fact that it requires careful and high-quality installation in compliance with all electrical safety rules.
Important! Often using the oven, sooner or later all users will necessarily encounter the problem of contamination of the device. So read our publication to help you figure outhow to wash the glass in the oven from the inside.
Stock footage
As you can see, do-it-yourself oven installation quite possible. You only need to study well the design and installation methods that were outlined in our article. We wish you success!
 (No ratings yet)