DIY air conditioner installation

- Choose an air conditioner
- Monoblocks and split systems
- How is it arranged?
- What does air conditioning like?
- Features split systems
- When to put?
- What do you need to install an air conditioner?
- We buy tubes
- Choose points
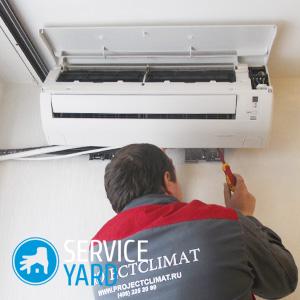
- Installation of the air conditioner indoor unit
- Installing an external air conditioning unit
- Determine the distance
- Connect the tubes
- Stock footage
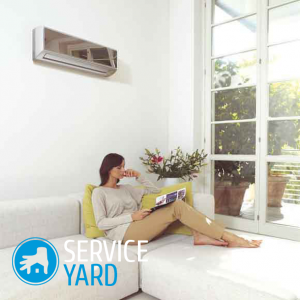
Air conditioning is a convenient device that allows you to maintain a favorable microclimate in the room. Do-it-yourself installation of an air conditioner requires attention and accuracy, so the owners of such units often prefer to contact specialists. However, if you have the necessary set of tools and a certain amount of free time, you can deal with it. Some features of the process will be discussed in our article.
to contents ↑Choose an air conditioner
The answer to the question of how to install an air conditioner with your own hands depends on what exactly you are going to install. The choice is determined by the conditions, and especially close attention should be paid to the following points:
- Do you have the opportunity to install an external unit?
- What is the volume of the room in which you are going to adjust the microclimate?
- What is the thickness of the walls in your home?
- Do you have thermal insulation?
The appearance and power of the device depend on all this. If it is not possible to install an external unit, you will have to limit yourself to a monoblock unit. When the room is large and the power is small, you cannot provide a sufficiently low temperature. At the same time, a powerful unit in a small room consumes too much energy, and it becomes cold in the room.
to contents ↑Monoblocks and split systems
So which unit have you bought or are you just about to buy? On sale you will find several types of household air conditioners. Installation of a monoblock usually does not present any difficulties - they make a hole in it for a window or wall, fix it, close the gaps with mounting foam, turn it on - this is limited to it, the air conditioner works successfully, without causing much trouble to the owner.
Split system is a completely different matter. It consists of several parts:
- indoor unit;
- outdoor unit;
- the pipeline.
How is it arranged?
Installing an air conditioner with your own hands is not a simple matter. Anyone who decides to do this should have a good idea of how and what works, otherwise, the result may be exactly the opposite of what is desired.
The sequence of operation of the air conditioner is as follows:
- The refrigerant passes through the nozzle to the evaporator, this happens under rather high pressure. A refrigerant is a liquid that boils at a very low temperature and absorbs a large amount of heat.
- In the evaporator, the liquid expands, boils, begins to evaporate, as a result, the heat is absorbed, and the system cools.
- Condensation forms which settles on the evaporator radiator.
- Droplets fall into the tank, where they accumulate, and then through the drainage tube go out.
- Vapors are removed using a vacuum pump.
- The pump creates high pressure, the liquid heats up strongly, but does not turn into gas, a dense layer of fog is formed, which is very saturated with vapors.
- The refrigerant passes into the condensation chamber, in which there is a radiator and a fan, the temperature drops, the refrigerant turns back into liquid, after which the process repeats.
Important! In the process of choosing climate technology, you will have to face a lot of nuances. Clarify for yourself some of them in advance so as not to waste extra time in the store. Read our publications on topics:
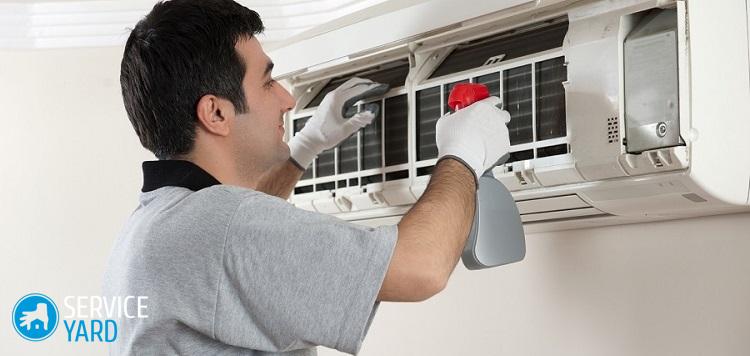
What does air conditioning like?
Knowing the principle of operation, it is not difficult to understand what is needed for your unit to work stably, spend little electricity and serve for a long time. You must provide:
- separation of hot and cold zones;
- lack of dust:
- proper location - the indoor unit should be higher than the outdoor;
- placing the outdoor unit in the coolest place that is;
- the correct position of the drainage tube - it should not bend up.
to contents ↑Important! Any violation of these rules will lead to overheating of the system or a significant increase in energy consumption. If the drainage tube is bent up, mold will certainly form in it.
Features split systems
Before installing the air conditioner with your own hands, you need to read the instructions and figure out which unit is why you need it:
- internal - evaporative;
- external - condensing.
In fact, many modern systems can both cool and heat the air, while the blocks change functions:
- If you need to heat the room, condensation occurs in the indoor unit, and evaporation in the outdoor unit.
- When you need to lower the temperature in the room, the refrigerant condenses in the outdoor unit, evaporates in the indoor unit.
Therefore, in order not to get confused, it is better to name the blocks at their location.
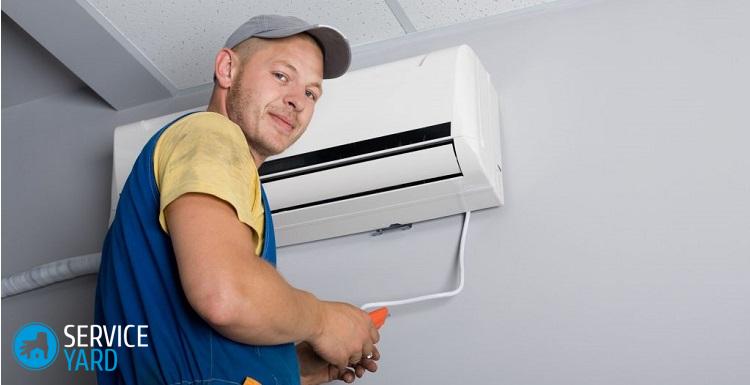
When to put?
Installing an air conditioner is fraught with a lot of dirt. The process, in addition, is quite noisy, so it's best to do all this during the repair. Do not think that you have to deal with just one wall. And no one has managed to install an air conditioner without damaging the finish of the walls. This, in turn, also indicates that it is necessary to install the split system during the repair, when everything is already ready, in principle, and there is no wallpaper or tile on the walls.
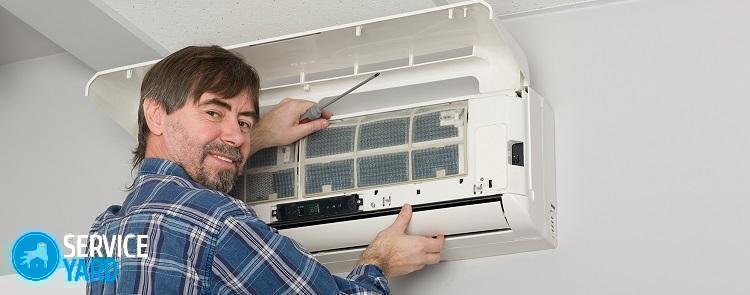
to contents ↑What do you need to install an air conditioner?
To install the air conditioner, you need some tools. Something, maybe you have something, you have to buy something, and something is best to rent.
You need:
- puncher, since it will have to hollow a major wall;
- a set of bits for holes with a diameter of 10 cm;
- device for searching reinforcement (if you have a concrete wall);
- pipe cutter (hacksaw is not suitable);
- flaring kit;
- patterning, or example;
- bicycle pump;
- tester;
- pressure gauge;
- screwdriver;
- level;
- fasteners.
Important! Why can’t you cut a tube with a hacksaw? After it remains copper dust, which is almost impossible to completely remove. As a result, the tubes become clogged and the unit fails. Rolling the tubes with improvised means is also not worth it; you will not get tight joints. It is best to buy a special kit, which includes, among other things, a pipe cutter and a rimer. Tightness is checked by the usual bicycle pump.
We buy tubes
You will need a copper tube, and it is better to immediately buy a whole bay. Do not be afraid in this case of unnecessary expenses - you will surely find where to put the leftovers, and this is much better than to ruin the compressor. Having bought scraps, sawdust can be separated from them, and then you will have to part with the compressor forever.
Do not forget to see that the bay is intact, and the ends are rolled at the factory. In addition, the tube should not have dents, kinks or cracks. It should be long enough to install the outdoor unit as low as possible.
to contents ↑Important! Before mounting the air conditioner, the tubes will have to be cut and flared. If you've never done this before, practice some pieces. Use only a special tool.
Choose points
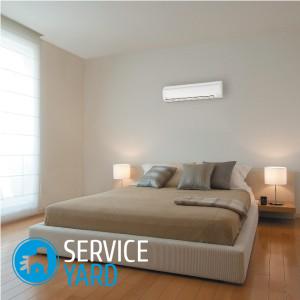
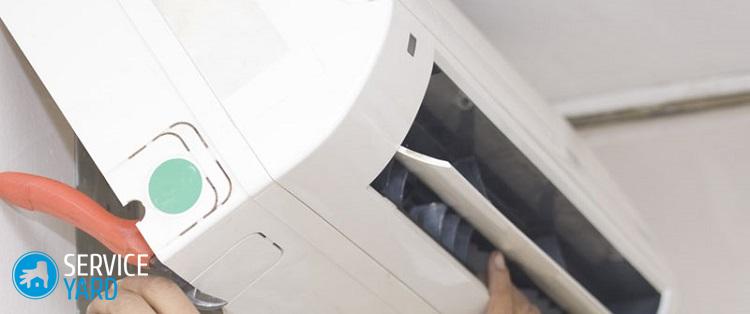
Installation of the indoor unit of the air conditioner, as well as the internal one, has some features. And it is very important to choose the right place for one and for the other. There are several considerations that it makes sense to consider:
- The indoor unit is placed so that it does not rest against the ceiling - the gap should be at least 15 cm.
- The distance from the indoor unit to the wall should not be less than 30 cm.
- For a variety of reasons, you should not mount the unit above the bed, dining table or chair on which you have the habit of sitting during the rest - and it's not only that you can catch a cold, but also safe, because even securely fastened things sometimes fall.
- The unit should be open, so placing it behind the curtain is also not worth it, the unit may overheat and fail much earlier than you expect.
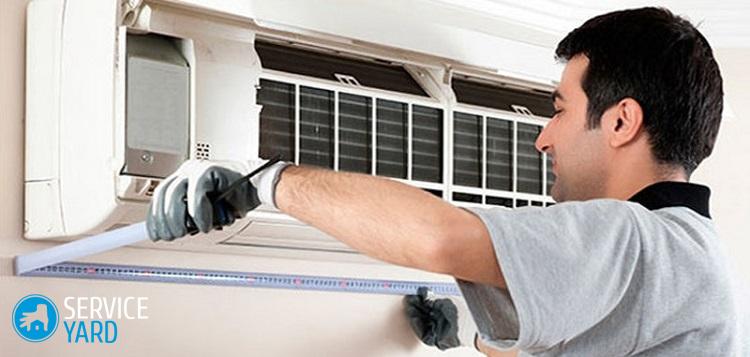
- The indoor unit must be installed horizontally, carefully controlling the angles - distortions greatly affect the performance.
Installation of the air conditioner indoor unit
To put it, you need a special bracket - it is sold complete with the unit:
- Mark the level position of the bar.
- Mark the holes for the holes.
- Drill holes.
- Hammer the chopiki.
- Attach the bar, this is done with screws.
- Try on a block to the bar - if you are not installing air conditioners every day, you need to know how to do it so that you don’t have to bother for a very long time when all the pipes are already connected to the unit.
Installing an external air conditioning unit
As with the inside, you must first select a location. It is most convenient to place the outdoor unit:
- under the window;
- to the right of the window.
An air conditioner is usually equipped with not only a bracket, but also a bracket.
to contents ↑Important! It is better to check a complete set right away. The unit is quite heavy - the smallest external unit weighs 25 kg, but there are also those with a mass of 50-65 kg, so you need to fix it very securely. In any case, one cannot cope with such a task alone, an assistant is needed, and physically strong.
Determine the distance
The installation of the outdoor unit of the air conditioner has some specifics, and the first thing to consider is the distance:
- The distance between the blocks should not exceed 6 m.
- In this case, the blocks should not be located closer than 1.5 m from one another.
- The best distance is 3 m.
Why such a distance? If there are three meters between the blocks, you can blow off the tubes without much effort, removing excess air and moisture drops. When the blocks are too far away, a bicycle pump cannot be dispensed with, a more powerful one will be needed. If the distance is less, the vibration will increase, which is also unacceptable.
Important! If there is no other way but to hang the blocks side by side, make a loop of about a meter and a half from the tubes.
Fasten the block
So, you have decided on the place. It's time to get to work. Regardless of whether your unit will hang under a window, on the side or on the balcony, the order will be as follows:
- Make a hole in the wall with a puncher with a diameter of 5 cm or slightly larger for the pipeline: it should go at a slight angle from top to bottom.
Important! Since pieces of the wall may fall off in the process and fall out, warn the neighbors so that they do not wander under the windows and protrude, but it is best to put up a temporary fence.
- Pass a safety rope that can support a person’s weight into the hole.
- Tie one end to the belt (it is better to use a mounting one).
- Attach the other end securely to a securely attached item, such as a water pipe.
- For insurance, call an assistant.
- Hollow out the holes for the bracket from the outside.
- Fix the bracket with anchor bolts - the bolts must be very powerful.
- Pass strong ropes through the hole so that the block can be tied.
- Tie a block with them.
- Lower the unit onto the bracket and attach, leaving a distance of 10 cm from the wall.
The presence of a balcony will greatly facilitate your life. This is the easiest installation option for the outdoor unit - and the safest. But keep in mind that you can install it on the balcony only if there is no glazing.
Important! If the apartment is on the ground floor, the outdoor unit will have to be raised higher and protected from the vandals by the grill.
Connect the tubes
The most difficult and dangerous part of the work is done - the external and internal unit took their places. It remains to connect them. It is not so difficult when the tubes themselves are already prepared. If there is a special tool - absolutely wonderful:
- Cut the tubes to the desired length.
- Flare ends.
- Attach the tubes to the indoor unit with nuts.
- Connect the wire according to the color of the winding.
- Tape the entire structure with tape.
- Bring the free end out through the hole.
- Fasten the indoor unit completely.
- Attach to the outdoor unit.
- Locate the plastic fitting on the indoor unit and put the drain pipe on it.
After that:
- It remains only to connect the cable (look do not mix the wires!) And close the entire system with a decorative box, which good manufacturers also have in the kit.
- Then pump out excess air. Having opened all the valves for a few seconds, you can turn on the unit in the network. To open the valve, you need to find a copper cap and have a hex wrench in your hands.
Important! It is very useful to perform the procedure three times. After everything is finished, the hole in the wall must be repaired, for which you probably have mounting foam.
Before you push the ends of the tubes through the hole in the wall, cover them with something to prevent debris and dust from entering.
to contents ↑Important! Remember that any climate technology needs periodic care. What actions will be required, will you do it yourself or will you use the services of professionals, the information from the following articles of our portal of useful tips will help you decide:
Stock footage
In a word, installation of an air conditioner is a responsible and not very clean business, which is why many owners prefer to call representatives of the supplier company. But not everyone has such an opportunity. Having decided on such a thing, do not forget about security. This applies not only to the installation process of the air conditioner. If you have already started such a serious repair, make sure that the air conditioner is connected through a separate cable with grounding.
 (No ratings yet)