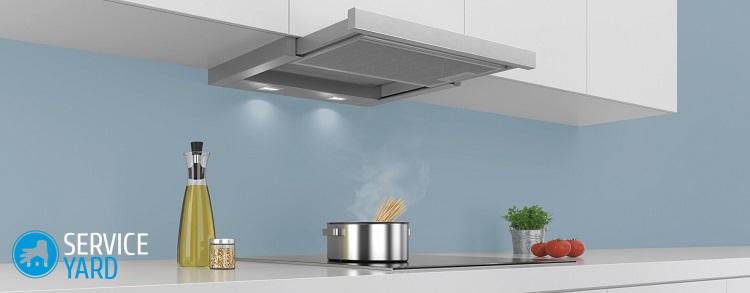
Cooker hood in the kitchen
- What is the hood in the kitchen for?
- How to fix the situation and prevent problems with the kitchen?
- Types and classification of cooker hoods
- Hood to the kitchen with your own hands - option number 1
- Hood to the kitchen with your own hands - option number 2
- Recommendations for installing a ventilation device:
- Stock footage
Any housewife knows how important high-quality and efficient ventilation in the kitchen. Steam from the stove, food smells, fogged windows do not bring joy, and appear even in the newly renovated kitchen. Mounting a cooker hood over a stove will help solve the problem. A hood to the kitchen with your own hands is a feasible feat for any home master. In the article we will tell you how to make an extract in the kitchen in an apartment so that it becomes an integral part of the interior and has its own unique design.
to contents ↑What is the hood in the kitchen for?
During cooking, a large number of vapors and various gases are released into the air, which increase the temperature and humidity level in the room.
Another unpleasant moment is the smell from cooking, which may not leave the kitchen for a long time and spread throughout the house. Agree, what kind of comfort can we talk about if the bedroom smells of fried meatballs and borscht all night?
In some cases, poor ventilation can be caused, not by the lack of exhaust equipment, but by the “willfulness” of your neighbor, who increased the space in the kitchen due to the duct. Features of ventilation of apartment buildings are as follows:
- Air ducts from the kitchens of various apartments are interconnected.
- From one apartment per hour should be removed from 60 to 90 cubic meters of air.
- Exhaust air is drawn into the street. Such air exchange is possible only with open windows.
to contents ↑Important! Most owners of multi-storey buildings replaced the old wooden windows with plastic ones, which create an airtight structure, and thus blocked the path of clean air to the apartment. Even very frequent ventilation will not solve the problem, since a healthy microclimate is possible only with constant and controlled air exchange.
How to fix the situation and prevent problems with the kitchen?
In order not to suffer from problems such as increased humidity, elevated levels of carbon dioxide, lack of oxygen, the spread of odors throughout the apartment, the appearance and spread of mold, it is necessary to ensure only two conditions:
- The influx of fresh air.
- Outflow of exhaust air.
Therefore, before making an extract in the kitchen, it is necessary to diagnose the general ventilation system in the apartment.
Check the general ventilation as follows:
- A palm-sized piece of thin paper is attached to the ventilation grill. If he holds on and does not fall, then the ventilation in the kitchen works well.
- Light a match and bring to the grate:
- If the flame tongue is pulled into the ventilation duct, then everything is in order with the flow of air in the kitchen.
- If the flame tab is held upright, then the ventilation does not work.
- And if the flame leans into the room, then in the ventilation system there is a reverse draft.
Important! Professionals do not use the match-checking method, since flammable gases can accumulate in ventilation ducts, which is very dangerous. Therefore, when checking the duct, use the safe method.
If you notice that the ventilation in the kitchen is not working, then:
- Remove the grate and wash it with soap and water to remove dust and grease.
- Insert the brush on the long handle into the ventilation hole and clean the air duct (as far as you can get it).
Important! Do not clean the entire ventilation shaft from the kitchen. This work is carried out by specialists with certain skills and special equipment. Follow the link and find out where to go if ventilation does not work in the apartment.
In our separate publication, we spoke in detail about the types of ventilation, its disinfection and gave a detailed algorithm for cleaning it. Read “Cleaning the ventilation”.
If you had a desire to make a hood for the kitchen with your own hands, then first familiarize yourself with their varieties, since such devices have a different structure, operating principle and their own installation method.
Types and classification of cooker hoods
The modern manufacturing industry offers a ton of device options that vary in form, texture, design, price and performance. But in general, by type of work, all hoods for the kitchen are divided into:
- Passive. Dome-type devices only remove exhaust air using upward draft. This type of technology is not crammed with electric motors, fans, complex mechanisms and electronics. The passive hood only works effectively if the ventilation ducts and the entire system are in good condition.
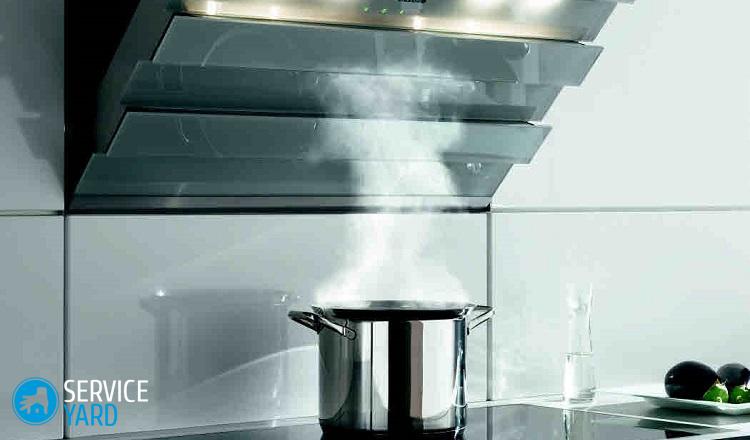
- Active. A more modern form of technology is based on the operation of an electric motor. In addition, this type of device is equipped with fans and filters. The disadvantages of active hoods include the lack of fresh air and the need to clean the filters.
By type of mounting hoods are:
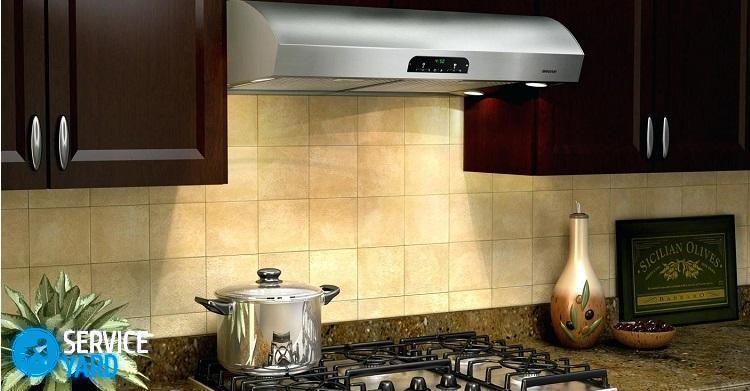
- Dome. Mounted devices directly above the stove. All of them are of the same type: they have a conical shape and an air pipe.
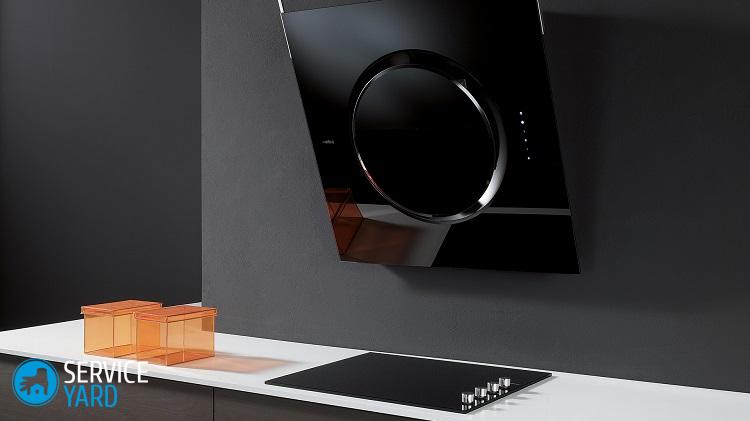
- Flat. Compact devices do not have a built-in duct, but work due to built-in filters. If the area of the kitchen is small, then this is ideal. Devices of this type look very modern and stylish. At the same time, they are quite effective in work. Installing equipment is very easy, as flat hoods are quite mobile.
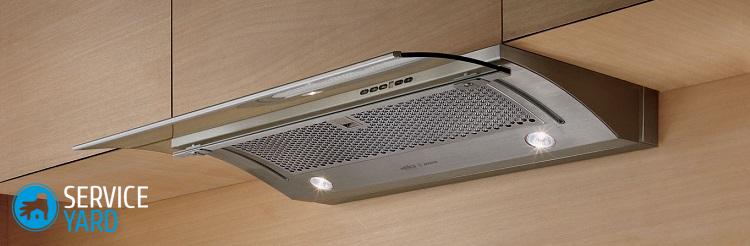
- Recessed. The devices are mounted in kitchen furniture and do not take up much space. Hoods of this type fit perfectly into any interior. Devices can be: modular and telescopic. If the first option has small dimensions, then the second one has an exhaust panel and is built into the cabinet. Both options work through filters.
Important! Regardless of the type of hood, it must be installed at a height of 70 centimeters above the hob, and the minimum distance above the gas stove should be 80 centimeters.
System selection
Once you have decided on the type of device, proceed to the drawing part of the design development using our recommendations:
- If you already have a ventilation system, build a passive device.
- If there is no air duct in the house, create a device with active ventilation and a built-in electric motor.
Hood to the kitchen with your own hands - option number 1
The simplest and cheapest option for the manufacture of equipment for air purification in the room is a model of drywall.
Tools and materials
To make the device you will need the following materials:
- Drywall sheets. Choose a brand of material with increased moisture resistance
- Metal profiles.
- Corrugated pipe for duct.
- Corners are metal.
- Finishing materials for the box: putty, paint.
- Material for insulation of an air pipe.
Important! The duct can be made of corrugated material or use a plastic pipe. The choice is yours, as each material has its advantages and disadvantages:
- To install the corrugated pipe you need: fitting, grille and clamp.The air duct made of corrugated material is easy to install, it can be stretched to the desired size.
- A plastic pipe usually has a rectangular or round shape and can be hidden inside a kitchen cabinet. In addition, grease and dust do not accumulate on plastic pipes, and, during operation, there is no extraneous noise.
Step-by-step manufacturing instructions
To make a hood to the kitchen with your own hands efficiently and quickly, follow this sequence of work algorithm.
Stage number 1. Marking work
Mark the wall for the future device. Be sure to note that not only the exhaust hood itself, but also the air duct will be located on the wall.
Important! The appearance of the whole device will be much more aesthetically pleasing if the duct is hidden inside the drywall construction.
Stage number 2. Creating a frame for an air pipe:
- Using the building level, first attach the top rail for the box. If you decide to make a curved box, then before attaching the profile, cut it and bend it, giving it the desired shape.
- Set your start profile.
- Lower down vertical elements.
- Fix the bottom plank of the same profile to all vertical fragments.
- Attach the transverse panels to the profile, which will help connect the walls of the drywall.
Stage number 3. Creating a hood box
Box panels (rigid frame) are assembled from galvanized material. Before assembling, be sure to perform all hood calculations and make a detailed drawing. In the drawing, apply all dimensions of the profile to avoid errors in the manufacturing process.
Important! In the manufacture of the frame, pay special attention to the additional transverse jumpers, which are attached to the side. They are necessary to give rigidity to the entire structure.
Before starting to sheathing the box, connect the duct to the ventilation hole.
Stage number 4. Box finish
A cooker hood with a do-it-yourself air duct turns into an individual design, and can have a wide variety of shapes. Drywall and a galvanized profile allow you to create a masterpiece of design thought, and finishing will help to complete the final look and bring to life the design idea.
Here is the easiest way to finish:
- Sheath the frame with drywall, reinforce with metal corners.
- At the joints of drywall sheets and screw-in nuts and bolts, apply putty.
- Paint, whiten, trim with a decorative panel or varnish the structure.
Important! The above passive hood is easy to convert to active. To do this, install an electric motor inside the housing and connect the equipment to the power supply.
Useful Tips:
- When creating a hood, the question suddenly arises, what materials to use? In addition to drywall, use plywood, fiberboard or MDF. For decoration, use wooden baguettes, painting them with a stain to the desired color. You can also use decorative polyurethane skirtings for decoration.
- To prevent the air duct from making noise, wrap it with soundproofing material.
- If in the future you plan a suspended ceiling in the kitchen, hide a substantial part of the duct under the roof lining.
- When installing ventilation, minimize the number of pipe bends. This will enhance the air draft, because at each turn the power of the device is lost by 10%.
Hood to the kitchen with your own hands - option number 2
For the basis of the hood, take the old, but working design, or a new, but inexpensive model. We will introduce you how to make an active hood for the kitchen with your own hands.
To update the device, proceed as follows:
- Assemble the main elements: lower frame, electric motor, exhaust grill.
- From the slats, make frame elements and install them. Choose the shape of the frame itself, based on the overall design of the kitchen. The most important thing is that the air duct fits in it.
- From the thin plywood, cut the sides of the dome.
- Glue the frame of the hoods with blanks.
Important! To glue the walls of the dome gently, use clamps with soft nozzles made of plastic or rubber.
- As soon as the dome completely dries from the glue, sand it.
- Apply a layer of putty.
- After the device dries, apply paint or varnish.
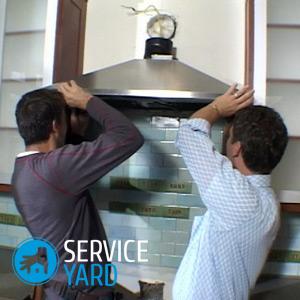
- Fix the hood to the wall.
- Connect the duct.
- Hide the duct in the duct.
Electrical connection
All wiring to the ventilation unit must be laid in advance:
- If the ventilation unit has a conventional plug that is plugged into an outlet, then wire the kitchen furniture.
- If connecting to the mains via an automatic machine, mount the wire into the drywall panel.
to contents ↑Important! Be sure to ground before connecting. If cooker hood has two connection wires, connect the grounding cord, weakening the action of the rear screws and stretching out part of the grounding wiring under the back of the device. Then tighten the bolts.
Recommendations for installing a ventilation device:
- The width of the exhaust pipe must be greater than the exhaust outlet. Otherwise, during operation of the device, a load will occur on the engine, and this may lead to malfunction.
- When leading a pipe into a shaft, do not block the ventilation hole in the wall itself. Pay attention to the special ventilation grilles, which have two outputs: one for the natural movement of air, the second for the exhaust pipe.
- Before making the hood, arrange all the furniture and set the location angles of the device.
- Do not place the device’s power cord near a gas stove or let it sag.
- If the hood is equipped with corner panels, you can put it inside the upper cabinet by cutting a hole from the bottom to the diameter of the ventilation device.
- If the hood is a domed or decorative hood, hang it on the wall, but first install the body and hang the duct to mask the duct.
- Build a flat model into the bottom of the headset or into the wall.
Cleaning and care
The hood, like any device, must be cleaned:
- Once every six months, remove the corrugation and hood to clean the hood from the inside.
- Corrugated pipe must be cleaned very carefully so as not to damage.
- Use a regular soap solution and a sponge to clean.
to contents ↑Important! More detailed instructions and ways to help you thoroughly save time can be found in the article. “Cleaning the hood in the kitchen”.
Stock footage
We hope that our tips have helped you make a unique extract to the kitchen, and now the apartment is filled with aromas of flowers and fresh air. Do not forget to look after your “creation”, and it will serve you faithfully for many years.
 (No ratings yet)