DIY floor lamp
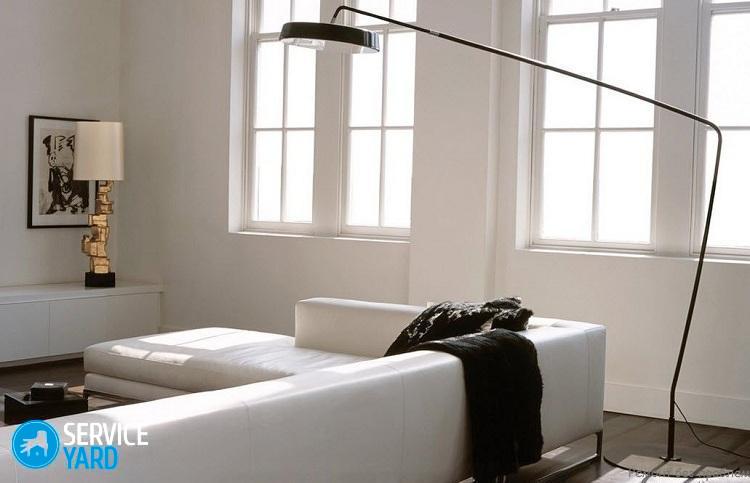
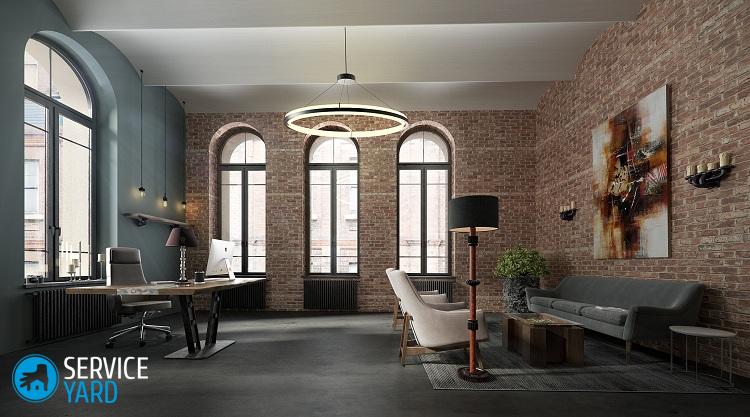
The basis for work and a comfortable stay in the room is high-quality lighting. Due to the variety of light sources that can be installed as your soul desires, you can divide the room into zones, highlight specific objects and decorative elements, decorate the exterior of the house, the surrounding area and much more. One of the most popular home furnishings that creates homeliness is a beautiful floor lamp. At first glance, the design of this lamp is nothing special - a stable base with a long leg and a lampshade with a bulb. But the comfort and atmosphere that this lamp creates cannot be overestimated. This device from an ordinary room creates a special fairy-tale world of comfort and warmth. And of course, today retail chains offer us a huge variety of floor lamp models. But you can show your wit, imagination, arm yourself with the necessary minimum of materials and tools and make your own floor lamp do-it-yourself from wood, plastic, metal, cardboard and other available materials. How exactly - we will consider in this article.
to contents ↑Repair and restoration
If you have an old floor lamp that does not work, then this greatly simplifies our task. It is only necessary to adjust the dimensions and shape of the old lamp, if necessary, to extend or shorten the height of the legs, paint and decorate the base as a whole.
Important! A mandatory step in creating a new floor lamp from the old one is the replacement of electrically conductive parts - cable, plugs, lampholders, bulbs and switches.
And the most interesting thing remains - to make a lampshade for the lamp or to tidy up the existing lampshade, which is simpler, because the mount to the base and the frame are already there, it remains only to trust the flight of your imagination. As a result, from the old, non-functioning lamp that was gathering dust in the pantry, you get a fashionable, original floor lamp.
Materials and details
In order to make a floor lamp do-it-yourself floor, you can use a wide variety of materials and parts available to you for sale or available at your home. You can breathe new life into things that have not been used for a long time.
Starting to create your own unique design solution, you need to prepare the materials. The main parts without which you can not do:
- The floor lamp foot is a pipe of any shape in cross section - metal, wood or plastic. Although, contact of wooden parts with the cable is best avoided.
- Electric cable of the required diameter and length.
- Cartridge for a bulb. The most common is E27, suitable for lamps with a standard socket.
- Lamp. The best option would be to choose modern solutions - LED or energy saving. Conventional incandescent lamps become very hot and consume a lot of electricity, which is not good.
Important! For a metal leg of a floor lamp it is better to use a three-core cable.
You may also need materials to create a lampshade - paper, glass, textiles, depending on what kind of plan it will be.
Important! If you decide to start transforming the old floor lamp or making it from scratch yourself, you will surely like our other ideas with which you can refresh the interior and make it more interesting:
The basis for the floor lamp
The basis for the future product may be very different, but the prerequisite must be observed - its stability. The lamp must stand firmly on the surface, so the base must be heavy:
- Wooden base. Large wooden round-cut - a piece of log, bonded bars in various ways. As an option, the necessary shape can be made of wood with your own hands. The finished product must be processed with sandpaper. Then coat with wood stain to contrast the texture of wood or paint any desired color.
- Mineral base - concrete, cement, all kinds of building mixtures. Most often, the basis for the floor lamp is made of gypsum. To do this, you just need to dilute the gypsum mixture with water and pour it into the base form, securing the floor lamp leg in it. To give a rounded shape to the base, a detachable baking dish is ideal. The hole in the leg must be closed. Paint the hardened part in the desired color or decorate it in any other way.
Important! For greater strength, fiber can be added to gypsum, PVA glue and more water to prevent cracks on the surface.
Any massive solid material available, of the desired shape and with suitable holes, is suitable for the base.
Important! A floor lamp, as a rule, has one leg, but you can make a unique model with several points of support, and then it will become a real highlight of the interior design, attracting looks with its originality.
Shade
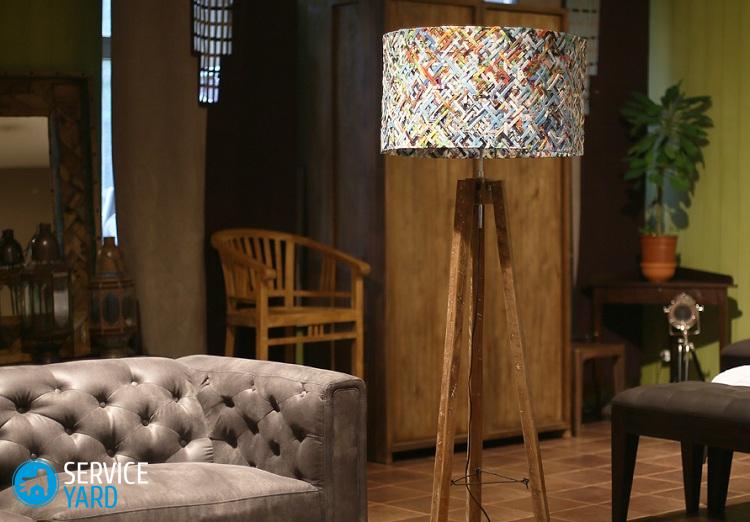
A lampshade is the brightest and most memorable part of the future lamp. It depends on him how the floor lamp will shine, how it will fit into the room. Making a lampshade for a floor lamp is a huge field of ideas. The only restriction on the way of imagination will be the style of your interior design.
You will need a base for the lampshade. You can take the finished one from the old lamp. Or make a new one with your own hands from elastic wire, which will keep the given shape and other elements of the frame. Side elements are mounted on the base so that the joints are as invisible as possible.
If this cannot be avoided, do not be discouraged. All sorts of decor options will come to your aid, which will close inaccurate joints. For the manufacture of side side elements are suitable:
- Paper - plain, rice, corrugated and even wallpaper.
- Textile. High light transmittance fabrics.
- Wood. Wooden whetstones are perfect for decoration in a rustic style.
- Glass elements, beads and other glitters add a mysterious flicker.

Important! The external surface is additionally decorated with ribbons, felt elements, beads and rhinestones, wooden details, artificial flowers, as well as painting. Heavy, massive elements that will make the light dim should be avoided.
It is possible to make a lampshade on a floor lamp yourself from practically any available materials, even from those that, at first glance, are not intended for this.
Product Installation
When all the parts are ready, begin assembly. It is important to adhere to all safety regulations when working with electrical appliances:
- The cable passes through the base and passes through the hollow leg.
- On the floor of the base, it is better to make the legs no less than the thickness of the cable, and attach the cable parallel to the floor. As a result, this will have a good effect on the stability of the floor lamp base.
- We attach a lamp holder to the upper end of the cable, then a lampshade, and connect the lower end of the cable to the plug.
to contents ↑Important! All attachment points and cable connections must be carefully insulated to avoid short circuits.
How to make a floor lamp yourself?
Before starting to create a new lamp, the following materials and tools should be prepared:
- Lumber and glue PVA joiner.
- Wood hacksaw.
- Drill.
- Pliers.
- Knife, screwdriver.
- Fasteners.
- Copper elbow.
- Wooden block for the frame - 140cm.
- Copper tube for the frame - 1m.
- Light bulb, cartridge, electrical cable with plug.
- Openwork plastic bucket.
Making a floor lamp yourself should be done in stages. First of all, you need to start with the manufacture of the foundation of the structure.
Base fabrication
The basis for the floor lamp is done in the following way:
- We cut out two boards from the board with dimensions 35x5x20 cm (length, thickness, width) and 30x2.5x15 cm.
Important! The sizes may be different, but it should be noted that the base must support the weight of the entire structure of the floor lamp and not allow it to tip over at the slightest touch.
- Then we glue two bars with PVA glue. Lubricate the smaller board with glue, attach it to the larger board. Make it so that the small plank is centered larger. The glued surfaces must be pressed firmly until the glue completely dries. Any heavy item or joinery clamp will do.
- After drying, measure 5 centimeters from the edge of our glued base and drill a hole with a diameter of 3 centimeters. The hole must be through. All edges must be sandpaper and sanded.
Frame manufacturing
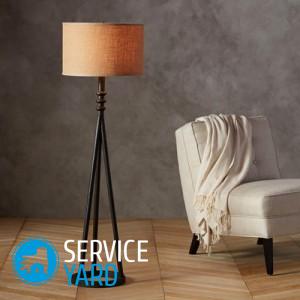
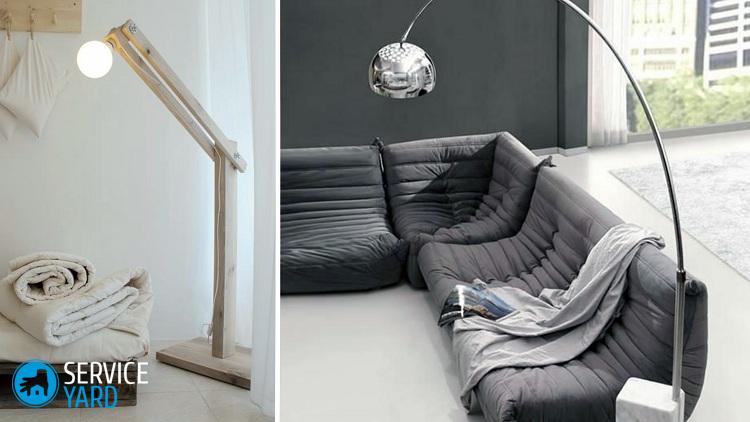
For the frame, we chose a wooden counter 1.4 meters. This height is selected taking into account the fact that our floor lamp can be placed near an armchair or sofa, and the light will fall from above. But you have the right to choose a different height, as you wish.
Before making the frame, the copper pipe should be wiped with alcohol to degrease and remove dirt and grease. Then do the following:
- The peculiarity of our design is that the light source should be located above the seat, next to which the floor lamp will stand. To do this, we need to drill a hole for a copper pipe in a wooden rack at an angle of 60 degrees and a diameter, like a pipe.
- A copper pipe is inserted into the drilled hole so that the smaller end peeps out 25 centimeters. With a pencil, mark the intersection of the pipe and the wooden stand.
- In the place of the mark on the pipe, we drill a non-through hole of 6 mm so that a cord passes through it.
Assembly
To assemble a makeshift floor lamp:
- We fix the wooden stand in the hole of the base, after lubricating the hole in the base and the edge of the stand with wood glue. We fix the parts until the glue completely dries.
- After that, we insert the copper pipe into the hole of the rack. The hole in the pipe should be turned to the floor. After installing the pipe in the right position, fix it and fix it. Any universal glue is suitable for this.
- We fix a copper elbow to the upper end of the pipe, also deployed to the floor, to which then the lampshade will then be attached.
- A cable is drawn into the drilled hole on the copper tube, the end of which extends through the end elbow.
Shade
Making a lampshade is very simple. For this, a regular office paper basket is suitable. We do the following:
- To our home-made lampshade did not look like a trash can, carefully trim the top side on the basket.
- At the bottom, in the center, drill a hole for the bulb holder.
- Paint the resulting lampshade in any color you like from an aerosol can. After the first layer of paint has dried, we paint the second layer for fixing.
- By the final stage we attach the cartridge and lampshade to the main design of the floor lamp and the wire.
Do-it-yourself floor lamp is ready! Now you can put it near a chair or sofa.
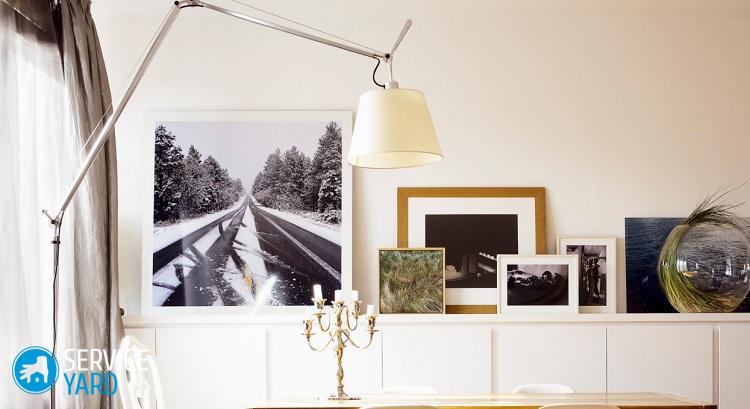
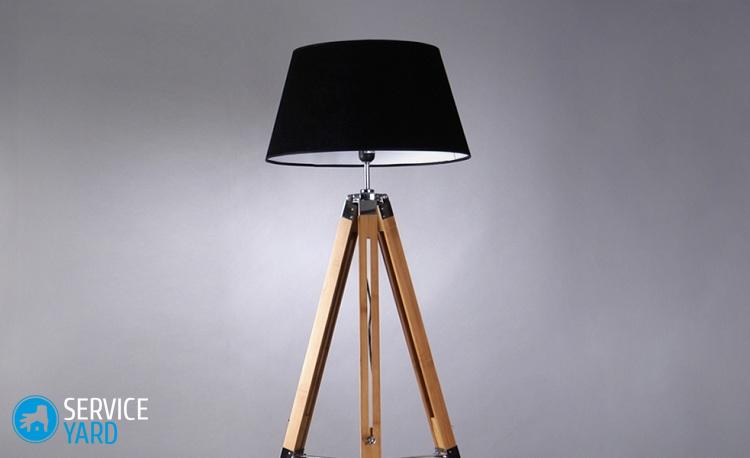
DIY floor lamp made of wood
Conventional wooden battens, cotton or linen fabric can be excellent materials for creating a floor lamp:
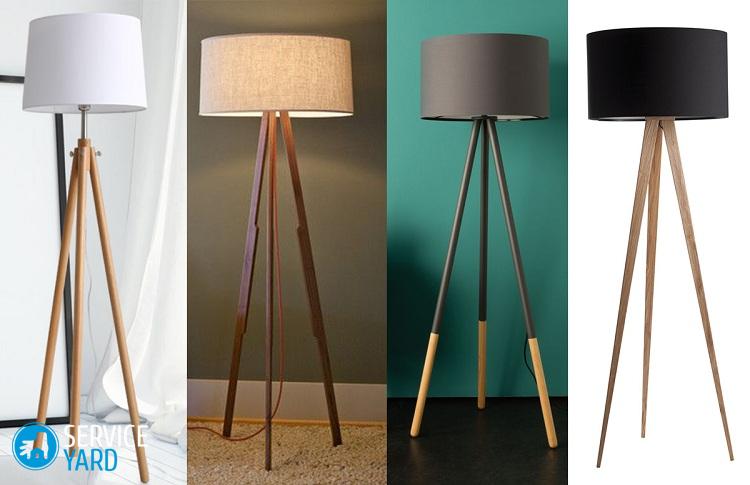
- In order to create a wooden floor lamp, the slats need to be cut into blanks of the required size, opened with varnish, stain or paint.
- It is easiest to fasten wooden pieces together using a stapler.
- The lampshade is made in the form of an assembled fabric, the length of which is initially slightly more than a wooden frame and is attached with a stapler.
- The edges of the lampshade are decorated with wooden corners, and the staples with decorative battens.
Stock footage
It’s very easy to make a floor lamp with your own hands, while you get a beautiful product several times cheaper than the factory counterparts in the store. Restoration or manufacturing from scratch will not be difficult for you, since we have examined in detail all the possible aspects associated with the creation of a floor lamp. You are free to choose the types of materials, their color and shape, which will bring all your fantasies of decorating to life.
 (No ratings yet)